
views
- In your Word document, select your picture and click Crop.
- Choose Crop for a standard crop, Crop to Shape for an irregular crop, and Aspect Ratio to choose a predetermined size.
- Select the portion of the image you want to keep. Click the "Crop" icon and save.
Using a Standard Crop

Open your Microsoft Word document. Double-click the document that contains the picture you want to crop. This will open the document in Microsoft Word.

Select a picture. Scroll through your document until you find the picture you want to crop, then click once the picture to select it.
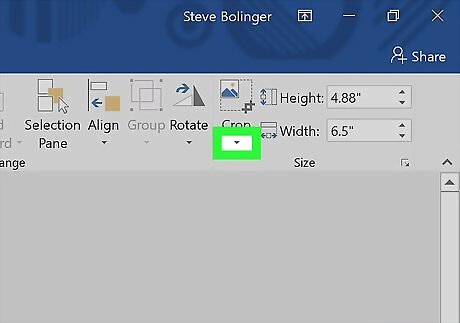
Click Crop. It's in the "Size" section on the right side of the Format toolbar. A drop-down menu will appear. On Mac, it's in the toolbar at the top of the "Picture Format" tab.
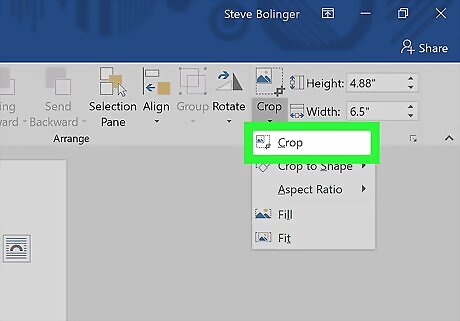
Click Crop. This is in the drop-down menu. Clicking it prompts a set of black bars to appear on the edges and in the corners of the selected picture.
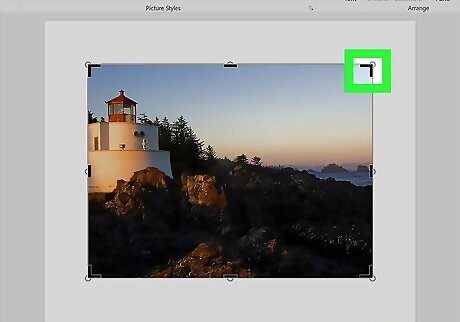
Adjust the picture's crop. Click and drag inward any of the black bars on the edges or in the corners of the picture to do so.
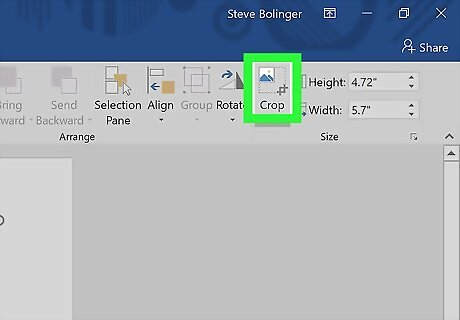
Click the "Crop" icon. It's the box with a line through it above the Crop drop-down icon. This will remove any section of the picture that falls outside of the black bars' limits.
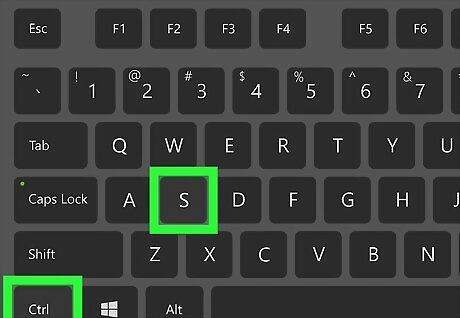
Save your changes. Press Ctrl+S (Windows) or ⌘ Command+S (Mac) to do so.
Using a Shaped Crop

Open your Microsoft Word document. Double-click the document that contains the picture you want to crop. This will open the document in Microsoft Word.
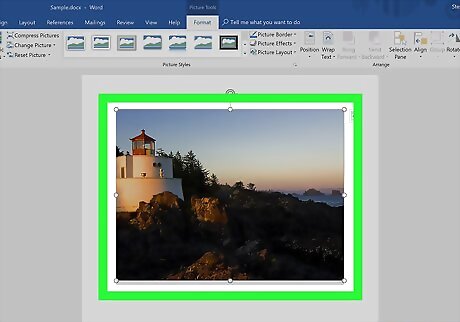
Select a picture. Scroll through your document until you find the picture you want to crop, then click once the picture to select it.
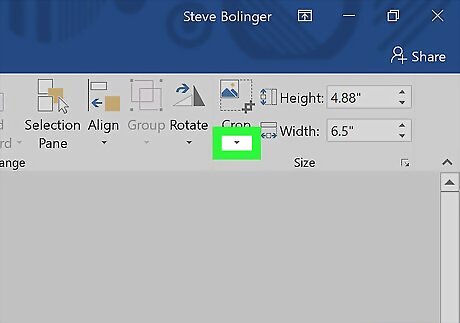
Click the down arrow next to the "Crop" button. It's in the "Size" section on the right side of the Format toolbar. A drop-down menu will appear. On Mac, it's in the toolbar at the top of the "Picture Format" tab.
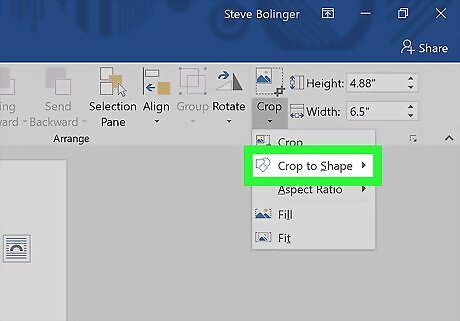
Select Crop to Shape. This is in the drop-down menu. Doing so prompts a pop-out menu with shapes.
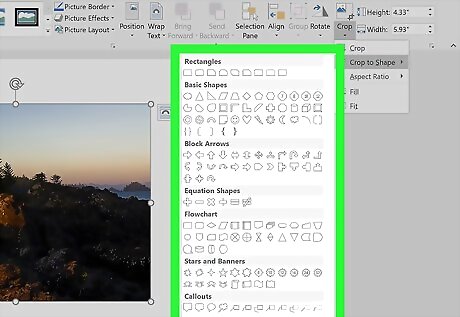
Select a shape. Click the shape in which you want your picture to appear. This will immediately apply the shape to the picture.
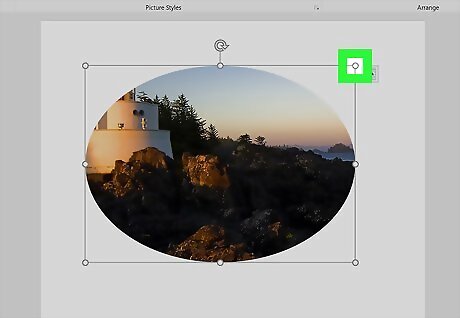
Adjust the shape's size. Click and drag inward or outward any of the circular points around the picture's outline to decrease or increase the picture's size.
Save your changes. Press Ctrl+S (Windows) or ⌘ Command+S (Mac) to do so.
Using an Aspect Ratio Crop

Open your Microsoft Word document. Double-click the document that contains the picture you want to crop. This will open the document in Microsoft Word.
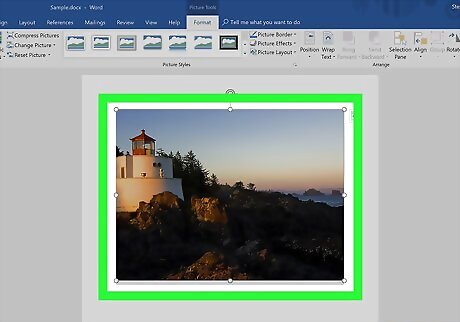
Select a picture. Scroll through your document until you find the picture you want to crop, then click once the picture to select it.
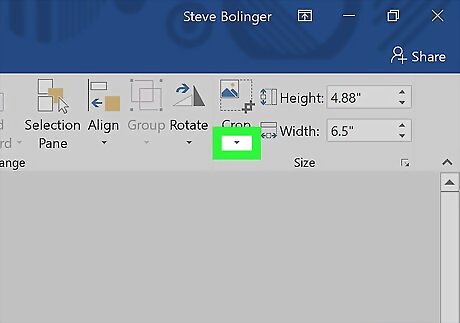
Click the down arrow next to the "Crop" button. It's in the "Size" section on the right side of the Format toolbar. A drop-down menu will appear. On Mac, it's in the toolbar at the top of the "Picture Format" tab.
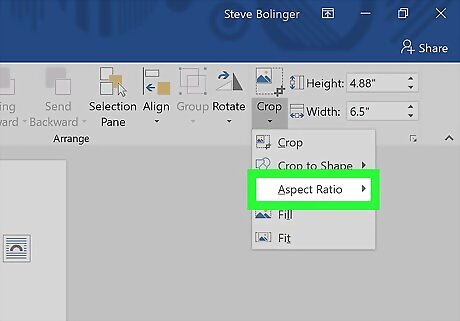
Select Aspect Ratio. This option is in the drop-down menu. Doing so prompts a pop-out menu to appear.

Select a ratio. In the pop-out menu, click one of the aspect ratios you'd like to use to crop your picture.
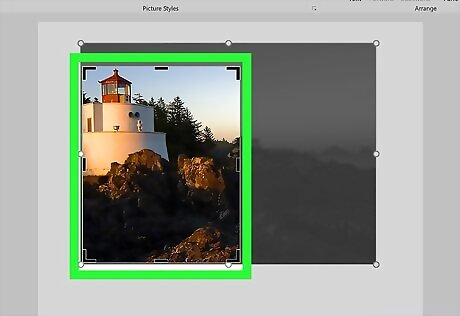
Adjust the crop selection. Click and drag your picture around until you've centered the section you want to keep in the aspect ratio's square or rectangle.
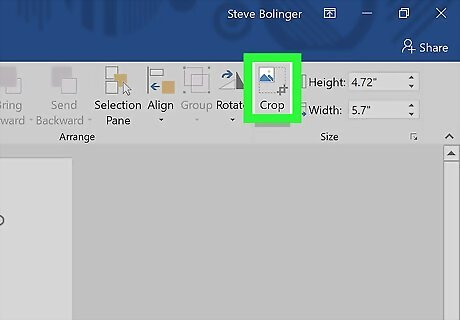
Click the "Crop" icon. It's the box with a line through it above the Crop drop-down icon. Doing so will crop your picture according to your selected aspect ratio.
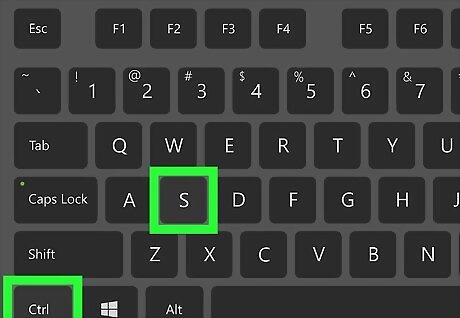
Save your changes. Press Ctrl+S (Windows) or ⌘ Command+S (Mac) to do so.






Comments
0 comment