views
Using Stop Motion Software

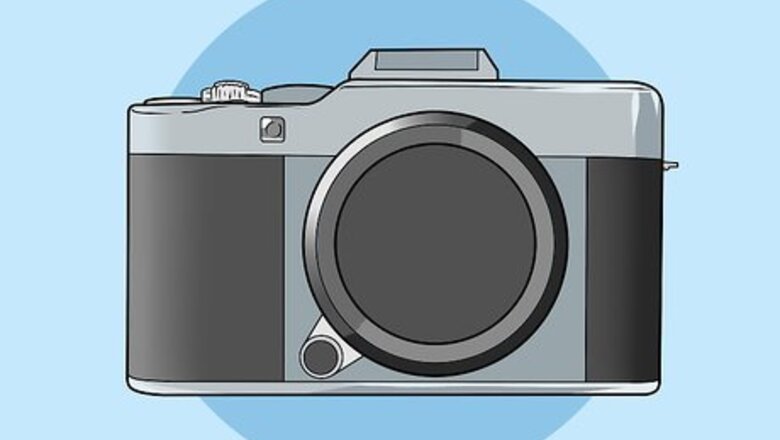
Choose your camera. You can use a quality camera if you own one, but a cheap webcam works surprisingly well. Buy one with a manual focus ring, so you can adjust the focus to get sharp, close up images. You can find these online for as low as $5 USD. Make sure you can attach the webcam to your device. On a mobile device, you will likely need to purchase a cable, and install an app that allows you to use webcams. Some of the software recommended below will only work with webcams, or certain cameras. Check for compatibility before you spend your money.

Install stop motion software. You can install this on just about any device, although laptops and mobile devices are the easiest to transport around your film set. Many stop motion programs have a free trial period, so you can try them out before you buy. Read the terms first, as the trial may restrict your options, or cover your images with a watermark. Here are a few suggestion. For Mac: iStopMotion, Boinx, Dragon Frame For Windows: I Can Animate 2 (recommended for children), iKITMovie, or Stop Motion Pro. Windows Movie Maker is an option with fewer features, but it may already be on your computer. For iPhone or iPad: Frameographer, Stopmotion Cafe For Android devices: Clayframes, Stopmotion Studio

Find objects and figures to use in your movie. Some good choices include clay, wire, LEGO or similar building block figures. Be imaginative; you can use almost any object to make your movie. Start with a small project, such as an orange peeling itself. One second of film can take 18–24 photos, so you'll get plenty of practice from this. You can draw on a whiteboard or stack of paper instead, changing the drawing slightly with every frame. If you do this, set up a stable stand to hold the drawings, so there's no accidental movement.
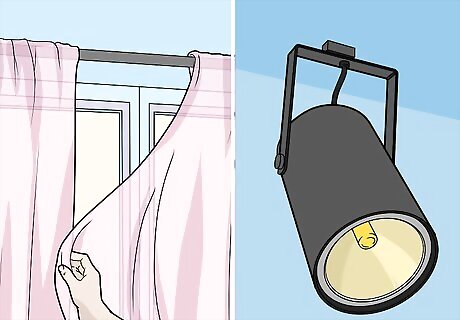
Find consistent lighting. You can use any lights, as long as they don't flicker or change in brightness. You may need to block outside light with blinds or curtains, if clouds or other moving shadows are causing changes in brightness. Some light bulbs take a while to reach full brightness. Leave them on to warm up while you get ready.

Arrange the scene. Set up your first shot in an area without wind or background movement. Make sure all your pieces stand up on their own. If one of them falls over during filming, it can take quite a while to set it back up in the exact position. If a figure is tilting or threatening to fall over, stick it onto the surface with poster tack.

Set up your camera. Take your camera and device to the location you'll be shooting. Connect your webcam or camera to your device. Open your software and confirm that it "sees" the webcam image. Once you've worked out any kinks, set the camera on a tripod, or tape it down firmly to prevent motion. If the camera shakes as you take photos, the movie will appear chaotic and lack continuity.
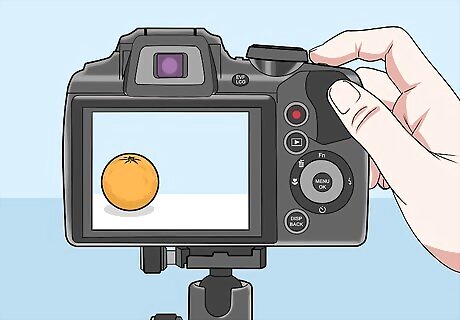
Begin taking photographs. Take a single photo of the objects or figures in the starting position. Move the objects bit by bit, by a very small amount each time, and take another photograph after each movement. You can move one piece at a time (such as an arm waving back and forth), or make several movements at once (a more fluid walk involving legs and arms, or several objects moving in a busy scene). Try to move an object by about the same distance each time. Before taking each photograph, make sure the object is in sharp focus. You may need to disable your camera's autofocus. If using a webcam, rotate the focus ring by hand.

Check your software. Each time you take a photograph, a frame should appear in your stop motion software. These frames are placed in a row to form a strip of film, usually near the bottom of your screen. You should be able to flick between the frames or play a video to get a rough idea of what your movie will look like. Don't worry, the end result will be much smoother. If you make a mistake, just delete the frame you just took and take another photograph.
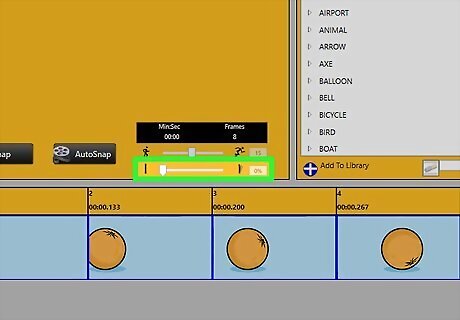
Look for an Onion Skinning feature. This extremely useful feature is one major reason to use dedicated stop motion software instead of a free movie editor. With Onion Skinning enabled, the previous frame shows up as a faint image on the screen, overlaying the image your camera sees. This lets you arrange objects accurately, seeing exactly how much they will move on screen. If you knock over a figure or make a mistake and need to re-shoot a few frames, Onion Skinning makes it easy to return to the old scene by lining up the figures with the faint image. If you can't find this feature, look for a Help or Tutorial section, or visit the website of the software developers.

Finish shooting. Continue moving and photographing until the scene is finished. Save your work frequently. Leave your setup in place once you're done, in case you need to retake some photographs. There's no need to finish the scene in one sitting. Taking regular breaks will help make the process a pleasure instead of a chore.

Duplicate frames so the movements happen at a slower pace. If you duplicate a frame, that frame will stay still for a tiny bit longer before moving. As a general rule, stick to one or two copies of each frame. Occasionally, slow this down to 6–8 frames between movements, so an object pauses before changing directions or starting a new motion. This looks more natural and makes your animation less frantic and easier on the eyes. If you don't know how to do this, look for instructions for your specific software.

Finish your film. You can now render the project as a video file and show it to your friends. If you like, you can open the video in video editing software and add music, sound effects, and special effects.
Using Free Video Editors

Learn the pros and cons. You might already have video editing software that came with your computer, and a camera or phone that can take digital photographs. If so, you can jump into this method right away. However, the actual shooting and editing process can be long and difficult. If you want to make anything longer than a minute or two, try the stop motion software method above. All you need for the easier method above is a free trial of the software and a $5 USD camera.

Choose your software. Most free video editing software will work. Here are a few options covered in this guide, which you can find online: For Mac: iMovie (comes pre-installed on some Macs) For Windows: Virtual Dub, Windows Movie Maker (does not officially support this, but sometimes works; pre-installed on most Windows) More advance software includes Final Cut Pro and Adobe Premier.
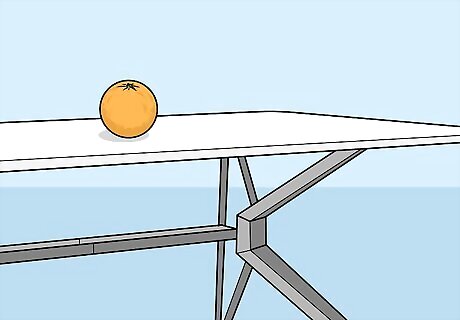
Set up your filming location. Find an area with no moving shadows, flickering light, or background movement. Place any objects you like, holding wobbly objects in place with double-sided tape or poster tack. Stop motion animation takes a long time to make. Start with a short, simple idea, like a piece of paper crumpling itself up and jumping in a trash can.

Keep your camera steady. You can use any camera, phone, or tablet that takes digital photographs. Place it on a tripod or stand, or tape it down. It must be completely still, or the movie will look jumbled and strange.

Take the photographs. The basic idea is simple: take a photograph, move the object a tiny bit, then take another one. Check how the image turned out, and take another one if there are any mistakes. You may want to take two or three photos of each position, just in case. Make sure the objects are in sharp focus. If your camera keeps adjusting the focus distance, you might need to disable auto focus and set it manually. Move it by the same amount each time.
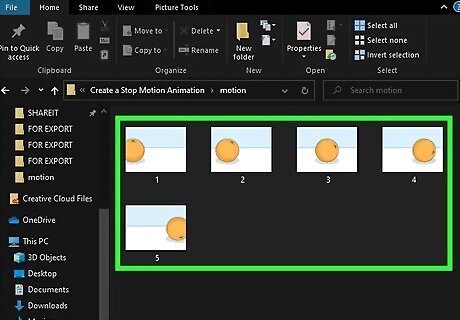
Transfer the pictures to your computer. Save the pictures on to your computer in an easy to remember place. Leave the file names alone; these should be numbered, so they stay in order. If you're using a photo application like iPhoto, make a new album first to keep them separate from your other photos.

Import the pictures to your video editor. Open your video editing software and import the folder containing the pictures you took. This option is usually under File in the top menu, or where described below: iMovie: Make sure you're in Timeline view. To import the images, click the Photos button and choose your photo album. Virtual Dub: File → Open → Image Sequence. Select the first image in your album, and Virtual Dub will automatically import all other pictures that follow in numerical order (e.g DCM1000, DCM1001, DCM1002). Windows Movie Maker: Do not import until after you've set picture duration, as described below.

Change the picture duration. This determines how long each image will appear on screen. This works a little differently in each program: iMovie: When you select your photos, you'll be prompted to enter a time value. Try 0:03 (3/100s of a second) for a smooth, fast video, or 0:10 for a jerky but more relaxed pace. Virtual Dub: Video → Frame rate. 25 FPS (frames per second) is very smooth and fast, while 5-10 frames per second moves at a slower, jerky pace. Windows Movie Maker: Tools → Options → Advanced → Picture Options. Enter a picture duration (try 0.03 or 0.10). You can now load your images to the storyboard.
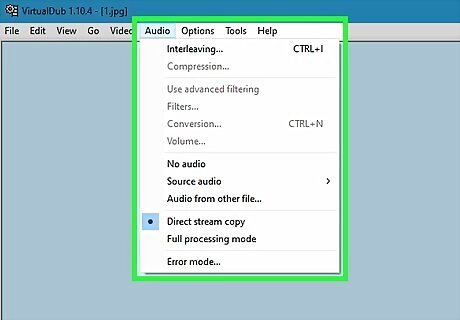
Play with other features. Most video editing software allows you to add a soundtrack, title, credits, and special effects. You can play with these if you like, or skip this to make a silent film. Save frequently as you work. iMovie: Add dialogue by moving the playhead (downward arrow) to a frame and click Audio → Record. For music, drag a song or sound effect from iTunes onto the audio track of iMovie. Virtual Dub does not have these features. After exporting, you can open the video file in another program and make these changes.

Save your movie. To watch your movie, just open the video file.Enjoy your first stop motion project! Virtual Dub: File → Save as AVI. Your images are now a movie sequence ready for editing in another program, such as Windows Movie maker, Sony Vegas, or Adobe Premiere.


Comments
0 comment