views
- Press the "Option" or "Alt" key and the number "8" simultaneously to add a bullet in front of text on a Mac.
- Press "Alt" and use your numeric keypad on a Windows PC to enter "0149" and make a bullet appear.
- You can also click Type and select Insert Special Character, then click Symbols and select the bullet icon.
Using Alt Code
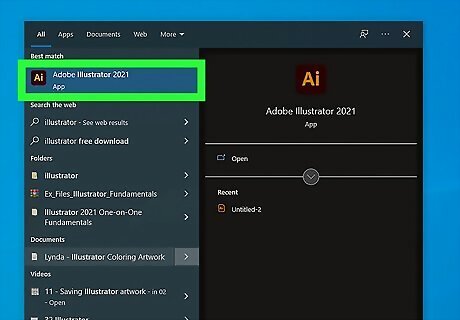
Open Adobe Illustrator. You can either open a new project or open an existing one by going to File > Open.
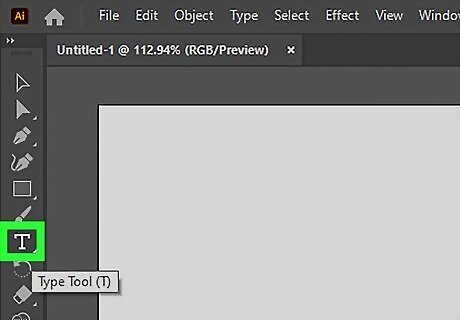
Click on a current text box or create a text box where you want the bulleted list to be. To create a new text box, click the "Type" tool from the toolbar or press T on your keyboard. Then click and drag on the canvas to create the outline of your textbox.
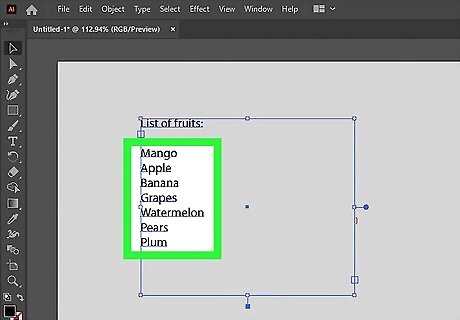
Move your cursor where you want your bullet to appear. Since Illustrator is more of a vector tool than a word processor, you won't simply be able to select a "Bullet Style" icon. Instead, you'll have to create your list first and then add bullets later.
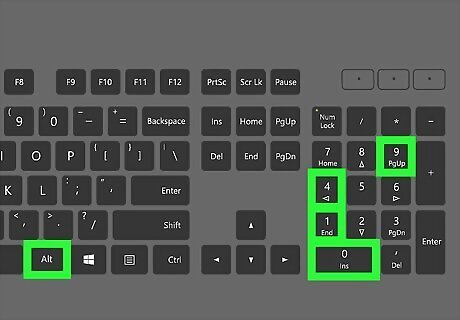
Follow these separate directions depending upon if you're using Mac or Windows: Press the "Option" or "Alt" key and the number "8" at the same time to add a bullet in front of your text, if you are using Mac Operating Systems (OS). Press the "Num Lock" key above your numbers pad on your keyboard to turn it on if you are using Windows OS (a light should shine if the "Num Lock" is on). Press the "ALT" key and keep it depressed. Then type these numbers on the number pad in sequential order: "0149." After you've pressed those numbers, release the ALT key. Note: This will not work with the number row across the top of your keyboard.
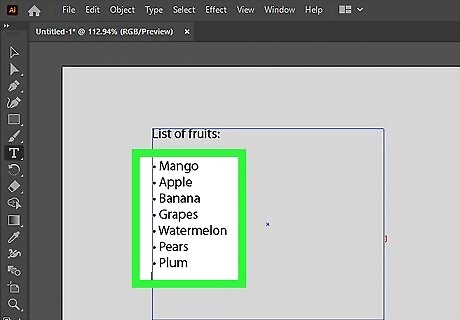
Add Illustrator bullets before each section that you want to separate on your bulleted list. You may have to create a tab or add spaces to format the list to your liking.
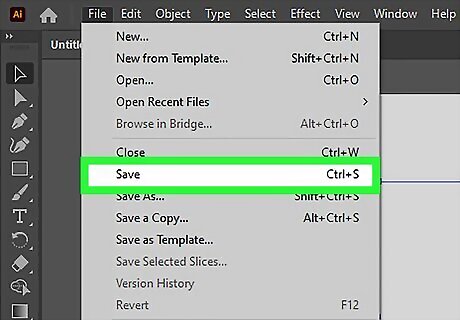
Save the document in order to keep the work you have done on your bulleted list. You can go to File > Save or press Ctrl + S (Windows) or Cmd + S (Mac).
Using The Glyph Panel
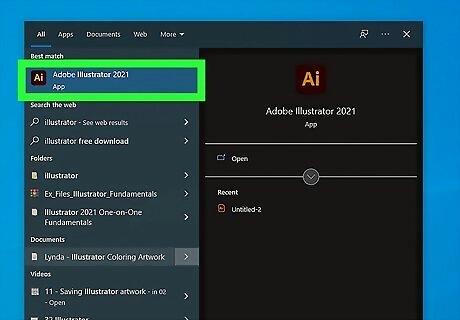
Open Adobe Illustrator. You can either open a new project or open an existing one by going to File > Open.
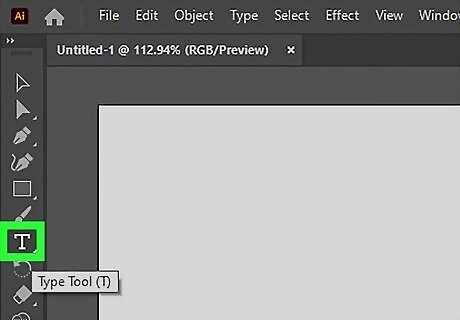
Click on a current text box or create a text box where you want the bulleted list to be. To create a new text box, click the "Type" tool from the toolbar or press T on your keyboard. Then click and drag on the canvas to create the outline of your textbox.
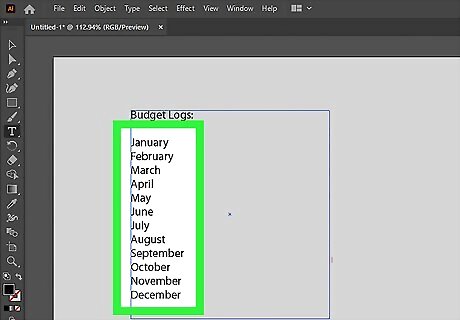
Move your cursor where you want your bullet to appear. Since Illustrator is more of a vector tool than a word processor, you won't simply be able to select a "Bullet Style" icon. Instead, you'll have to create your list first and then add bullets later.
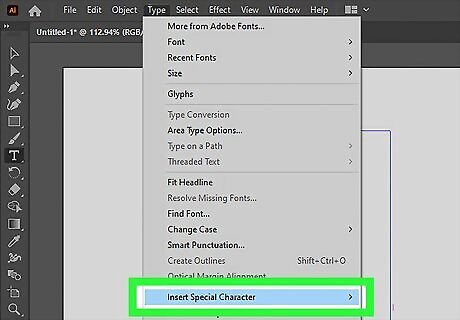
Click Type and select Insert Special Character. You'll see the Type tab at the top of your screen, or the glyph panel icon on the right side of your screen (only if you have that view enabled in View > Windows).
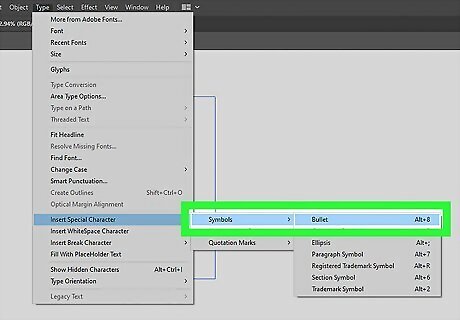
Select Symbols and click the bullet icon. When you click the bullet icon from the glyphs panel, it will appear in the document where your cursor is.
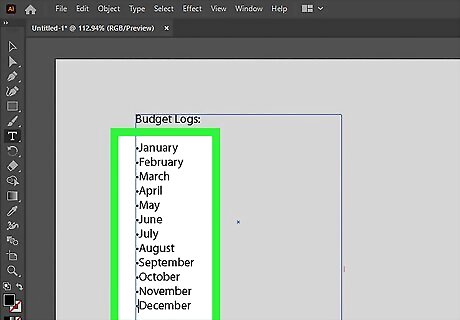
Add Illustrator bullets before each section that you want to separate on your bulleted list. You may have to create a tab or add spaces to format the list to your liking. You can highlight the bullet point you added in the first step, then copy and paste it so you can make more bullet points without needing to use the glyph panel.
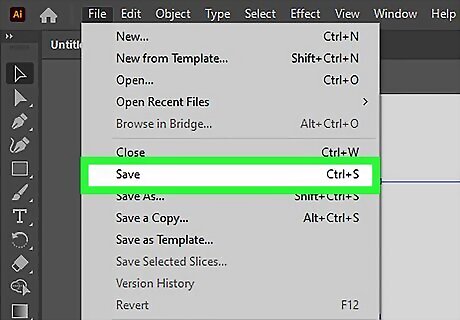
Save the document in order to keep the work you have done on your bulleted list. You can go to File > Save or press Ctrl + S (Windows) or Cmd + S (Mac).


Comments
0 comment