views
Opening the MySQL Command Line
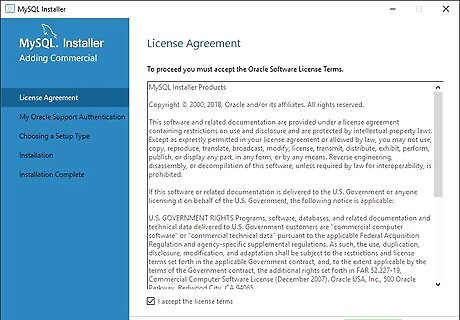
Make sure that your MySQL server is connected. If your MySQL server isn't currently online, you can't create a database. You can check the server's status by opening MySQL Workbench, selecting your server, and looking at the "Server Status" indicator on the "Administration - Server Status" tab.
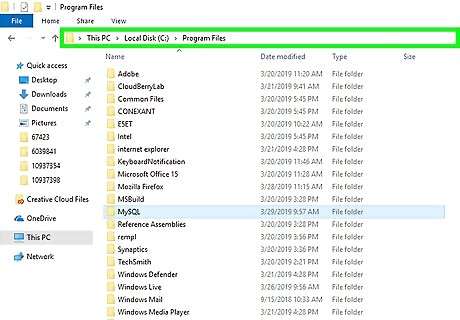
Copy the installation folder's path. This path will vary depending on whether you're using a Windows computer or a Mac: Windows — Copy C:/Program Files/MySQL/MySQL Workbench 8.0 CE/ making sure to replace the last folder's name with the most current MySQL name. Mac — Copy /usr/local/mysql-8.0.13-osx10.13-x86_64/ making sure to replace the last folder's name with the most current MySQL folder name.
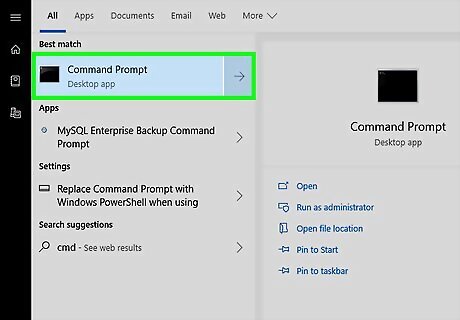
Open your computer's command line. You'll use Command Prompt on a Windows computer, while Mac users will open Terminal.
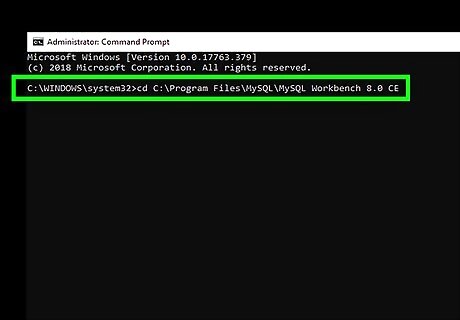
Change to the MySQL installation folder's directory. Type cd and a space, paste in the path to the installation folder, and press ↵ Enter. For example, you'd do the following on most Windows computers: cd C:\Program Files\MySQL\MySQL Workbench 8.0 CE
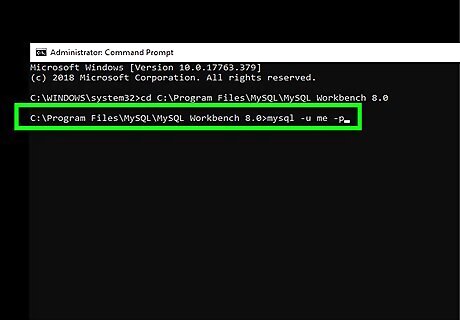
Open the MySQL login command. For example, to open the login command for a user named "me", you'd type in the following and press ↵ Enter: mysql -u me -p
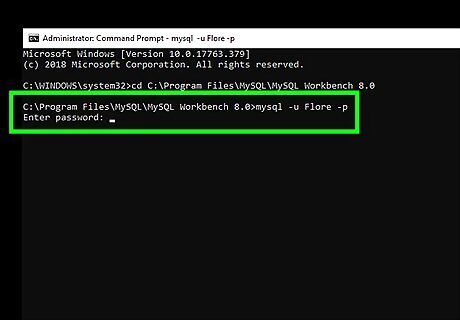
Enter your account password. Type in the password for your MySQL user account, then press ↵ Enter. This will log you in and connect your command line application to the MySQL prompt. You should see the "MySQL>" tag appear your command line application. From this point on, any commands you enter will be processed through the MySQL command line app. Understand how to enter MySQL commands. MySQL commands must be entered with a semicolon (;) immediately after the last part of the command, though you can also enter the command, type a semicolon, and press ↵ Enter again.
Creating a Database
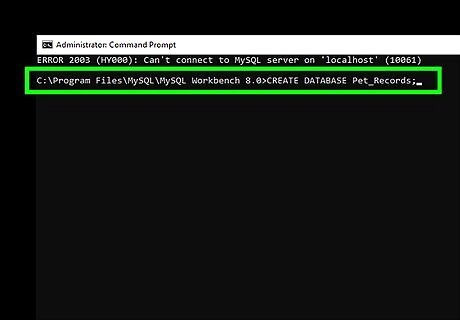
Create your database's file. You'll do this by typing in the "create database" command create database, adding your database's name and a semicolon, and pressing ↵ Enter. For a database named "Pet Records", for example, you'd enter the following: create database Pet_Records; Your database's name cannot have any spaces in it; if you want to add a space to the name, you'll have to use an underscore (for example, "Friends of Mine" would become "Friends_of_Mine"). Every MySQL command must end in a semicolon. If you miss the semicolon the first time, you can type it in next to the ... which appears and then press ↵ Enter again.
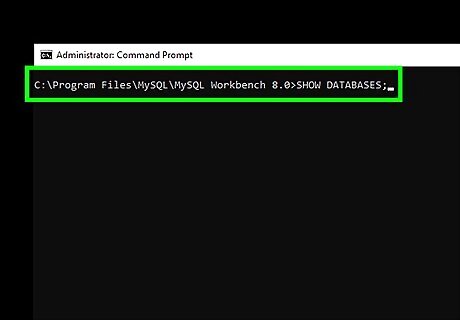
Display the current databases. You can bring up a list of current databases by typing in the following and then pressing ↵ Enter: show databases;
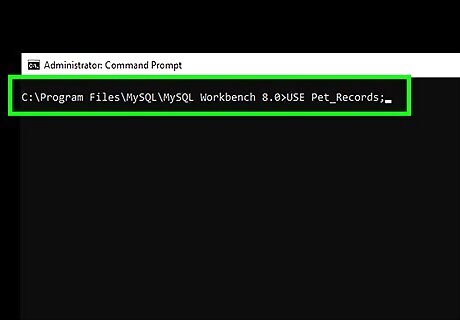
Select your database. You can select your database from the list by typing use name where "name" is the database's name. For example, for your "Pet Records" database, you would type the following and press ↵ Enter: use Pet_Records;
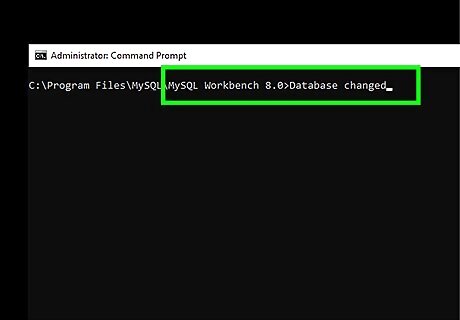
Wait for the confirmation message. Once you see the phrase "Database changed" appear below your last-typed command, you're free to proceed with creating the database's content.
Creating a Table
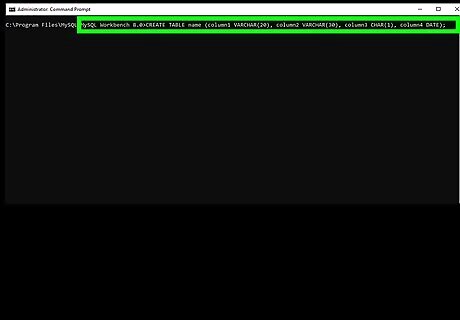
Understand the different table commands. There are a few main aspects of your table that you'll want to know before creating one: Title — Your title will go directly after the "create table" command, and must follow the same rules as your database's name (e.g., no spaces). Column Heading — You can determine column headings by typing different names into a set of parentheses (see the next step's example). Cell Length — When determining cell length, you'll use either "VARCHAR" (variable characters, meaning that you can type in between one and the VARCHAR's limit number of characters) or "CHAR" (requires no more and no less than the specified number of characters; for example, CHAR(1) requires one character, CHAR(3) requires three characters, and so on). Date — If you want to add a date to your chart, you'll use the "DATE" command to indicate that the column's contents will be formatted as a date. The date should be entered in YYYY-MM-DD format.
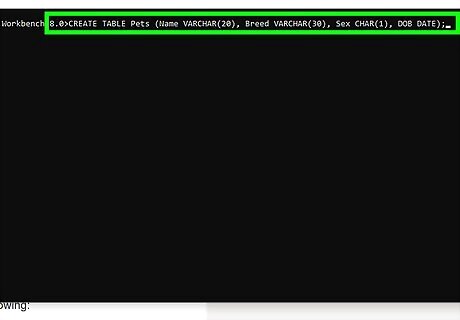
Create the table outline. Before you can input data for your chart, you'll need to create the chart's structure by typing in the following and then pressing ↵ Enter: create table name (column1 varchar(20), column2 varchar(30), column3 char(1), column4 date); For example, to create a table called "Pets" with two VARCHAR columns, a CHAR column, and a date column, you might write the following: create table Pets (Name varchar(20), Breed varchar(30), Sex char(1), DOB date);
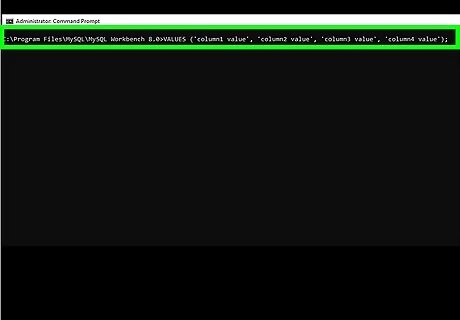
Add a line to your table. Using the "insert" command, you can enter your database's information line-by-line: insert into name values ('column1 value', 'column2 value', 'column3 value', 'column4 value'); For the "Pets" table example used previously, your line might look like this: insert into Pets values ('Fido', 'Husky', 'M', '2017-04-12'); You can enter the word NULL for a column's contents if the column is blank.
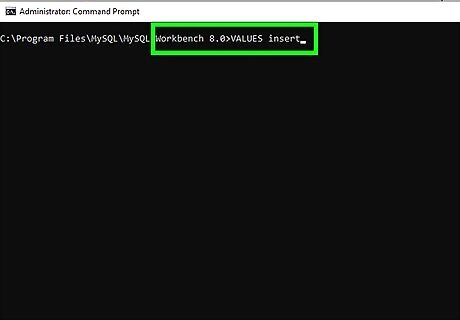
Insert the rest of your data if possible. If your database is relatively small, you can insert the rest of the data line-by-line by using the "insert" code. If you elect to do this, skip the next step.
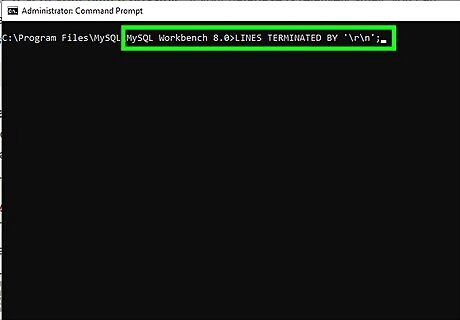
Upload a text file if needed. If you have a database which requires more lines of information than are practical to insert by hand, you can reference a text file that contains the data by using the following code: load data local infile '/path/name.txt' into table name lines terminated by '\r\n'; For the "Pets" example, you would write something like the following: load data local infile 'C:/Users/name/Desktop/pets.txt' into table Pets lines terminated by '\r\n'; On a Mac computer, you'll need to use the "lines terminated by" command with '\r' instead of '\r\n'.
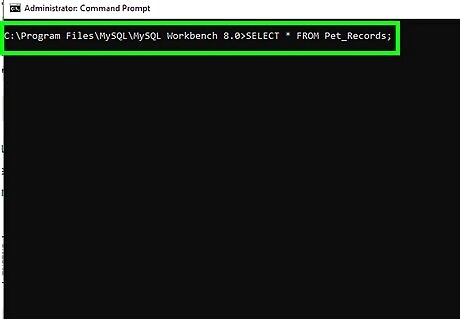
View your table. Enter the show databases; command, then select your database by typing in select * from name; where "name" is the database's name. For example, if using the "Pet Records" database, you'd enter the following: show databases; select * from Pet_Records;


Comments
0 comment