

Using the Brightness Slider

Click the Power Options icon. It's the battery-shaped icon in the bottom-right corner of the screen. You may first have to click ▲ in this area. If you don't see this icon anywhere in the bottom-right side of the screen, open Start and click Control Panel.
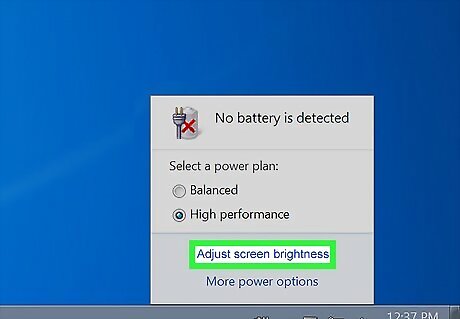
Click Adjust screen brightness. This link is near the bottom of the pop-up window. Doing so will open the Power Options menu. If you had to open Control Panel, click Power Options here instead.

Click and drag the "Screen Brightness" slider left or right. This slider is at the bottom of the window. Dragging it left will reduce your laptop's screen brightness, while dragging it right will increase the brightness. If you don't see the "Screen Brightness" slider at the bottom of the Power Options window, you'll need to restore it before you can adjust your laptop's brightness.
Restoring a Missing Brightness Slider
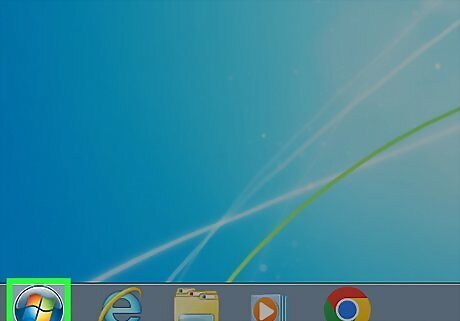
Open Start Windows 7 Start. Click the Windows logo in the bottom-left corner of the screen.
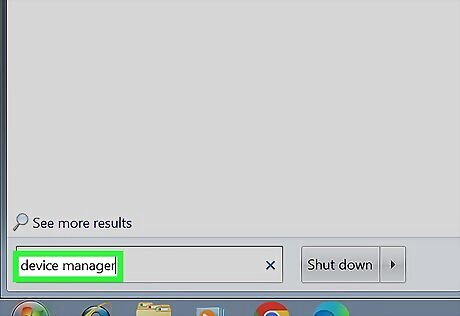
Type device manager into Start. This will search your computer for the Device Manager program.
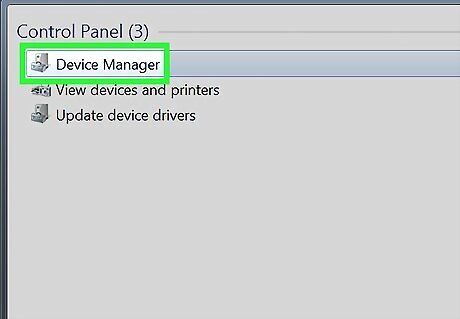
Click Windows Device Manager Device Manager. It should be the top result in the Start window. Clicking it will open the Device Manager.
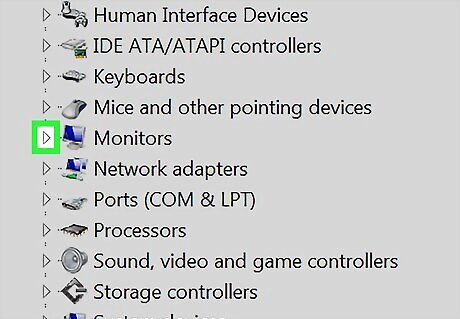
Expand the "Monitors" category. Click ► on the left side of the "Monitors" heading. You may have to scroll down to find this option.
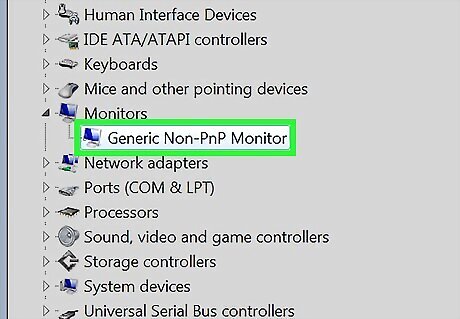
Select the monitor below the "Monitors" category. When you expand "Monitors", you should see a monitor name indented below it; click this monitor to select it.

Click the Action tab. It's at the top of the Device Manager window.

Click Properties. This option is at the bottom of the Action drop-down menu. Doing so opens your monitor's properties.
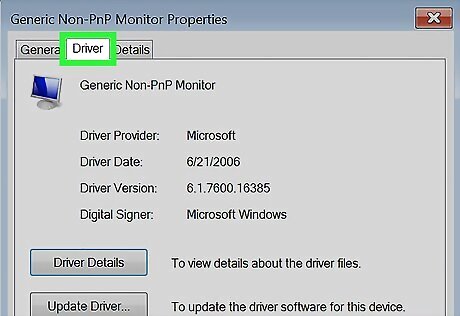
Click the Driver tab. It's at the top of the Properties window.
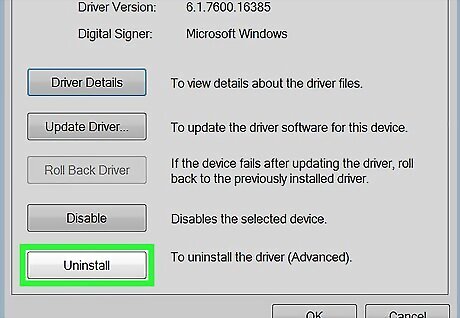
Click Uninstall. It's near the bottom-left corner of the window.
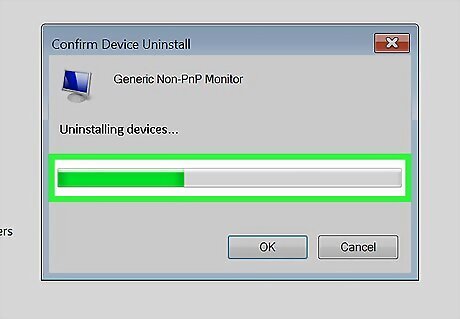
Wait for the driver to uninstall. This only take a moment. Once the driver has uninstalled, your Device Manager list will refresh, and you will notice that the "Monitor" category is gone.
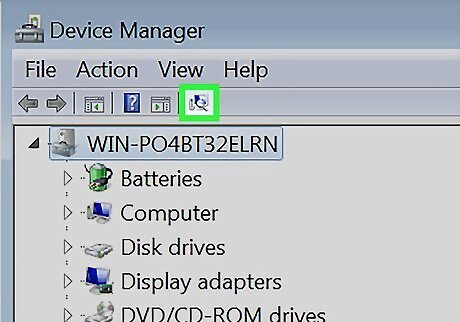
Click the "Scan for hardware changes" button. It's the square, computer monitor-shaped button at the top of the Device Manager window. Doing so will reinstall and update the driver that you just removed.
Verify that your monitor appears back on the list. Once the Device Manager scans for changes, it will automatically reinstall the basic Microsoft driver for your monitor. This should re-enable the brightness slider.
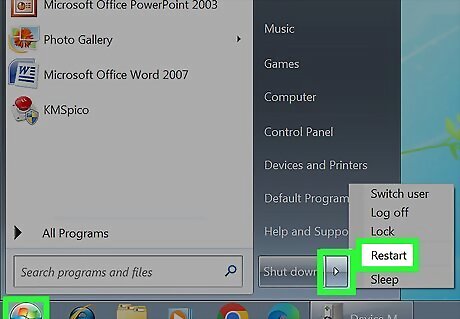
Reboot your computer. This may not be necessary for your changes to take effect, but can't hurt and may save you a step later.

Try to adjust your brightness. Once your computer reboots, click the Power Options button in the System Tray to find your restored brightness options. If you still don't have a brightness slider, your graphics adapter may not support it. You can try to update the drivers for your graphics adapter, or you can try to upgrade to Windows 10.


Comments
0 comment