views
Cleaning The Pavers
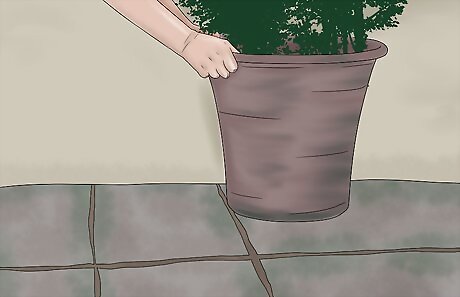
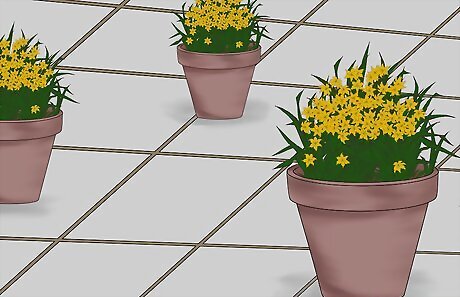
Remove furniture and plants. Depending on where your pavers are located, remove any potted plants or furniture that can get in the way of cleaning. You want a clear surface free of obstacles while cleaning. At this point, cover any surrounding landscaping with tarp that may be damaged by water or chemicals in the cleaning products. Be sure to also cover metal objects.
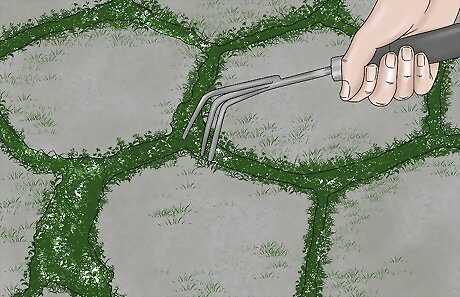
Clear moss and weed growth. Use a stiff bristled handheld brush or brush broom to agitate and brush away any moss growth on or in between pavers. Gently pull weeds out in between paver joints. When all of the organic growth has been loosened, brush the debris off of your paved surface. If the growth is too heavy to remove by hand, spray a vegetation killer and wait at least two weeks before cleaning the pavers.
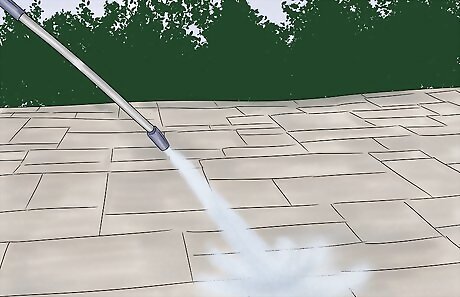
Saturate the paver surface. Before you start cleaning the paver surface with soap or any other type of cleanser, hose down the entire area with water. You don’t need to power wash the area at this point; the pavers merely need to be wet so they don’t soak up the cleanser and form a murky film.
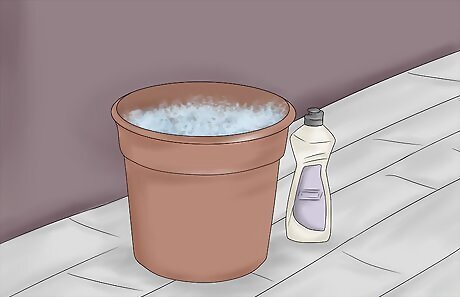
Prepare a mild cleaning solution. The safest and easiest cleanser to start with is a mixture of warm water and a mild degreaser detergent. Fill up a gallon sized bucket with water and add about 16oz of dish detergent. Mix the soap into the water thoroughly. Once your cleaning solution is ready, gently pour some onto your paver surface, working in small areas at a time.
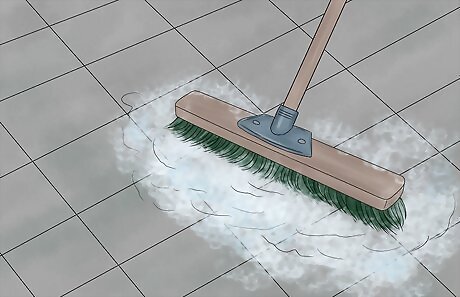
Brush the pavers with a stiff brush. Use a stiff bristled broom to scrub the cleaning solution into the paver surface. The harsh scrubbing from the broom bristles will loosen engrained dirt and stains. Scrub in different directions to avoid wearing out the same spot. You may use a wire brush or scouring pad instead. Don't overdo it, as these tools can scratch the paver surface.
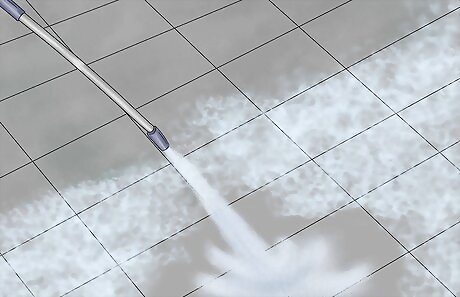
Rinse down the area. Once you are finished scrubbing and cleaning your paver surface, gently rinse off the cleaning solution with clean water and into a nearby drain. You can use a regular garden hose to rinse off the cleanser or use a power washer to blast off harsh stains. However, power washers can sometimes cause more harm than good (by excavating sand in between paver joints), so be careful if you decide to use a power washer.
Use more powerful treatments cautiously. If detergent doesn't do the job, visit a home improvement store and look for a specialized cleaning product for your material (concrete, travertine, etc.). Many of these are highly corrosive and/or toxic, including TSP (trisodium phosphate) and muriatic acid. Read the warning label and make sure everyone in the area follows safety precautions. This may include wearing rubber boots, protective clothing, rubber gloves, mask, and safety glasses. Strong treatments can be a risk to children, pets, and vegetation, and may damage your pavers if used incorrectly.
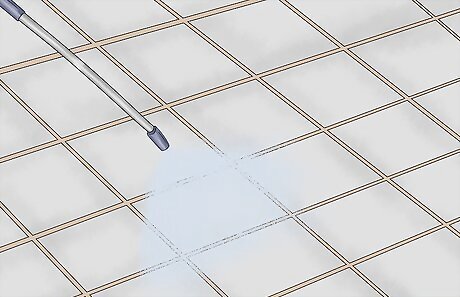
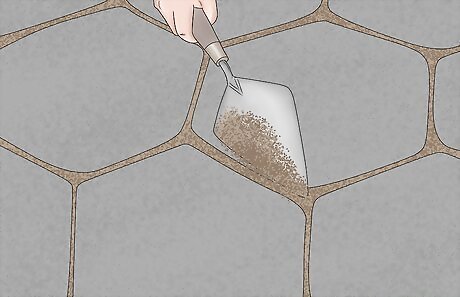
Re-sand your pavers once dry. In most cases, the sand between the pavers is running low and needs a touch-up. Once the pavers are dry, pour a small mound of polymeric sand onto them. Sweep the sand all over on the paved surface with a dry, stiff bristled broom. Brush in multiple directions for more even coverage. Keep pouring on more sand and sweeping until the joints are filled. Polymeric sand locks the pavers together more effectively than regular sand.

Mist the sanded pavers. Once all the sand is spread out into the paver joints, use a mist setting on your hose to mist water over the pavers. The misted water will allow the sand to settle in between the paver joints. Try not to saturate the pavers and wash away the newly laid sand.
Sealing The Pavers
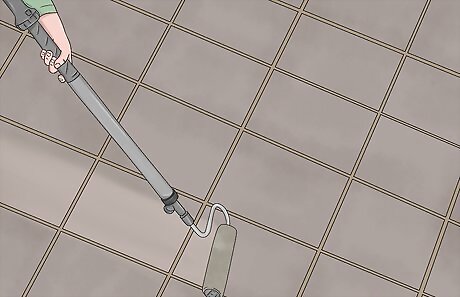
Consult a specialist. Visit your local home improvement store to consult a specialist about what type of sealer you should use on your paved surface based on your paver material and your desired look. Sealer will protect your pavers and simplify upkeep. Besides getting the advice of a specialist, always follow the directions on the sealer project you plan to use. Wear safety gloves to protect yourself from harsh chemicals in the sealant.
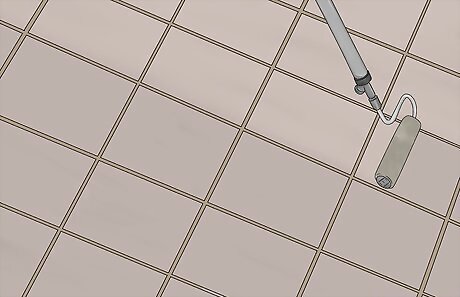
Check the condition of the pavers. If the joints between the pavers are low on sand, add more sand as described above until they are well packed. If the pavers are damp, wait until they are completely dry before you begin sealing.
Apply paver sealer to edges and crannies. Before you seal the entire surface, apply sealer to the edges with a small, clean brush. Do the same for any nooks that might be difficult to reach with a roller brush. EXPERT TIP Scott Johnson Scott Johnson Landscape & Design Consultant Scott Johnson is the Owner and Lead Design Consultant for Concrete Creations, Inc., an award-winning landscape and design company based in the San Diego, California metro area. He has over 30 years of experience in the pool and landscape construction industry and specializes in large estate outdoor environment construction projects. His work has been featured in San Diego Home & Garden Magazine and on Pool Kings TV Show. He earned a BS degree in Construction Management with an emphasis in Architecture and CAD design from Northern Arizona University. Scott Johnson Scott Johnson Landscape & Design Consultant Our Expert Agrees: Moss and weeds grow when water gets into the sand between your pavers. To keep that from happening, power wash the pavers to remove any dirt and oil, then treat them with a paver sealer to lock out moisture.
Complete the first coat of sealer. Pour your paver sealer into a paint roller tin. Use a long roller brush to apply the sealer onto your paver surface. Be sure to start in an area where you can move around and not trap yourself into a corner. The sealant instructions should indicate the drying time for the first coat of sealant, before the second coat can be applied.
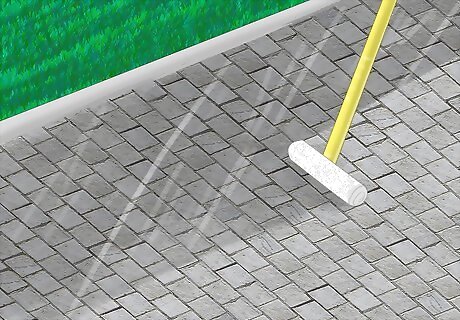
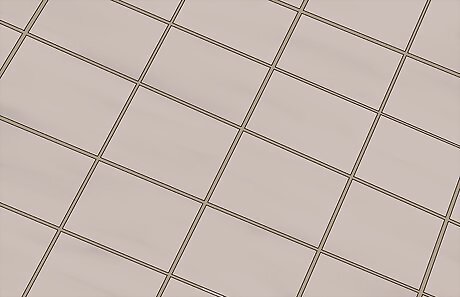
Apply the second coat of sealer. When the first coat of sealant is completely dry, start the second coat in the same way, using a small brush to cover the edges of the surface. Finish the second coat with a roller brush as before, but apply it at a different angle than the first coat for a more even application. When the pavers start darkening in color, that will indicate that the pavers are properly absorbing the sealant. Try not to let the sealer puddle in any areas. If you see this happening, simply continue to spread out the sealer with your roller brush.
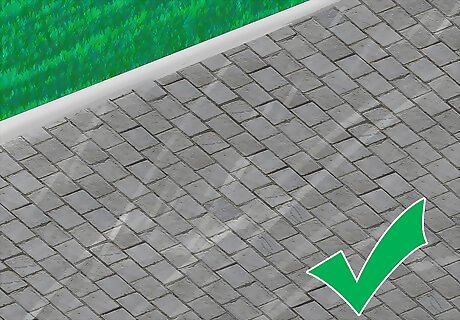
Allow the sealer to dry. Allow the sealant to dry completely for at least 24 hours before allowing traffic onto the surface. If you want to check on the drying progress, you can use your fingers to gently touch the paved surface.
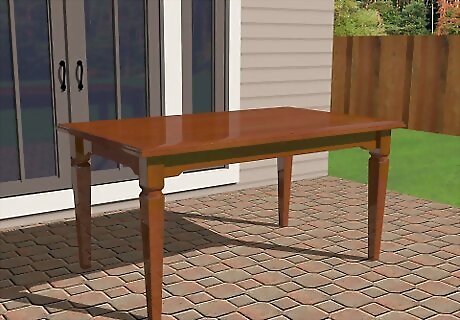
Move back furniture. When the paver sealant is completely dry (after at least a full 24 hours), move back any furniture or potted plants. You can also remove any tarp covering surrounding plants or metal surfaces.


Comments
0 comment