views
Identify which cartridges need cleaning.
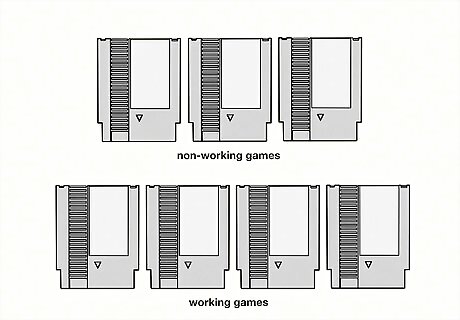
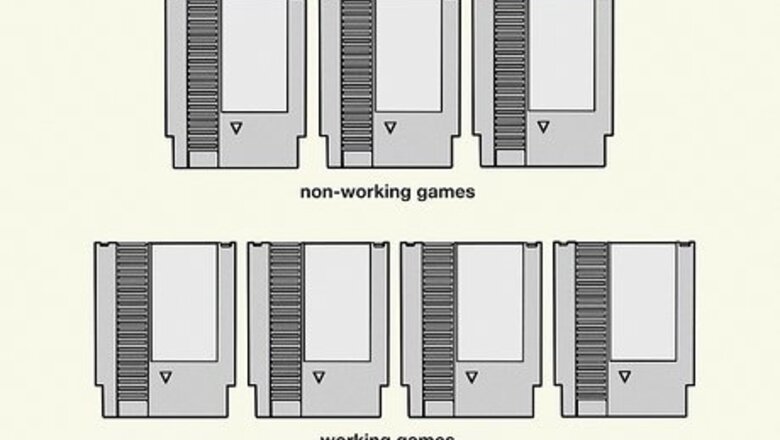
Test your games and set aside any that seem glitchy or don’t work. If you don't know which cartridges work or not, take your cartridges and try to play them. If some don't work, put them off to the side because we'll be cleaning them later.
Remove the screws.
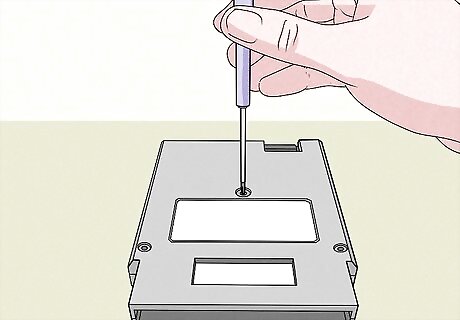
Use a security bit to remove the screws on the back. If you've seen the back of an NES cartridge, you probably noticed little screws in there. These are a special type of security screw that require a security bit in order to remove. You can remove those screws in either one of two ways. The first option is to take a Dremel tool and carve a grove in a flat head bit so the prongs of the bit can grip the screw head. The second is to take a cheap pen you don't use anymore and heat the end with a lighter and press it into the hole once the tip is thick but not liquid.
Use canned air to clean the cartridge.
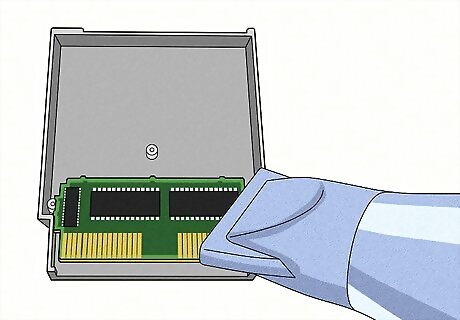
Remove any dust that has built up inside the game. Once dismantled, just blow away the dust with the blower, this would make cleaning a lot easier. While blowing air with your mouth might work on occasion, the moisture from your breath will eventually ruin the cartridge.
Fill a cup with rubbing alcohol.
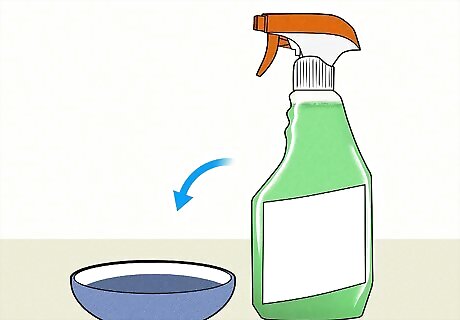
If you don’t have rubbing alcohol, use a window cleaner. Pour a small amount of your cleaning solution into a small cup. Do not use soap on your NES cartridges.
Dip a cotton swab in the cleaner.
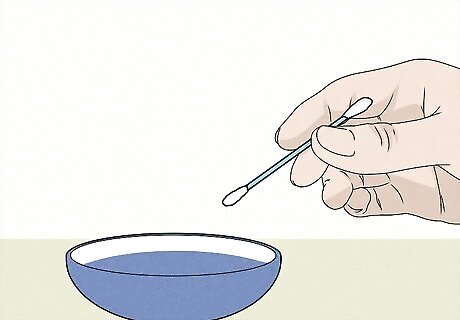
Only dip one end of the cotton swab. You will use this to clean the metal contacts on the back.
Clean the metal contacts.
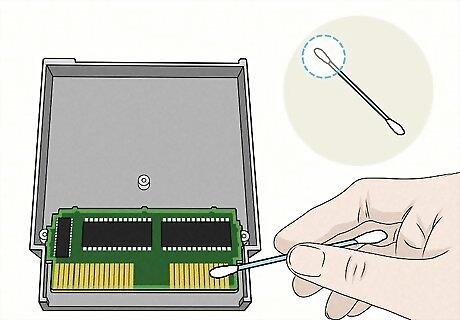
Use your cotton swab to clean the metal bits at the bottom. Rub the side of the cotton swab with the window cleaner on these contacts. Make sure you rub both sides of the contacts. Don't go so light on the alcohol at this point. Be sure to wipe away the alcohol before moving on. After that, take your eraser and rub the contacts two to three times. Take a business card and put it between a piece of 800 grit sandpaper and rub the contacts three times in the same direction on both sides.
Dry the cartridge contacts.
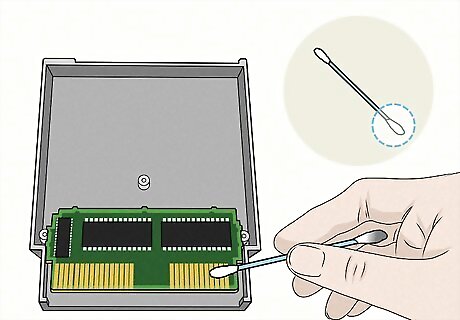
Use the dry side of the cotton swab to clean the contacts. This dries off the contacts. If you have a one sided cotton swab, just use another cotton swab.
Reassemble the cartridge.
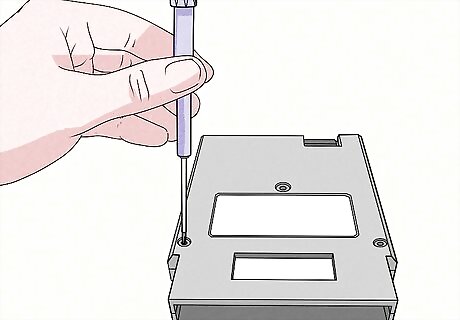
Put the NES game back together. Once you have the contacts dirt-free, put the circuit board back in and reinsert the screws and the game should work normally. Dispose of the cotton swab when you’re done.
Test your game.
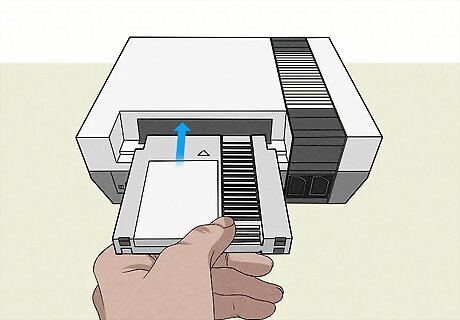
Confirm that the NES game now works. Pop the cartridge into your NES and turn the system on. Enjoy!




Comments
0 comment