
Getting a Custom Skin

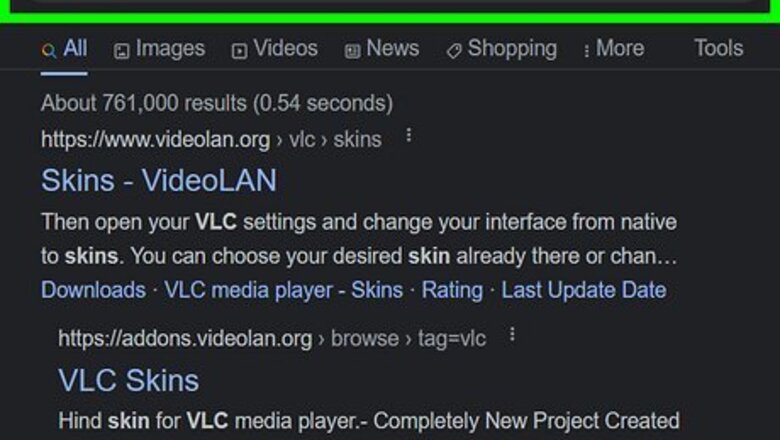
Search the Internet for available skins. There are a lot of sites you can download a skin from. There are many users who make customized skins and share it in the Internet.
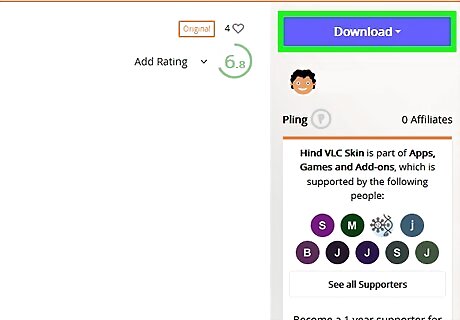
Download skins directly from the VLC website. To make sure that what you download is clean and not a virus, you can get the skin straight from the VLC website. Save your downloaded skin in a location that’s easy to access, such as the desktop. Custom VLC skins have a file extension VLT (.vlt), so it’s easy to tell if the file you downloaded is compatible.
Using the Skin
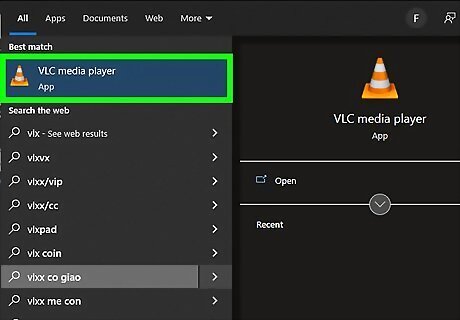
Open VLC Media Player. Once the player is up, you’ll see menu tabs at the top of the window all lined up.
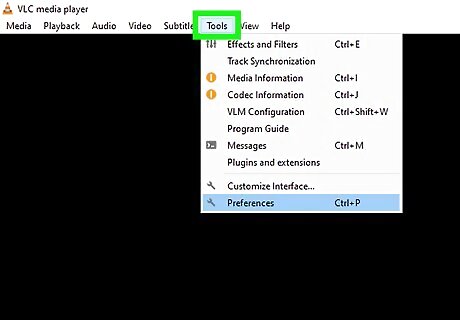
Click Tools from the menu bar. A menu of options will drop down after you click this option.
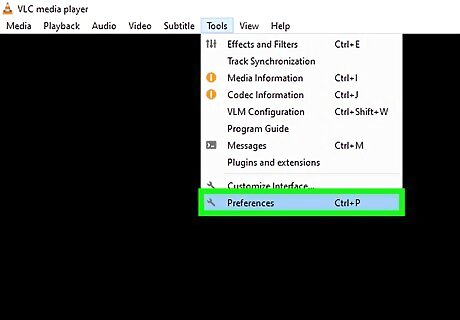
Select "Preference." The Preferences window will open. You can also access this option pressing Ctrl +P simultaneously.
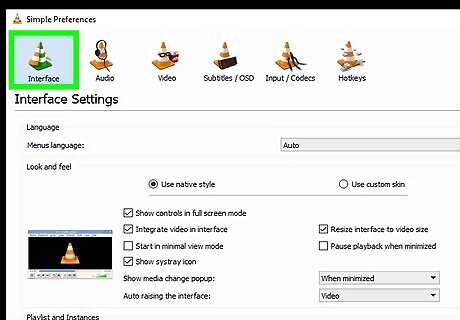
Select the Interface option from the menu on the left of the window. This is usually the first option found. If not, just search for the option.
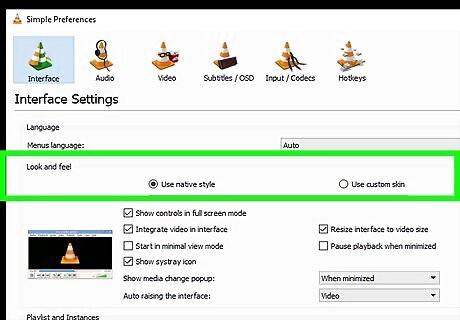
Locate the “Look and Feel” section. This is located on the upper part of the window, right below the Language section. Once you located this part, you will notice two radio buttons: "Use Native Style" - This radio button sets the skin of the player to default. "Use Custom Skin" - This enables you to use any custom skin you’ve downloaded from the Internet.
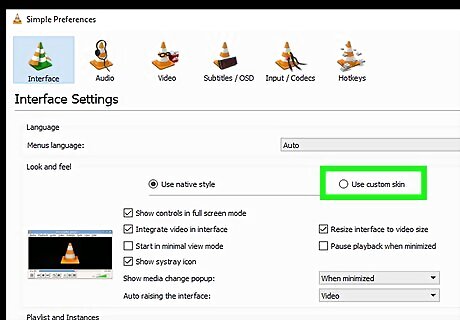
Enable the “Use Custom Skin” radio button. Once enabled, the section will change, and you will be able to select a custom skin.
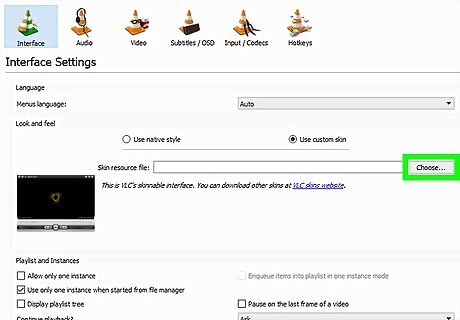
Click the "Choose" button. This will open the “Select File” window. In this window, locate the skin file you’ve downloaded.
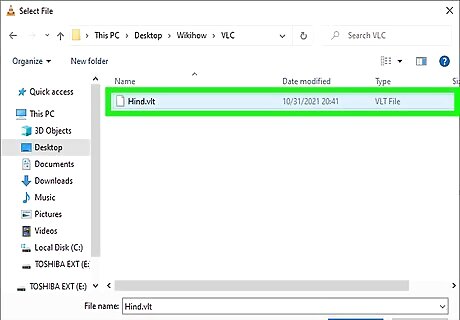
Select the skin you want to use. After you’ve located and selected the skin file, click "Open." You will be diverted back to Preferences window.
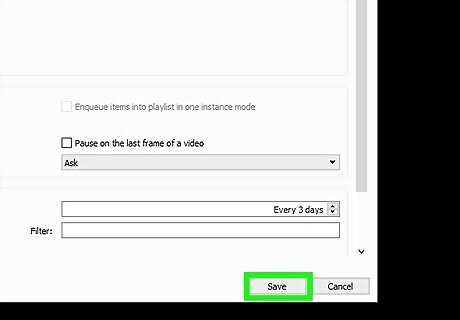
Click "Save." This button is on the bottom part of the screen.
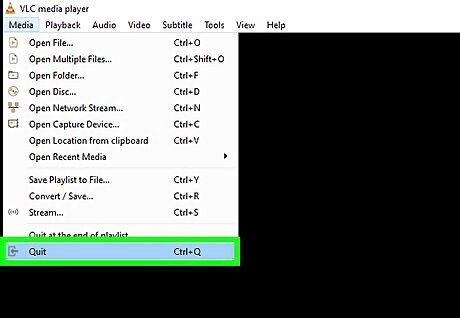
Close VLC and open it again to apply the skin you selected.


Comments
0 comment