
Planning Placement and Removing Flooring

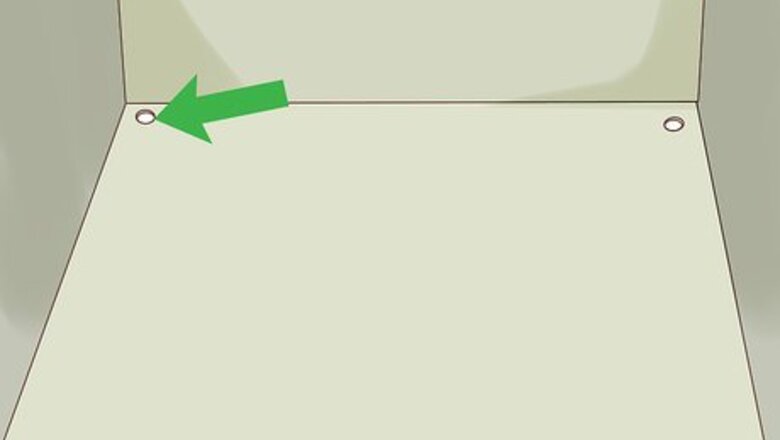
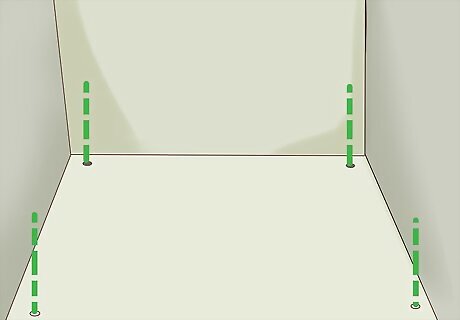
Locate the anchor hole. Most medium and large gun safes are made with an anchor hole in the bottom. Fireproof gun safes often place holes at the center; traditional gun safes tend to put anchor holes in the corners. A lag screw or cement bolt passes through the hole in the gun safe to sturdily connect it to cement underneath. Smaller gun safes may have anchor holes on the back or sides of the gun safe. Some may not have anchor holes at all. If your gun safe doesn’t have an anchor hole, you’ll have to improvise an anchor by doing things like chaining down your gun safe or welding it to a metal support.
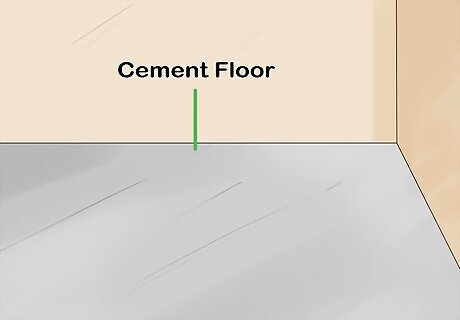
Choose a cement anchoring location for optimal security. Exposed cement floor is your best option. If there’s carpet or flooring in the way of the cement, this can be removed later. Out of sight locations, like the corners of a basement, furnace room, or cold storage, will ensure your gun safe doesn’t get in the way or draw attention. You can also bolt your gun safe to a sturdy part of your home, like a wooden support in the wall or floor. However, if the gun safe is forcibly torn free, this could cause expensive damage to your home. Keep the size and weight of the gun safe in mind. Some might be too large or heavy to maneuver through stairs, hallways, and so on.
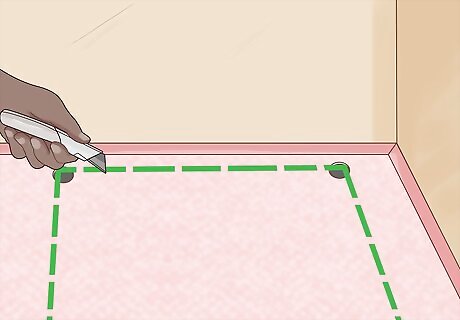
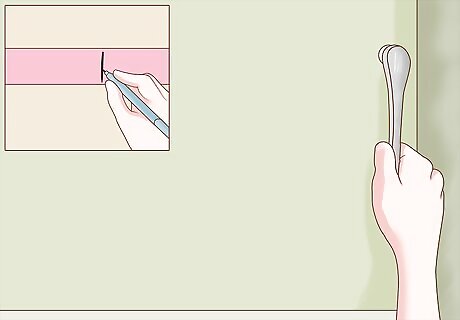
Remove carpeting or flooring if necessary. Outline the anchor hole and move the gun safe off to the side so you have access to the anchor hole mark. Then, remove the flooring: If there’s carpeting, use a utility knife to remove a patch roughly the size of your palm around the mark. If there’s wooden overlay, laminate, or some other material, use a saw, claw hammer, pry bar, and/or drill to remove a palm-sized section flooring around the mark. If your gun safe will go somewhere with bare cement, you won’t have to worry about removing flooring and can instead move on to drilling the anchor hole.
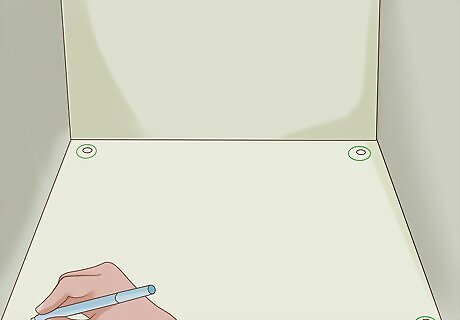
Outline the anchor hole on the floor. Move the safe back into the anchoring location. Use a marker or pencil to outline the anchor hole on the floor. Take care when marking the anchoring hole position on the floor. Misaligned holes could throw off the placement of the gun safe. Medium to large sized gun safes are usually incredibly heavy. Use tools like dollies, hand trucks, and sliders to make things easier on yourself. Asking some friends for help is better than straining a muscle.
Anchoring a Gun Safe

Use a hammer drill to drill the anchor hole. A regular drill might struggle with cement, but a hammer drill should bore through with little problem. Set the drill depth between 3 inches (7.6 cm) and 4 inches (10 cm), place the bit at the anchor hole mark, and press the trigger to drill the hole. Some drills may have an adjustable depth setting on the body of the drill. Otherwise, use tape to mark the depth on the bit. Cement dust and fragments can be very dangerous. Always wear safety goggles, a respirator, and work gloves when drilling cement. Start drilling with slow speed and moderate pressure. As the hole deepens, slowly increase pressure and speed until you're using firm pressure and moderate speed. Cement dust and broken pieces of masonry can jam up your anchor hole. Pull your drill out of the hole periodically to clear out debris.
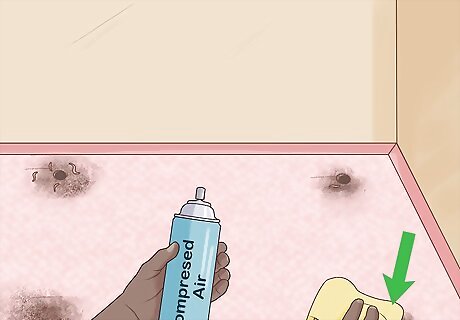
Clean remaining dust and debris from the hole. The easiest way to do this is with compressed air. Hold the nozzle of the air up to the hole at an angle and spray it to clean out dust and small debris. After that, thoroughly vacuum the area so dust and debris don’t track around your home. Air compressors work just as well as canned air. If you’re in a pinch, you can always try to blow away debris with your breath. Blowing away dust usually kicks it up into a cloud in the air. Make sure you’re wearing safety goggles and a breathing mask when attempting this.
Return the gun safe to the anchoring location. Maneuver the gun safe back into the anchoring position. The anchor hole in the bottom of the gun safe should be lined up precisely with the hole you drilled in the cement.
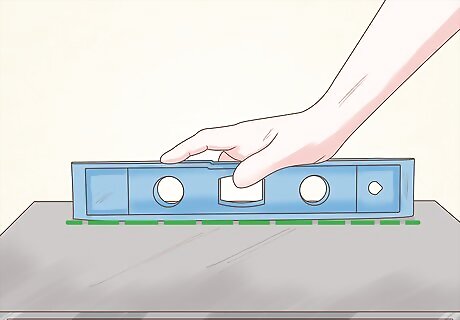
Level the gun safe, if necessary. If your gun safe is bolted down while tilted, it’ll remain that way. Use a carpenter’s level to check levelness. If you find that your gun safe isn’t level, use thin pieces of wood, often called shims, to even things out. Because gun safes are so heavy, leveling is easiest with two people. Have one person use a pry bar or lever to lift the gun safe a little bit, then the other can slide shims into place underneath.
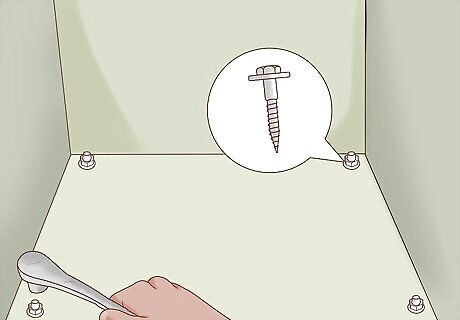
Sink the lag bolt to anchor the gun safe. Most anchoring kits contain a lag screw or cement bolt, a hex nut, a washer, and a cement anchor. Push the bolt through the gun safe anchor hole and into the hole in the cement. Slide the washer onto the bolt, then use pliers or a socket wrench to fasten the hex nut to the threading at the top of the bolt. Make sure the bolt is as deep in the cement as possible before fastening the hex nut. You may need to lightly tap the bolt with a hammer before it’s fully inserted. In some cases, the lag screw or cement bolt may already be encased in the cement anchor. If not, simply push the screw/bolt into the anchor until the ends are even and the threading emerges from the opposite side. If you've lost your safe's anchoring kit, these parts can be bought separately at your local hardware store or home center.
Improvising an Anchor

Weld your gun safe to a sturdy metal support beam. Position your gun safe alongside an accessible metal support in your home, then weld the two together. Follow the seam created by your gun safe and the support with your torch. Aim to seal the gun safe to the support wherever the two touch. Once your gun safe is welded to the support, it’ll be very difficult to remove. Only anchor a gun safe in this fashion if you’re certain you won’t be moving it.
Bolt your gun safe to a stud in a wall. Use a stud finder to locate studs in your walls. Mark where you’ll be anchoring the gun safe on the studs with a pencil. Use a normal drill and carpentry bit to drill a screw hole at the marks. After that, line up the gun safe with the drilled anchor holes, and install the anchor as you would normally. Wall anchored gun safes sometimes have multiple wall anchoring holes. This allows you to anchor your gun safe even better by positioning it in a corner and attaching it to two walls.
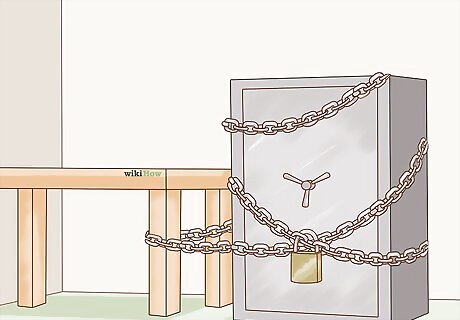
Chain your gun safe to furniture. This can be a great option if you’re renting a home and your landlord doesn’t want you to drill. In this case, purchase a heavy chain and lock. Weave the chain around the gun safe and lock it to a heavy piece of furniture, like a bed or table. You can also chain your gun safe to other kinds of heavy objects, like cinder blocks, weights, exercise equipment, and so on. Make sure you wrap your gun safe thoroughly in the chain. If the chain is loose or can be slipped off, it probably won’t deter a thief.
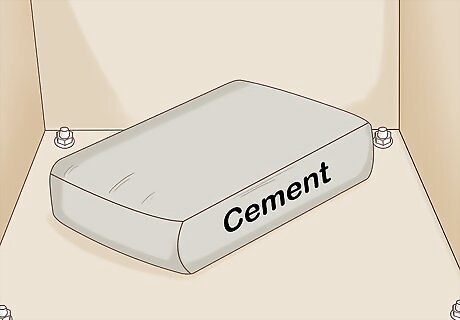
Weigh down your gun safe with cement. You can put a bag of unmixed cement straight inside large gun safes to make them heavier and harder to move. Some anchor improvisers use forms and mixed cement to create a cement shell on all sides of the gun safe except the one with a door. If you plan on pouring a cement shell or using a poured cement weight for your gun safe, take care that the cement doesn’t interfere with the hinges or lock mechanism. Even a little cement will add a considerable amount of weight to your gun safe. Add cement to the gun safe somewhere close to where it will be kept. Moving it after the cement is added will be difficult.


Comments
0 comment