
Adding the Initial Ammonia
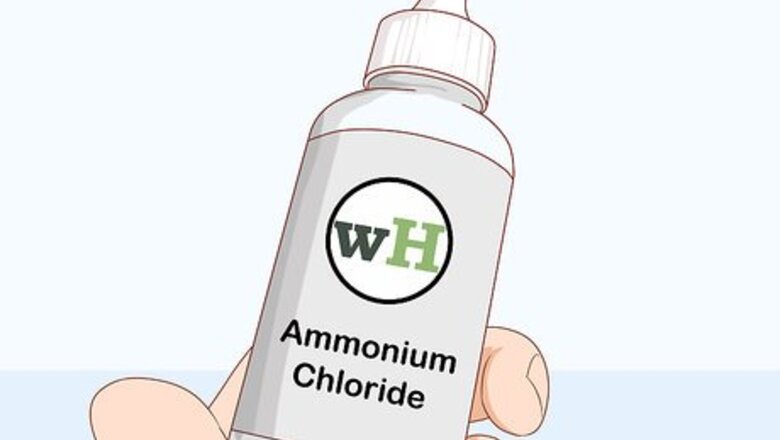
Use an aquarium ammonia mixed for this purpose. At pet stores, you can find products made for adding ammonia to a tank, specifically ammonium chloride. These products tell you exactly how much to add to the water, and are easy to use. You can try Waterlife BioMature or DrTim's Aquatics Ammonium Chloride.
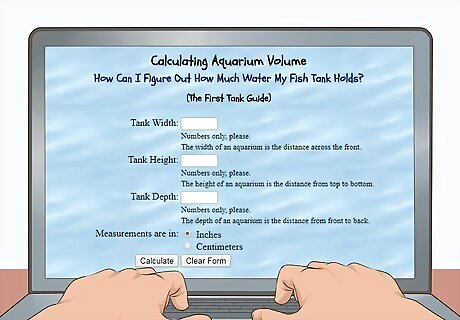
Figure out how much water you have. Before you can determine how much ammonium chloride to add, you'll need to know how much water your tank holds. If your tank is new, it should say how much it holds with the provided information. If you don't have that info, try a tank calculator like this one: http://www.firsttankguide.net/calculator.php You'll need the height, width, and depth of your tank for a calculator.
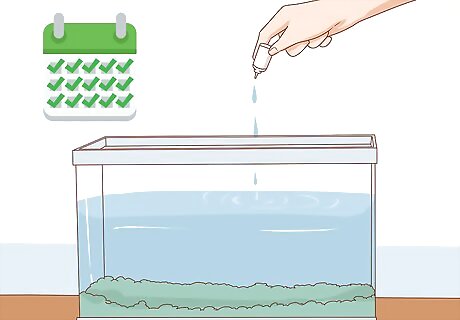
Add the recommended amount of ammonium chloride per day. Generally, you'll need to add a certain amount of ammonium chloride per day to the tank, specified on the back of the bottle. Sometimes, it's as little as 1 drop per gallon. If you figured out your tank size, add the appropriate amount per gallon of water in your tank.
Monitoring and Adjusting the Levels of Ammonia
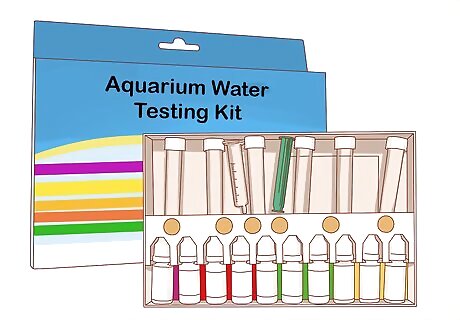
Get an aquarium water testing kit. You can buy kits just for the chemicals you need to check, found online and at pet stores. However, sometimes it's easier to buy a master kit which will let you test for multiple chemicals. The two main types of kits are test strip kits and chemical drop tests.

Dip the provided test strips in tubes of the water. Pull out a test tube of water from the tank. Dip the test strip into the water, and pull it out. Wait for the strip to develop a color. Compare the color on the strip to the color ranges on the included cards to determine the chemical levels in your tank.
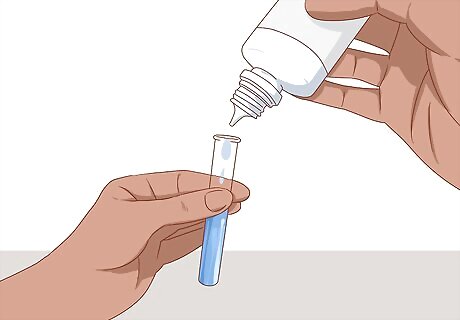
Add chemical drops to test tubes of tank water in a liquid test kit. With this kit type, which is an alternative to the test strip kit, you scoop out a test tube's worth of tank water. Read the directions on the back to check how many drops of the provided tester to add to the water, and add the drops. Put the lid back on, and shake it up. Wait for the color to develop in the water, which happens within a few minutes. Compare the color to the color ranges on the provided cards to determine the chemical levels. You'll need a separate test tube to test for ammonia and nitrites.
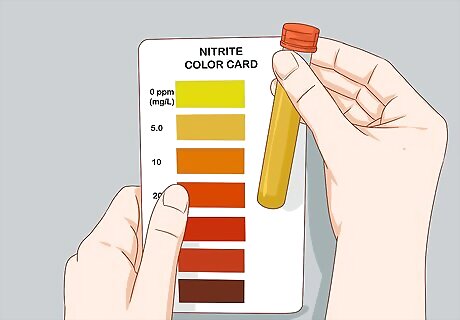
Aim for 5 to 10 milligrams in nitrites. If you're using ammonia chloride to add ammonia, you only need to test nitrites. Once the nitrites in your tank reach 5 to 10 milligrams, stop adding the ammonia. Keep testing the nitrites once a day. Once they drop to 0, you're ready to add fish.
Speeding Up the Process and Adding Fish
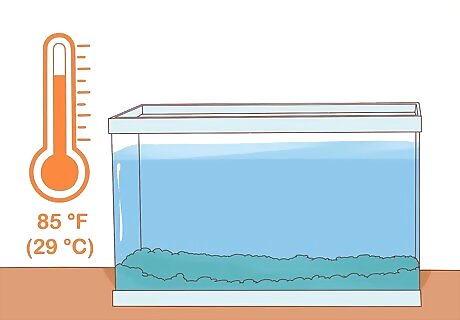
Keep the temperature around 85 °F (29 °C). The needed bacteria grow best when temperatures are warm but not too warm. A couple of degrees either way is fine, but try to keep the water in this range. You can go as low as 77 °F (25 °C). You can do it in a coldwater tank, but it will take longer.
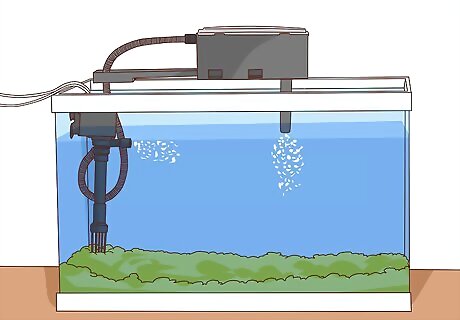
Circulate the water. Of course, you'll need a water pump system for your fish. More vigorous pumps will help the bacteria grow faster, so if you're in a hurry, pick a pump that moves the water around at a rate of 5 times the amount your tank holds in an hour. For instance, if your tank holds 20 gallons, it should be able to move 100 gallons (380 L).
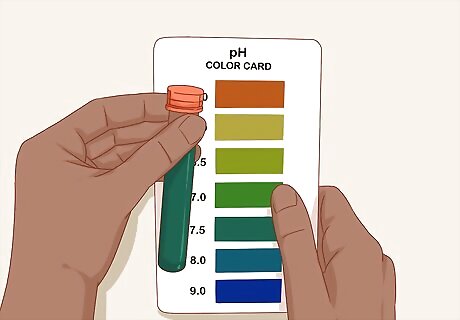
Test the pH level. The pH level also affects how quickly your tank will mature. Check the pH levels with a pH kit, which works similarly to the ammonia and nitrate kits. You dip a strip into water, and see what color it turns. Then you compare it to a chart. The pH levels should be between 7.5 and 8 for ideal conditions. If you need to make the tank more acidic, you can add peat. If you need to make it more alkaline, you can add mineral salts (such as calcium). It you need to create an acidic tank, use a chemical filter instead of developing bacteria.

Add fish after 2 to 4 weeks when the tank is ready. It takes a few weeks for the bacteria to properly develop in the tank. Be patient. Don't add the fish too soon, as you could end up with "new tank" syndrome. Just keep checking the chemical levels.


Comments
0 comment