views
Assembling the Barrel Joints
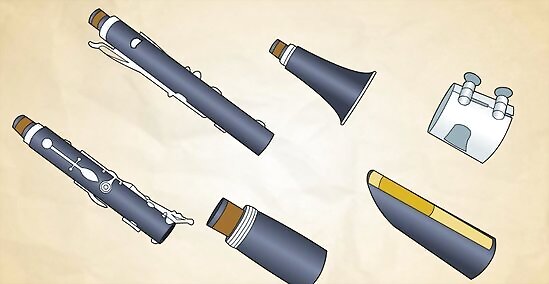
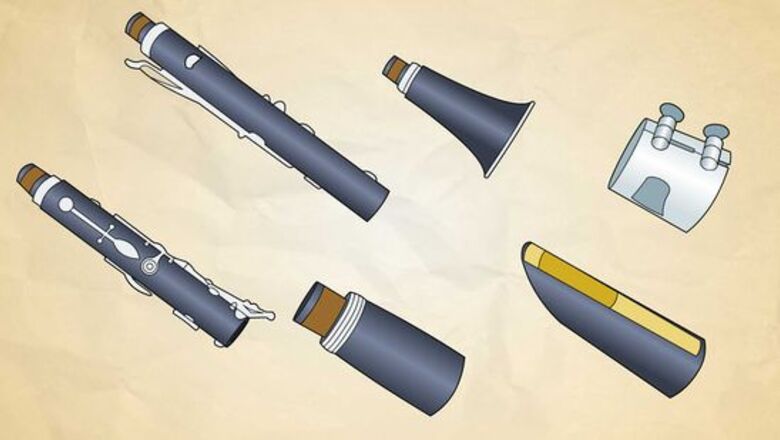
Identify and inspect the individual pieces of the clarinet. Open the clarinet case and make certain all of the components of the clarinet are in good working condition, clean and ready for use. A basic clarinet will consist of four major pieces that connect by cork-lined joints, as well as a mouthpiece, which is made up of several smaller components. The bell refers to the very bottom, cone or bell-shaped part of the clarinet. The lower joint stalk is the biggest piece of the clarinet. It should have metal keys on the right side of the instrument when oriented correctly, with a bridge key pointing up toward the upper joint. The best way to distinguish between the lower and upper joints is that the upper stalk will have two cork connections, called tendons, while the lower will have one lower cork joint and a metal ring around the upper joint, which marks the center-point of the instrument. The upper joint stalk will have keys on the left-hand side of the instrument and should be slightly shorter than the bottom joint. Oriented correctly, there should be a bridge key hanging over the connection point at the bottom, and some space between where the keys end and the top of the upper joint, where it connects to the mouthpiece. In other words, you'll know you have the pieces lined up correctly because there should be no keys at the very top or very bottom of either piece. The barrel is a short section of the instrument that basically connects the top joint to the mouthpiece. There are no keys on the barrel, and the barrel will often be stamped with the brand name of the instrument. The mouthpiece consists of the black mouthpiece housing, as well as a metal ligature, which is used to hold the reed in place on the mouthpiece. Many clarinets also come with a metallic mouthpiece cover, used to protect the mouthpiece in the case.
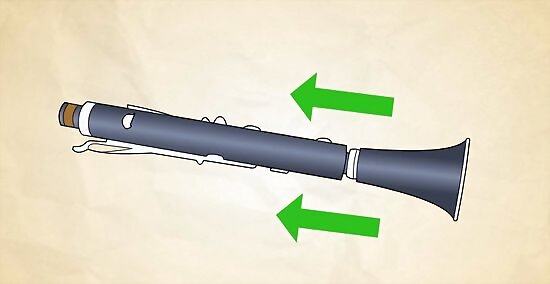
Start from the bell and work your way up. First, you'll want to attach the bell to the lower joint. Holding the lower section, gently but firmly push and twist the bell back and forth while you hold the lower joint securely in your other hand. Generally, clarinet players will assemble the clarinet by starting with the bell, then attaching the lower joint, the upper joint, the barrel, and the mouthpiece, in that order, although there's no wrong way to put it together. The clarinet won't sound better or worse if you start by assembling the barrel and the upper joint, then start on the bottom and jump around. However you assemble the clarinet, you'll probably want to assemble the mouthpiece last, because the reed needs some time to moisten before you play it. For this reason, it makes the most sense to start with the bottom.
Grease any corks that offer resistance. This will make your clarinet easier to put together and take apart. Most of the time, cork grease comes in a tube that looks like lip balm. If you don't have any cork grease with your clarinet, petroleum jelly can be used as a substitute, though using actual cork grease is recommended.
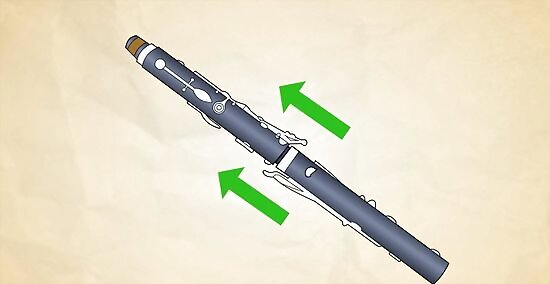
Holding down the bridge keys, attach the upper joint to the lower. Hold each piece parallel to the ground, with the large bridge keys facing toward you, and line them up. Make sure the bridge keys, two little metal pieces under the long keys on the side of the upper joint, are perfectly aligned, then use a gentle pushing and twisting motion to attach the two sections, aligning the bridge keys, and lowering the upper tab over the lower to fit them together securely. Grip the lower joint with your right hand on top of the piece, just below the cluster of keys in the center of the piece, and over the two large keys toward the bottom. These keys are relatively flat and can be pushed down safely while you grip the instrument without risking bending anything. Grip the upper joint with your left hand underneath the piece by wrapping your fingers under the instrument and around the large ring key, which should raise the bridge key when you depress it. This will be necessary to get the two pieces fit together properly. Carefully line up the bridge keys and fit the instrument together. To make sure you've aligned the instrument properly, look at the metal bar that runs the length of each section of the instrument, supporting the keys. Both segments of that rod should be perfectly lined-up. This means the bridge keys will be lined up as well.
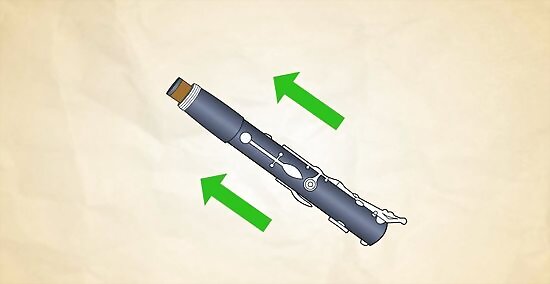
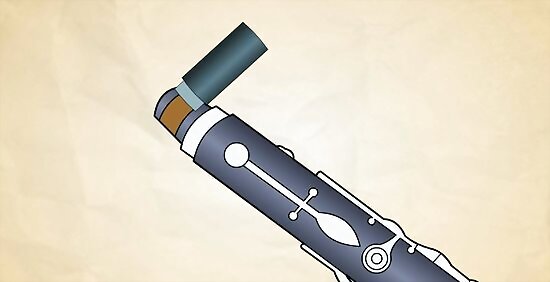
Attach the barrel. Now comes the easiest part! Attach the barrel onto the top of the horn. The bottom end, which attaches to the upper joint, should be slightly larger than the top end, which attaches to the mouthpiece. Push this small piece down onto the upper joint, twisting gently, and make sure it goes all the way down and fits snugly. The barrel is pulled out or pushed in to tune the clarinet, by making the instrument slightly longer or slightly shorter, depending. When you're first starting out, though, push the barrel all the way down until you've got some sense of your horn and the way it needs to be tuned. It's common to prepare the mouthpiece and attach it to the barrel, then screw on that assembly to the top joint of the clarinet before attaching the barrel, as well. One way is not more wrong or more right. It usually just depends on the size of the hands of the clarinet player: some players find working with the tiny mouthpiece too small and prefer having the barrel to hold onto while attaching the reed.
Assembling the Mouthpiece
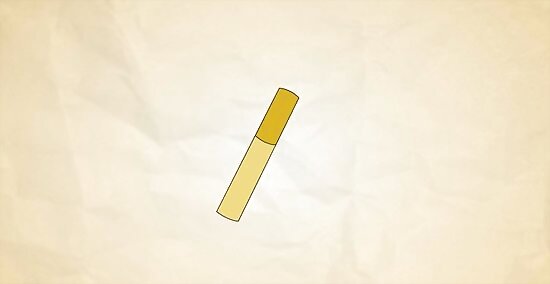
Prepare the reed by moistening it. The thicker half of the reed is called the stock, and to moisten the reed you need to submerge that part of the reed into ⁄2 to 1 inch (1.3 to 2.5 cm) of water. It's usually best to start the assembly process by soaking your mouthpiece, so it can work while you do the rest of the job. The capillary action of the reed will pull water from the base to the tip. As the water reaches the middle of the reed, where the slice begins, take the reed out and quickly wet the end into which you blow. Experiment with how saturated you let the reed get, and see what produces the best resonance for you. Two minutes before band practice starts is not the best time for this experiment. Many reed players will moisten their reeds by sucking on them. For lots of players, it's a hassle to prepare a tiny glass of water to soak their reeds in the band room. While this is a common way of moistening your reed, you do risk mangling the reeds on your teeth. Some players likewise aren't thrilled about the idea of sucking on a bitter slice of cane. Soaking in water is a more uniform way of moistening the reed.
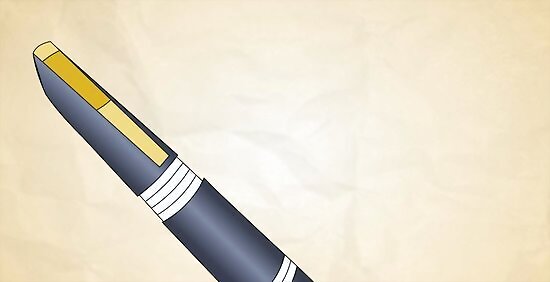
Put the reed against the hole of the mouthpiece. Line the tip of the reed vertically with the tip of the mouthpiece. You should ideally try to see a fingernail-width of mouthpiece above the reed, for optimum placement. Hold the reed in place with your finger, moving it around a little with the other until you've lined it up perfectly. Different reeds have different "sweet spots." Perfect alignment with the table (hole) in the mouthpiece is not always best. Some players like to hold it in place with their thumb and try to blow through it, to check the action before attaching the ligature. Never tap the thin top edge of the reed, and never try not to touch the front, because the sensitive pores may get dirty and lose playability. In general, handle the reed as little as possible.
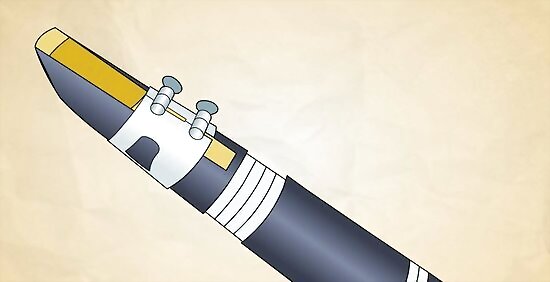
Hold the reed in place with the ligature. Place the metal ligature over the top of the mouthpiece, being careful not to chip your reed. There should be two lines or sets of lines engraved on your mouthpiece, line it up evenly between these. Tighten the ligature over the middle of the base, which is the unsliced half of the reed. If you have a metal ligature, the screws go on the same side of the clarinet as the reed. If you have a leather one, the screw goes on the back with leather against the base of the reed. Tighten the screws, but leave them somewhat loose for the best vibration and tone. You want it tight enough to keep the reed secure, but not tight enough to dent or warp it. Some clarinets, rather than metal ligatures will have bands of fabric or leather used to hold the reed in place. These will sometimes attach on the back side of the instrument, opposite the reed.
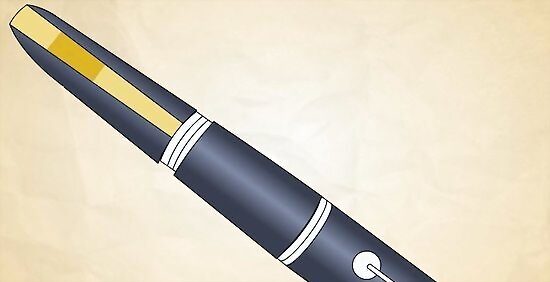
Gently attach the mouthpiece to the barrel. Oriented properly, the reed should be facing the opposite direction as the keys of the clarinet. Gently but firmly, twist the mouthpiece onto the barrel of the clarinet, completing the instrument. Again, some players have different philosophies about when to attach the mouthpiece to the barrel. If you want to attach the mouthpiece to the barrel, and then screw the barrel onto the instrument as the last step, that would be perfectly fine. Likewise, some players like to attach the mouthpiece bridge and barrel to the instrument before putting on the reed. It's your choice.
Maintaining Your Clarinet
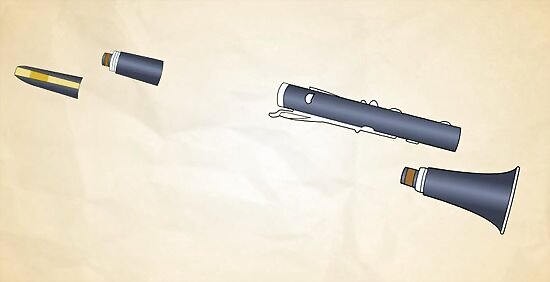
Always handle the barrel carefully to avoid bending the keys. When removing the individual pieces of the clarinet from the case, it's important to handle each piece with your fingertips, touching the tendons of the instrument to remove each section, not grabbing it around the barrel and mangling the keys. Hold it like you would a vinyl record, touching the edges.
Clean the outside of the clarinet regularly. Keep your clarinet well-maintained and lustrous by using a soft cloth and wiping down the instrument gently after handling it. Gently work your clean cloth over the metal keys as well as in between the keys around the barrel. Even if your hands are clean, the natural oils from your skin can break down and stain the instrument over time. It's very important to always wipe down the instrument, after each use, if you want to extend the life of it as much as possible. Use a clean dry cloth to wipe down your instrument. Never use any type of metal polish or liquid on the instrument, which can damage the finish and ruin the horn.
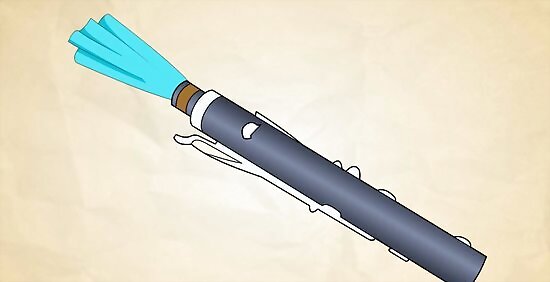
Swab the inside of the clarinet as well. Most clarinets will come with pull-through swabs that you can use to clean out the inside of the instrument as well, or you can make your own easily. A swab is basically a string with a small weight (you could use a paperclip) on one end, which is dropped through the barrel, and a small piece of clean micro-fiber cloth tied to the other end. After removing the bell and mouthpiece of the horn, drop the weighted end of the swab down through the horn. Grab the end and gently pull it through. Run it back through 3-4 times, until the inside is dry. Cleaning a clarinet is more a drying process than a cleaning process. Moisture breeds bacteria, bad smells, and can break down the pads on the instrument over time. Clarinets don't like the moisture that will remain in the instrument after a long playing session, making it important that you swab the inside of the clarinet thoroughly after playing it. Every now and then, leave the clarinet's case open overnight to let the instrument dry out more thoroughly. It's probably best to do this at home, in a safe place, not in the band room at school.
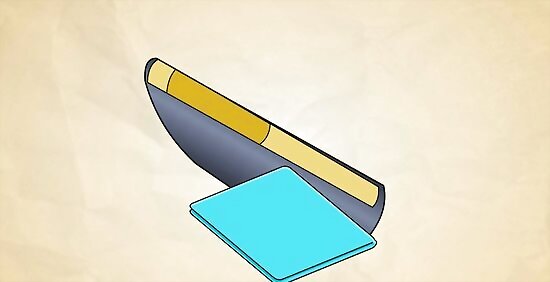
Clean the mouthpiece. Some players like to use the swab, while others prefer using Q-Tips or cotton swabs to wipe down the mouthpiece more gently. After removing the reed, thoroughly dry down the mouthpiece, then leave it to air dry for five or ten minutes before putting it in the case. This, in particular, is a piece you don't want to smell gross when you get it out to play next time.
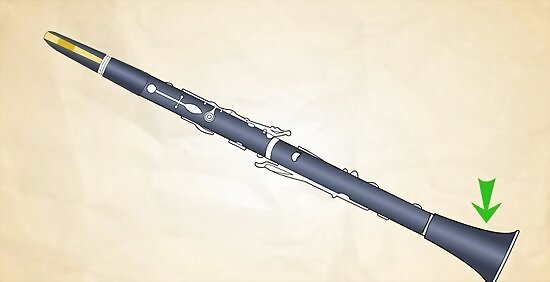
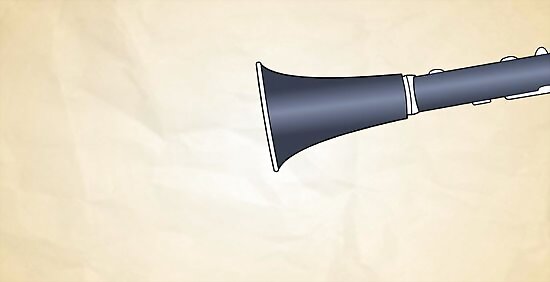
Carry the horn correctly. The most dangerous threat to the life of the clarinet? Human error! It's important to be very careful with your instrument when it's assembled to make sure you don't accidentally damage the horn. When carrying the horn, hold the bottom of the bell in one hand, and cradle the barrel in your other hand. Never carry it one-handed like a baseball bat, or shoulder it like a rifle. If your tendons are loose, the instrument could potentially slip apart and cause serious damage. When setting the horn down, never set it on your chair, the floor, or anywhere else unless you're setting it on an upright clarinet stand. Never set the clarinet upright on its bell, which can tip over easily and risk damaging the instrument.
Play your instrument regularly to maintain the action. A horn needs to be played to make sure it works properly. If you leave it in the case for too long, especially if it isn't dry, the keys can start to gum up, mold can grow, and a nasty smell can develop. Even if you're not planning on playing for several hours, open up the case and the let the instrument breathe every now and then. Assemble it, make sure everything is in good working order, and clean it to maintain the life of the horn.




Comments
0 comment