
Choosing Pictures to Group Together
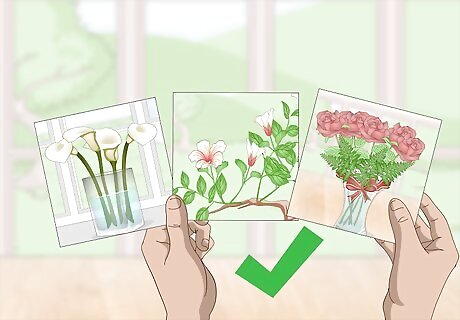
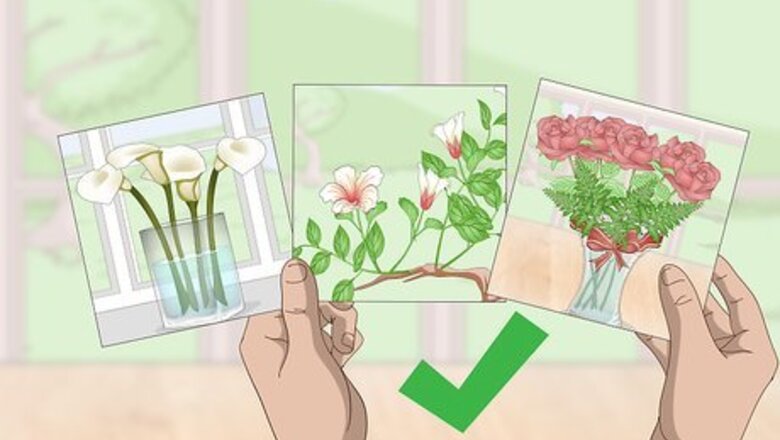
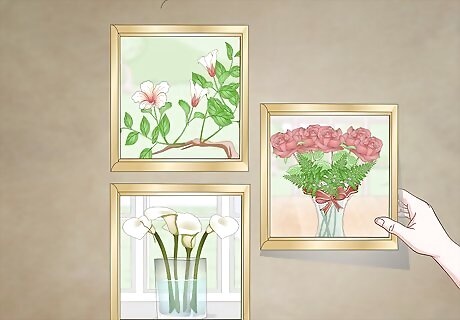
Choose a common element for the three pictures to share. The pictures that you are arranging should have similar tones, patterns, or contexts, but don’t necessarily have to match exactly. Black and white photographs, deep blue tones, or floral patterns would all make great themed groupings. Pictures that don’t share anything in common can look mismatched and misplaced.
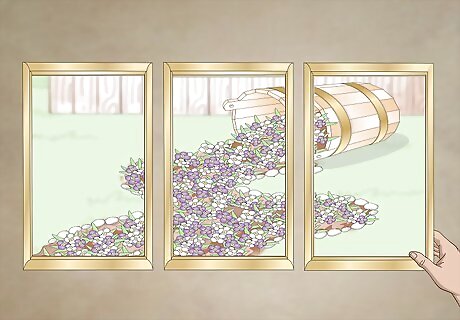
Split one image across three canvases to make the most of your favourite picture. This could be a favorite family photo or an artwork print. Head to your local photo printing or department store, and get your favorite image split into three equally sized canvases. Space your paintings on average between one and a half to three and a half inches apart. This can work just as well for photographs in frames. Beach scenes and landscapes work especially well split across three canvases.
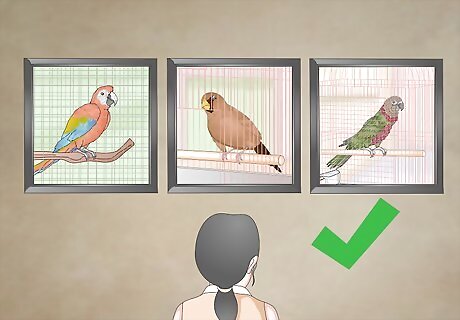
Choose pieces with the same dimensions to create a sense of balance. These can be canvases of the same size, or frames of the same dimensions. Pieces that are the same size have a balanced and calm look. Try using frames that are identical in both size and appearance for an even greater sense of balance and homogeneity.
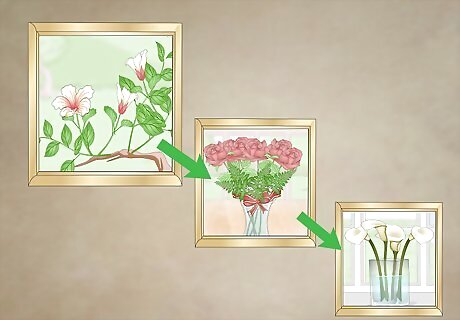
Pick a large, medium, and small picture to make a creative grouping. When you have selected a group of pictures that share a common element, pick three of different sizes for one arrangement on the wall. This creates an interesting small gallery on your own wall. A grouping of three different sizes will create interest and energy.
Hanging Pictures in Horizontal or Vertical Groupings
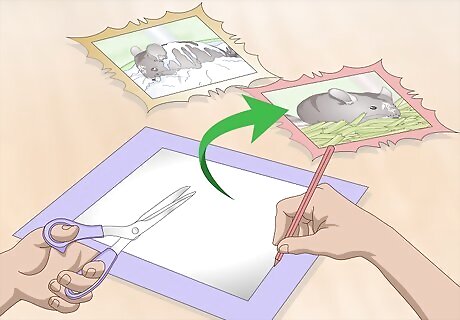
Trace each picture onto craft paper and cut it out. Place each picture face down onto craft paper, pencil around the frame, and then cut out each shape. You will end up with one piece of paper per picture, which you can use to create the arrangement on the wall easily before hanging up the actual pictures. Write on each piece of paper the picture that it represents (e.g. “family photo”, or “zebra print”) if they are all similar sizes. Use masking tape to stick the pieces of paper to the wall while you are trying different arrangements.

Create a horizontal grouping for a versatile look. Horizontal groupings work best for pictures of equal size. Arrange the three pictures horizontally side by side, either on their own or above a piece of furniture such as a couch. Make sure that the space between each picture is even for a horizontal grouping. Around 5 in (12.7 cm) is a good place to start, and you can adjust the spacing according to what you prefer.
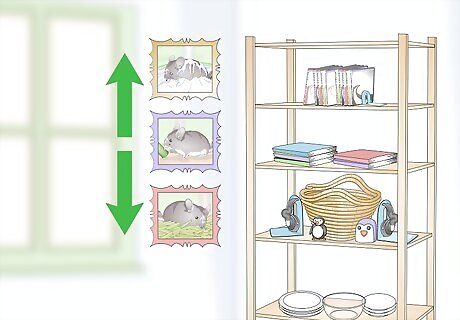
Form a vertical grouping for a narrow space. Make sure that all of the pictures are of the same size, and arrange them in a vertical line with equal spacing between each. Vertical groupings look good on a tall, narrow wall, or in between windows. A spacing of 8 in (20.3 cm) between each frame works well. This arrangement will help the ceiling to look higher than it actually is, making your space look larger and more open.
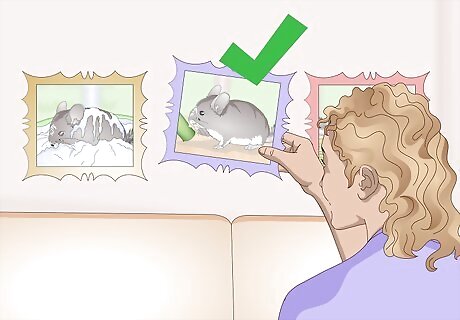
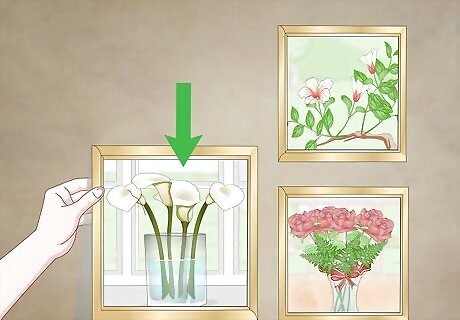
Hang your favourite picture in the center. The piece that is in the center of a horizontal or vertical grouping will be noticed first. It will also receive the most attention. The center picture could be either you favorite or the most bold piece.
Forming a Creative Grouping
Choose a creative grouping for a compact and creative look. Arrange the three pictures close together in a triangle formation, with two on the left side and one of the right side in the center. A creative grouping is ideal for pictures that aren’t the same size too. For a creative grouping, 2 in (5 cm) works well between each picture.
Place the largest picture in the bottom left of a creative grouping. If the pictures aren't the same size, the largest piece should be in the bottom left of the space. The middle sized picture needs to be in the top right, and then the smallest picture in the bottom right. This will create a sideways triangle appearance, with the largest picture representing the base, and the other two pictures representing the point.

Place the middle of the creative grouping approximately 57 in (145 cm) high. If the creative grouping isn't above a fireplace or tall furniture, then this is the best height above the ground to work with. This is the height that many galleries hang their work at, because it’s the average height of the human eye, and the pictures look the best this way.
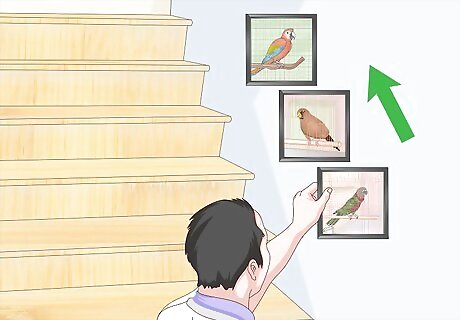
Hang square frames diagonally along a staircase. Hang the first picture in the center of the staircase, two thirds up from the stair. Measure an equal distance of one hand width apart, and place another image on either side of the center picture, again two thirds up from the stair. Two thirds up from the stair base will ensure that the picture is at the correct angle with the staircase. Staircase arrangements work best for equally sized, square pictures.


Comments
0 comment