

Applications in the Windows (Start) Menu
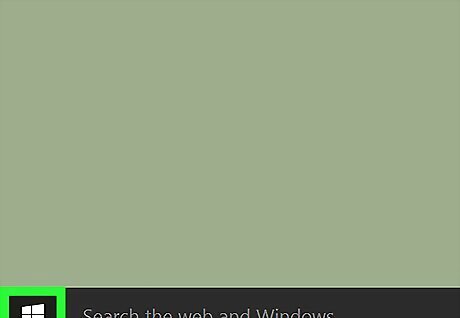
Click the Windows Start menu. It's usually at the bottom-left corner of the screen.
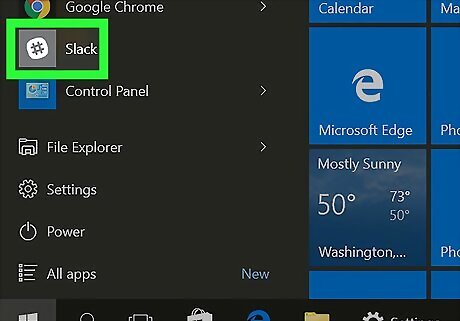
Right-click the application you want to always run as administrator. You'll probably have to scroll down to find it. Depending on your settings, you may also have to click All Apps to see your options.
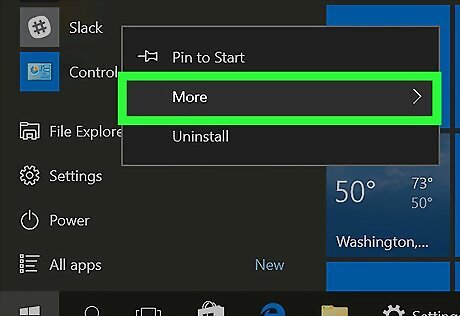
Click More.
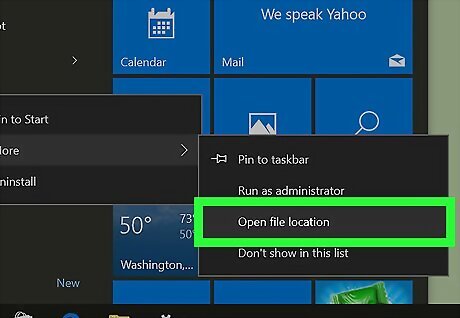
Click Open file location. This opens a File Explorer folder containing the application.
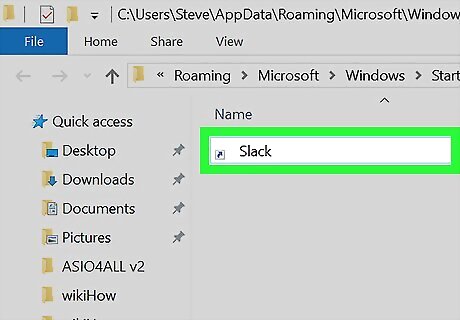
Right-click the application. If there are a lot of files in the folder, you may have to scroll down to find it.
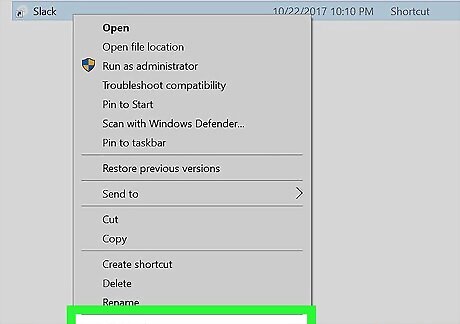
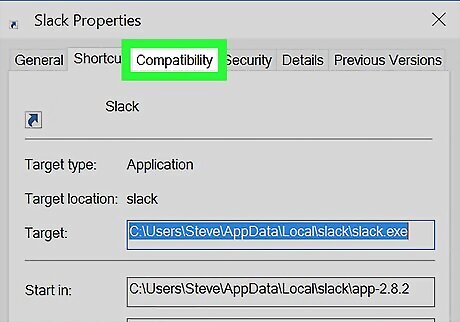
Click Properties.

Click the Compatibility tab.
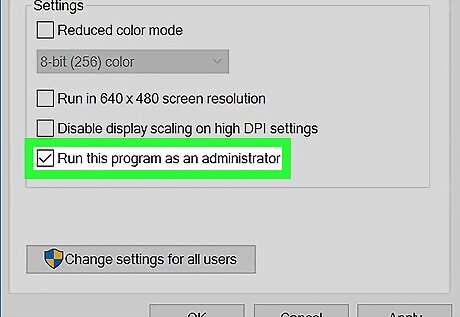
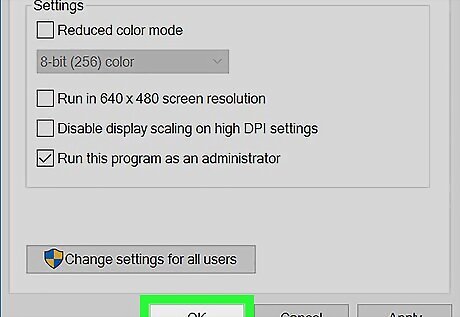
Click the box next to “Run this program as an administrator.” It's at the bottom of the “Settings” options. A check mark should now appear in the box.

Click OK. The selected application will now run as an administrator every time it is launched.
Applications on the Desktop

Right-click the application's icon. A pop-up menu will appear.
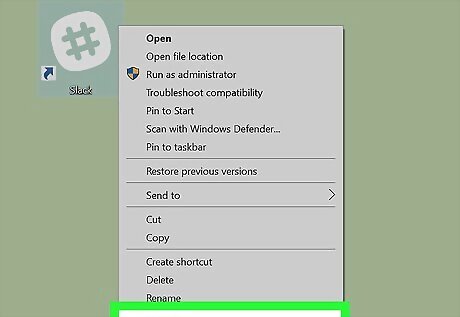
Click Properties.
Click the Compatibility tab.

Click the box next to “Run this program as an administrator.” It's at the bottom of the “Settings” options. A check mark should now appear in the box.
Click OK. The selected application will now run as an administrator every time it is launched.


Comments
0 comment