views
Moving the Pulleys
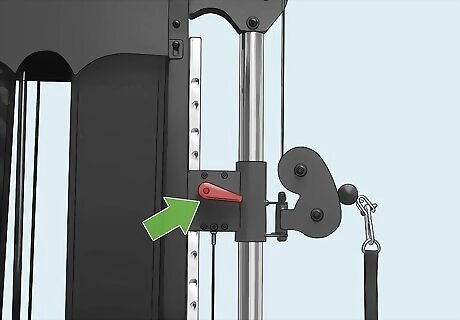
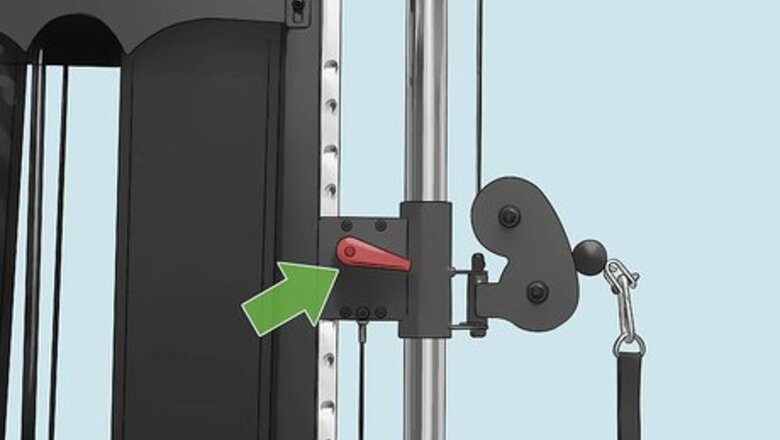
Locate the adjustment button or lever on the pulley. Check the backside or the side of the pulley. Look for a knob-like button or a lever that’s locked into place. Some dual pulley machines may have a guard or cover over the button so it doesn’t accidentally get activated while you’re working out.
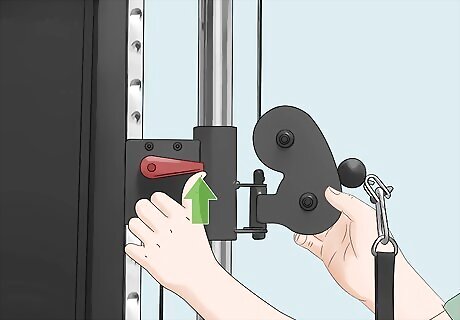
Pull the button or push the lever to disengage the pulley. Hold the pulley with 1 hand and use your other hand to pull the button. You’ll feel a pin slide out of the slot locking it in place. If the pulley uses a lever, press the lever up to release the locking mechanism. Releasing the locking mechanism means the pulley can drop to the floor, so make sure you’re holding onto it with 1 of your hands! If you’re having trouble pulling the button or pushing the lever, use 1 hand to slightly lift the pulley to make it easier to disengage the lock.
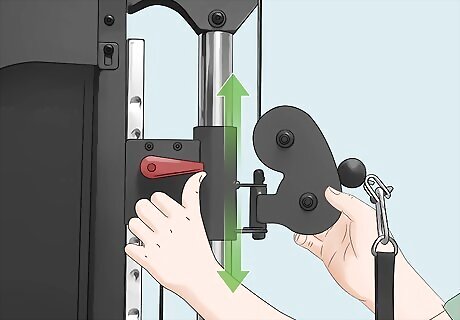
Slide the pulley up or down to your preferred height. Use your hands to raise or lower the pulley. When you’ve adjusted it to the height you want it based on the exercises you plan to do, keep it held in place. For example, if you plan to do bicep curls, you’ll want to lower the pulley all the way to the floor. But if you want to do an exercise like tricep pushdowns, raise the pulley all of the way to the top. For an exercise like back rows, place the pulley so it’s even with your chest. If the pulley uses a button, keep the button pulled out as you slide the pulley up or down so it doesn’t lock into place. Most pulley machines have a numbering system on the pulley rail that you can use to choose a height.
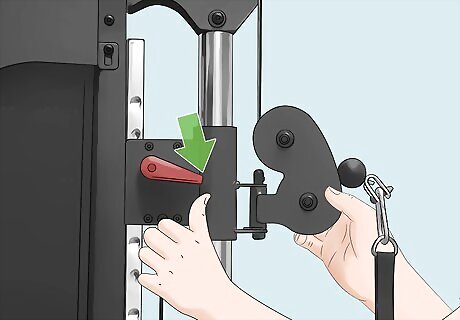
Release the button or lever to lock the pulley in place. Keeping the pulley held where you want it, let go of the button or press the lever down to lock it in place. Give the pulley a good wiggle to make sure it’s locked in and won’t come loose.
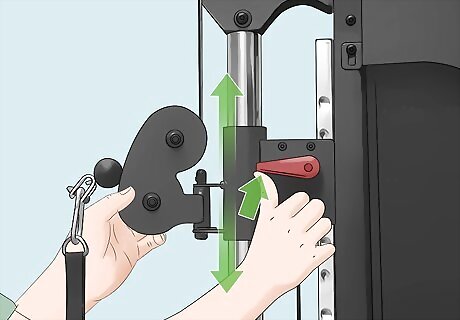
Change the height of the other pulley so they match. Hold the pulley with 1 hand and pull the button or push the lever to disengage the lock. Slide the pulley up or down to line it up with the other pulley so they’re even. Release the button or push the lever to lock it in place. If the pulley has numbered markings on the rail, use them to match the 2 pulley heights. For example, if the first pulley is set to a 5, adjust the other pulley so it’s also set to 5.
Changing the Weight
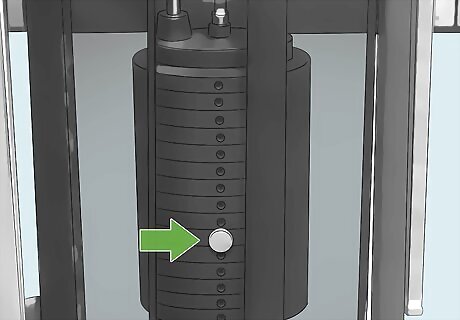
Find the weight stack on the interior of the machine. Dual adjustable pulley machines use weight plates to add resistance to the cables. Check on the inside of the pulley machine or on the backside. Look for a stack of thin metal plates with numbered markings on them to locate the weight stack. Most pulley machines will have weights listed in ascending order, or smallest to largest. For instance, the first plate may be labeled “5” for 5 pounds (2.3 kg), the second plate may say “10” for 10 pounds (4.5 kg), and so on.
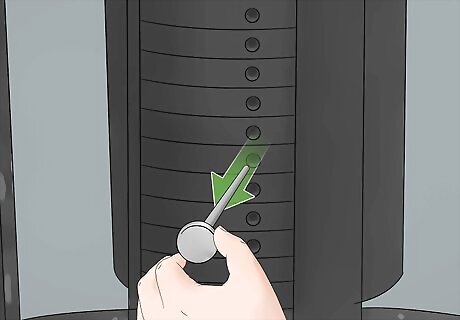
Pull the selector pin out of the weight plate. Look for a metal pin in the center of 1 of the weight plates. Pull the pin and slide it all of the way out of the plate. Some pins are designed to be a little difficult to remove as an added safety measure. You may need to tug or yank on the pin to get it out. Make sure you aren’t pulling on the cable or there isn’t a handle attached to the carabiner on the end. The weight of a handle can slightly elevate the plate and make it difficult to remove the pin.
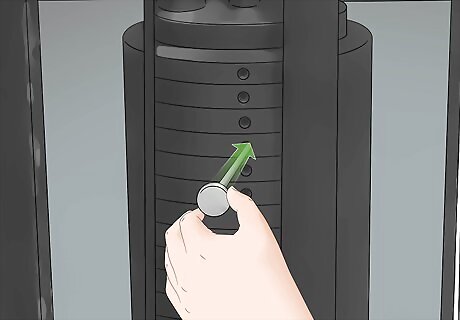
Slide the pin into a different plate to adjust the weight on the pulley. Look at the numbered markings on the front of the plates. Choose the weight you want to adjust the pulley system to and slide into the plate until it’s all of the way inside. If you haven’t used the machine before, or you’re trying a new exercise, start low with something like 10 pounds (4.5 kg). If it’s too easy, you can always add more weight! Some pins may snap or click into place when they’re fully inserted.
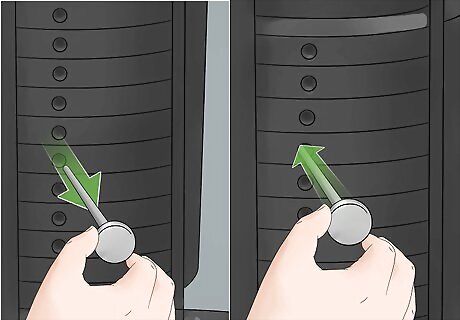
Adjust the weight on the other pulley so they match. Find the pin connected to a weight plate and pull it out. Slide the pin into a plate with the same weight marking as the other pulley so they’re the same weight. You want both pulleys to have the same amount of resistance so there isn’t an imbalance when you work out.
Using Accessories
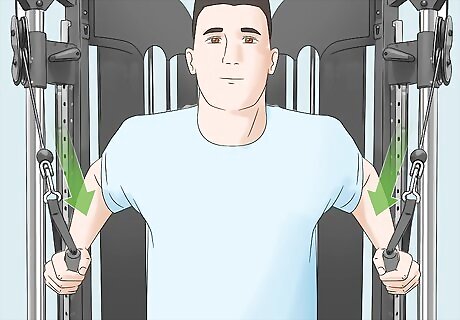
Attach handles to the carabiner to use the pulley machine. Dual adjustable pulley systems allow you to change the types of handles you use for different exercises and variations. Look at the rack on or near the machine and choose a handle. Connect the handle to the carabiner on the end of the pulley cable. Then, attach a matching handle to the cable of the other pulley so they match. Choose handles that give you a strong and comfortable grip.
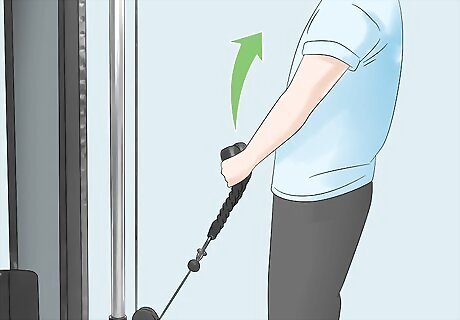
Connect a rope attachment to 1 pulley for arm exercises. Many pulley machines include an optional rope attachment, which allows you to use 2 hands to grip it as a handle. Connect the rope attachment to 1 pulley and hold it with both hands to work different arm exercises. For example, you adjust the pulley so it’s all the way down near the floor, and use the rope attachment for bicep curls. You could also adjust the pulley so it’s head height and push down on the handles to work your triceps.
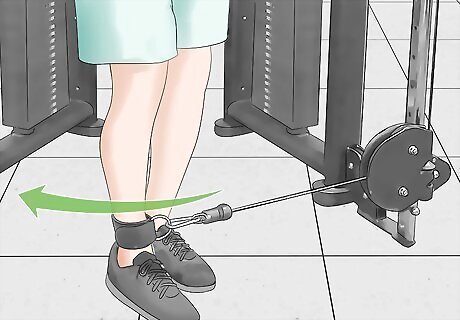
Wrap an ankle strap around your ankle for different leg exercises. If there’s an ankle strap, wrap it around your ankle tightly so it’s secure. Adjust the pulley so it’s low to the floor and connect the strap to the carabiner on the pulley cable. Choose a weight and use the attachment to try different leg exercises. For instance, with the strap attached to your ankle, stand next to the pulley so you’re facing it and carefully lift your leg behind you to work your hamstrings and glutes.
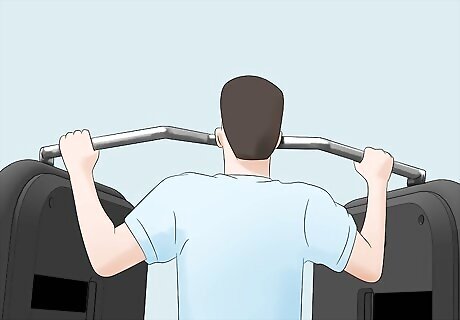
Use the bar on top of the pulley for pullups. Many dual adjustable pulley systems have a crossbar at the top of the machine. Grip the crossbar with both hands and use it to do pullups. You could also hang from the bar and raise your legs to do hanging leg raises, which work your abs.
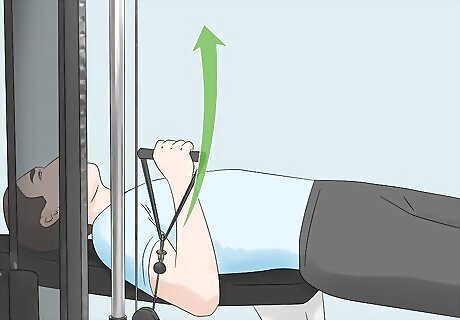
Place a weight bench between the pulleys for bench presses. Adjust both pulleys so they’re all of the way down to the floor and slide a weight bench between them. Choose a weight and lie on your back on the bench. Grip both handles and push them up above your chest until your arms are straight. Lower your arms until your hands are even with your chest and then push them back up again. For a good bench press workout, which works your chest and arms, aim for 3-5 sets of 8-10 repetitions. Always choose a weight appropriate for you to avoid injury.
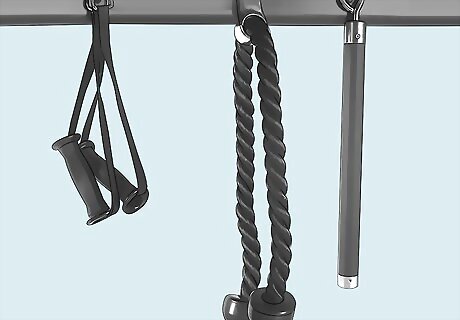
Store the accessories on the rack if there’s one attached to the machine. Some dual adjustable pulley systems have a built-in storage rack located either on the side or the back of the machine. When you’re finished with an exercise, take off the handles or accessories and place them on the rack so they’re stored properly.




Comments
0 comment