
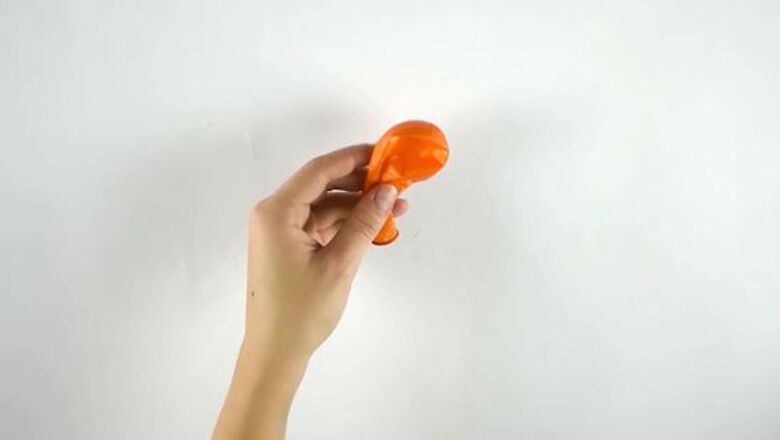
- Cover the top of a funnel with a balloon. Then, wrap electrical tape around the balloon to hold it in place.
- Measure 24 inches (61 cm) of the tubing, cut it, then stick the funnel's narrow end into it. Then, add a second funnel to the other end of your stethoscope.
- Use the stethoscope by placing the balloon-covered end over your heart and the other end against your ear to listen to it beat.
Making a Simple Stethoscope
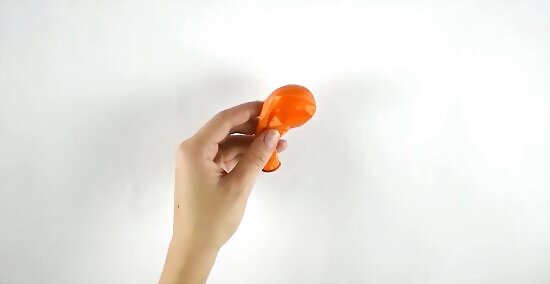
Cover the top of a funnel with a balloon. Cut the tail-end of a balloon off, then pull it over the larger opening of a funnel. Pull it tightly enough so that it is stretched taut over the funnel, like a drum. You can use any size of funnel you want, but a smaller funnel will be easier to work with. Something around 3 inches (7.6 cm) wide would be ideal. If you can't get a balloon or fit the balloon over the funnel, use a sheet of plastic wrap instead.
Wrap electrical tape around the balloon to hold it in place, if needed. The balloon needs to be secure over the top of the funnel. If it keeps popping off, wrap a piece of electrical tape around the edge to hold it to the funnel. If you used plastic wrap, you will definitely need to do this; you can also use a rubber band instead. If you don't have electrical tape, cut a strip of duct tape in half so that it's 1 inch (2.5 cm) wide, and use that instead.
Stick the end of the funnel into a piece of clear, flexible, plastic tubing. Find some clear, flexible, plastic tubing that's wide enough for you to stick the end of the funnel into. Measure 24 inches (61 cm) of the tubing, cut it, then stick the narrow end of the funnel into it. You can buy plastic tubing in hardware stores, garden supply shops, and in the aquarium section of a pet store. If the funnel is still loose, secure it to the tubing with a strip of electrical tape. If the tube is too small for the end of the funnel to fit into, try it the other way around: poke the tube into the end of the funnel.
Add a second, matching funnel to the other end, if desired. The stethoscope will still work if you leave the second funnel off. It just depends on what you find more comfortable: holding a funnel over your ear or sticking a piece of tubing into it. If you choose to use a second funnel, you do not need to cover it with a balloon.
Use the stethoscope in a quiet room. Place the balloon-covered end over your heart (or someone else's heart), and the other end against your ear. If you used a second funnel, make sure that the funnel is touching your head; if you left the tube as-is, gently stick the end into your ear, like an earbud. If the room is quiet enough, you should be able to hear the heart beating! If you can't hear the heart, do some jumping jacks for about 1 minute, then try again. If you're listening to someone else's heart, have them do the jumping jacks. A quiet room is important. Because this is a handmade stethoscope, it's not very strong or loud. A noisy room will drown out the heartbeat.
Building a Realistic Stethoscope
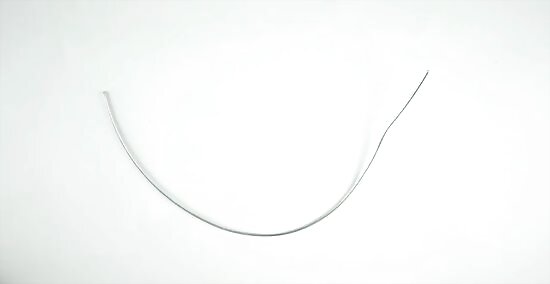
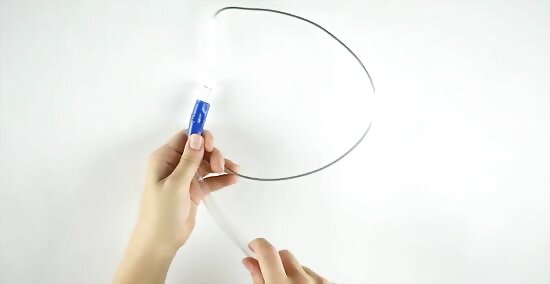
Curve a 10 in (25 cm) long piece of thick wire into a U-shape. Aluminum wire meant for sculpting armatures will work great for this; they are typically around 1.5 and 2 millimeters thick. Cut the wire with heavy-duty wire cutters first, then bend it into a U-shape. Give the bottom of the U a slight point, sort of like a wishbone from a turkey.
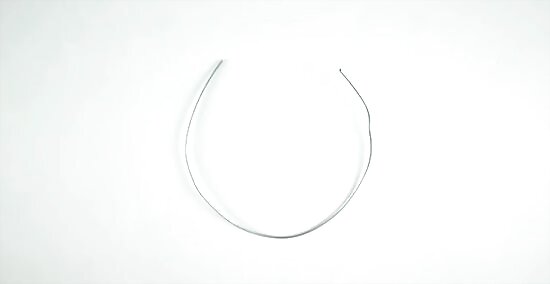
Bend the ends of the wire into the V-shape at 90-degree angles. The left end of the wire should point to the right, and the right end of the wire should point to the left. These ends will hook into your ears, so they shouldn't be longer than 1 inch (2.5 cm).
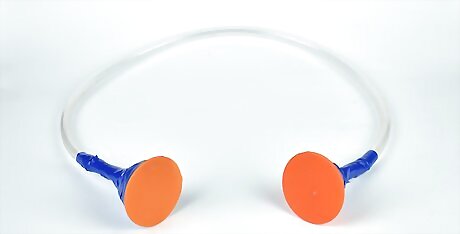
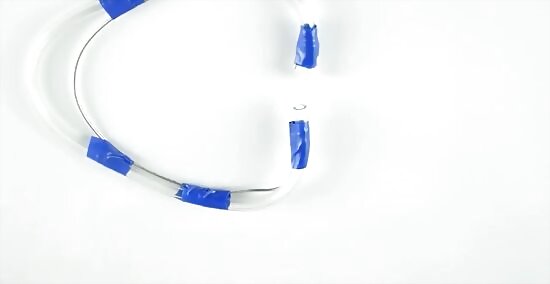
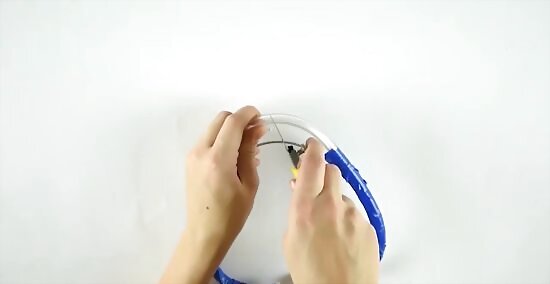
Tape flexible tubing to the wire, extending ends by ⁄2 inch (1.3 cm). Hold a 12 in (30 cm) piece of thin, flexible, plastic tubing to the left end of your wire. Wrap electrical tape a few times around it to secure it. Continue to tape the tubing to the wire every 2 to 3 inches (5.1 to 7.6 cm) until you get to the right bent end. Wrap a final piece of electrical tape around it to secure it. The tubing won't be flush with the bottom point of the U-shape; there will be a slight gap, which is fine. Choose tubing that is a little thicker than your wire. About 2 millimeters will do just fine. Trim the ends of the tube down so that the extend past the wires by about ⁄2 inch (1.3 cm). This is the part that will actually go into your ear.
Apply some hot glue to the ends of the tubing, but leave the holes open. This is not completely necessary, but it will make the headphones more comfortable to wear. Apply a ring of hot glue around both ends of the tubing. Try to get as close to the edge as possible without covering the hole. Alternatively, you can pop a set of silicone earbud covers onto the ends of the tubing, then secure them with hot glue, if needed.
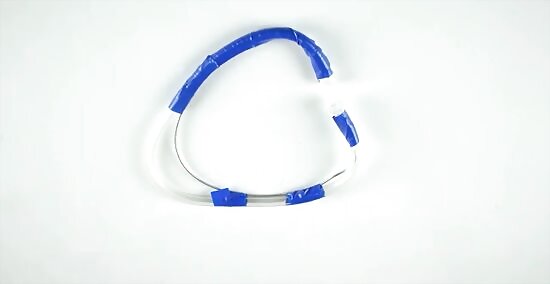
Wrap more electrical tape around the tubing to conceal the wire. Start at one end of the stethoscope and finish on the other. Overlap the tape by a couple of millimeters so that the tubing and wire don't show. If there is a gap between the tubing and the wire at the bottom of the U-shape, leave that exposed. You can use duct tape for this instead. Buy either the 1 in (2.5 cm) wide rolls, or cut the tape yourself using a metal ruler and a craft blade.

Poke a hole in the top of a medicine cap. Take one of those plastic caps that come with cough medicine; they are typically big enough to hold about 2 ounces (30 mL). Poke the craft blade into the bottom of the cap, then twist it like a drill. This will carve a hole into it. Make the hole the same size as your plastic tubing. If you can't find such a cap, you can try using a bottle cap or a tiny funnel. If you're using a funnel, then you don't need to drill any holes.
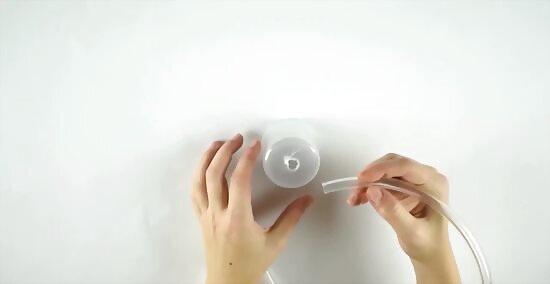
Hot glue a 12 in (30 cm) piece of flexible, plastic tubing into the hole. Turn the cap upside-down so that the bottom is visible, then stick the tubing into it. Insert it just far enough so that it pokes into the cap by a couple of millimeters. Apply hot glue around the seam to make it airtight. Make sure that the tubing is secure. If you need to, push it further into the cap--just don't let it get too close to the rim.
Poke a hole into the bottom of the U-shaped tube. Take your U-shaped tube that you taped to the wire. Use a craft blade or a pair of scissors to slice a hole into the bottom. Make sure that you only go through one side of the tube; don't make the hole go all the way through the tube and out the other side. The hole needs to be big enough for the second tube to fit into it. It would be even better if the hole is smaller to ensure a snug fit.
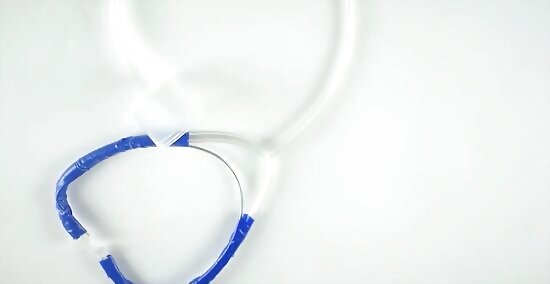
Poke the second tube into the hole and hot glue the seam. Take the tube that's attached to the medicine cap. Find the loose end, and poke it into the hole you just made. Apply hot glue to the seam to hold everything in place. Insert the tube just far enough into the hole that it holds, but not so far that it touches the inside wall of the tube. If you want to, you can wrap more electrical tape around the bottom of the U-shaped tube to hide the glue, create a stronger hold, and finish the look.
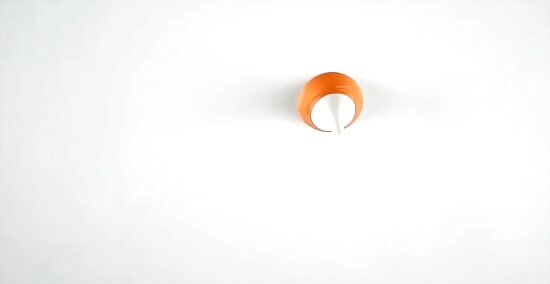
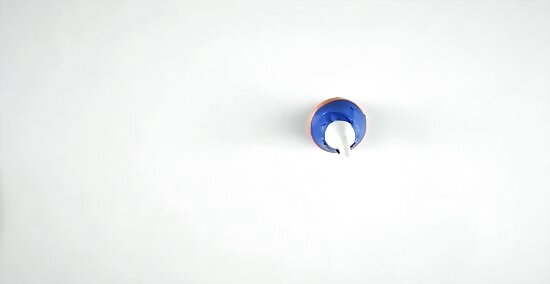
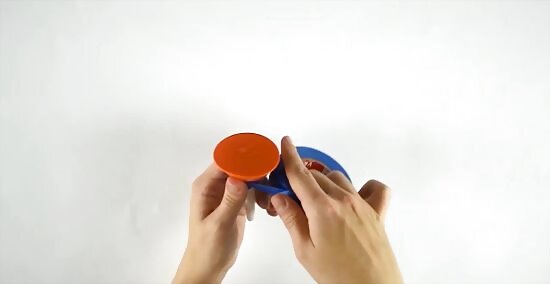
Cut the water balloon's tail off, then pull it over the top of the cap. If you used a mini funnel, then a regular-sized balloon might be a better fit. Once you have the balloon on, it would be a good idea to wrap a piece of electrical tape around the sides of the cap from top-to-bottom. This will hold the balloon on and keep it from popping off. Keep the balloon pulled taut, like a drum. Alternatively, stretch a piece of plastic wrap around the top of the cap. Secure it with a small rubber band and electrical tape. You are taping the actual balloon part over the cap--not the tail.
Crafting a Pretend Stethoscope
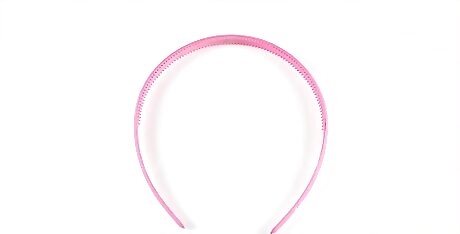
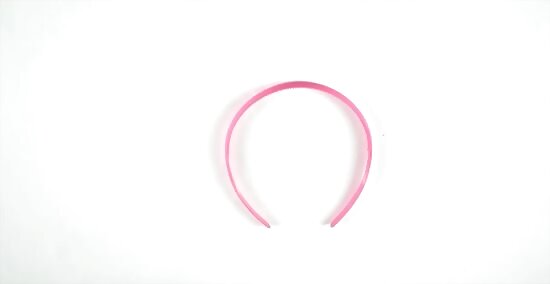
Get a simple, U-shaped plastic headband for the headphones. You can also use a metal headband too, but a plastic one may be safer for young children. It's okay if the headband teeth on the underside, but skip anything with combs that slide into your head. Pick the thinnest headband you can find--around ⁄4 to ⁄2 inch (0.64 to 1.27 cm) wide. If you don't like the color of the headband, wrap ribbon or colorful tape around it. This is not a real stethoscope and won't actually allow you to hear a beating heart.
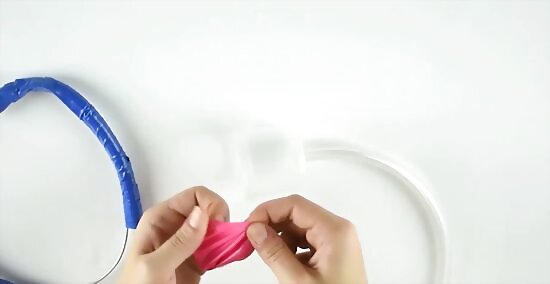
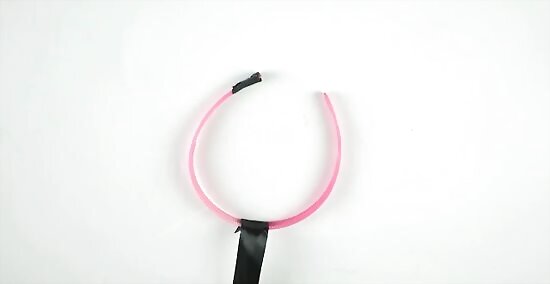
Glue 1 in (2.5 cm) wide grosgrain ribbon to the top of the headband. Hold the headband so that it looks like a U. Coat the end of your ribbon with hot glue, then wrap it around the middle of the headband. Make sure that the rest of the ribbon is hanging down so that the stethoscope looks like a Y. How long you cut the ribbon is up to you. Something around 24 inches (61 cm) would work great, however. White or light gray ribbon will make the stethoscope look more authentic, but you can use any color you want. You can choose a thinner ribbon if you really want to, but be aware that it may tangle faster.
Cover the ends of the headband with matching ribbon for the earbuds. Cut 2 pieces of your 1 in (2.5 cm) ribbon. Wrap each ribbon around each end of the headband, then hot glue it in place. You can also fold the ribbon over the ends of the headband instead if you want larger earbuds. If you're folding the ribbon, cut the pieces 2 inches (5.1 cm) long. This way, the ear buds will be 1 inch (2.5 cm) long. If you used thinner ribbon for the dangly bit, you should still use 1 in (2.5 cm) ribbon here. You can also use 1 in (2.5 cm) strips of felt instead.
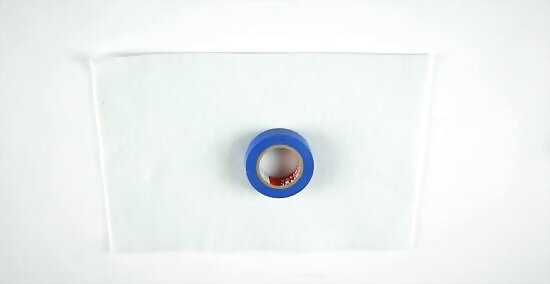
Cut a piece of 2 in (5.1 cm) circles out of gray felt. You can also use gray craft foam instead. Use a compass or a small jar to trace the circles, then cut them out with a pair of scissors. The exact size of the circles doesn't matter, as long as they are a little bit larger than the ribbon.
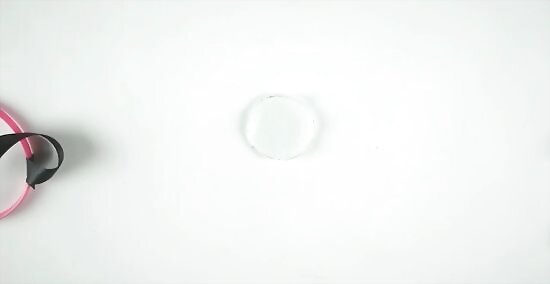
Glue the end of the ribbon between the 2 circles. Set 1 of the circles down on a flat surface, then coat it with glue. Place the end of the ribbon over the circle. Apply more glue over the ribbon, then press the second circle into place. Fabric glue or tacky glue will work the best for this step. If you choose to use hot glue, work quickly so that it doesn't dry before you finish. Make sure that the circles align perfectly. If they are crooked, use a pair of scissors to even them out.
Hot glue a 1 in (2.5 cm) red heart or cross over the front of 1 circle. Cut a 1 in (2.5 cm) heart or cross out of red felt. Coat the back of your heart of cross with hot glue, then press it against the center of the gray disk. If you used craft foam to make the disk, you can use red craft foam for the heart or cross. For a more girlish stethoscope, consider using pink instead. If you can't find any red or pink felt/craft foam, you can paint the heart or cross on instead. Fabric paint, puffy paint, and acrylic paint will all work great.


Comments
0 comment