views
Using Apple Software Update
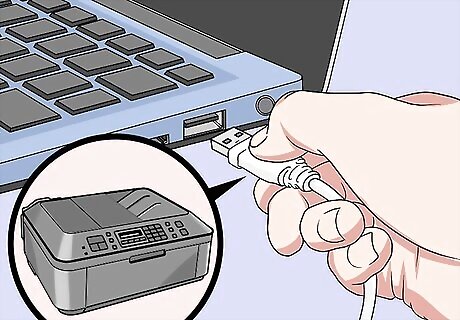
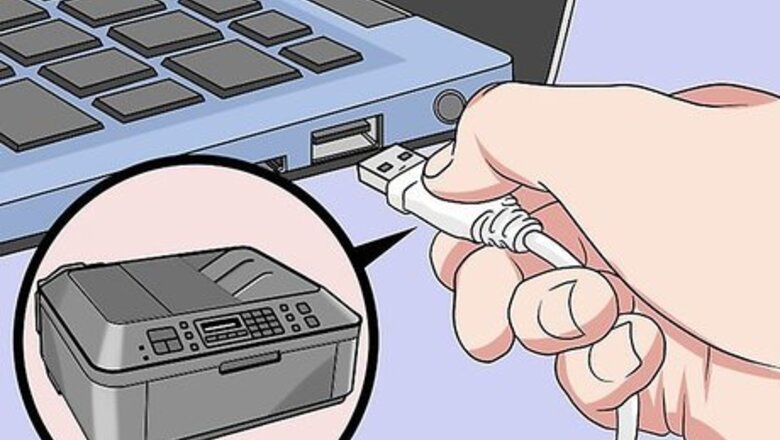
Connect your printer to your Mac computer. You can connect the printer with either a USB cable or wirelessly if applicable. For wireless printers, use the Wireless Setup Wizard with the Wi-Fi name and password. You can also use WPS mode - push button or PIN.
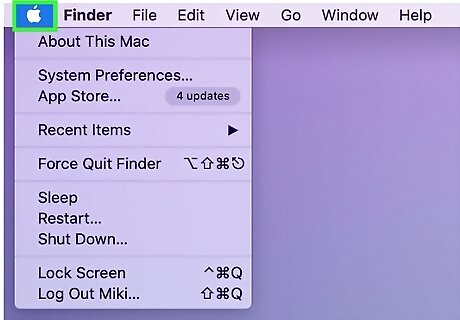
Click on the Apple icon on the left top corner of the computer.
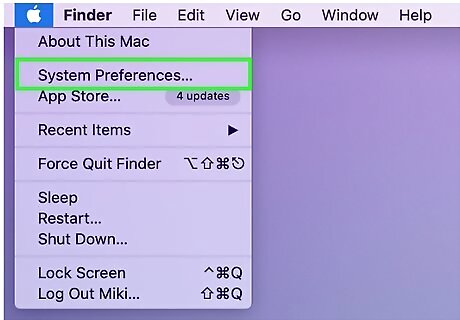
Go to System Preferences.
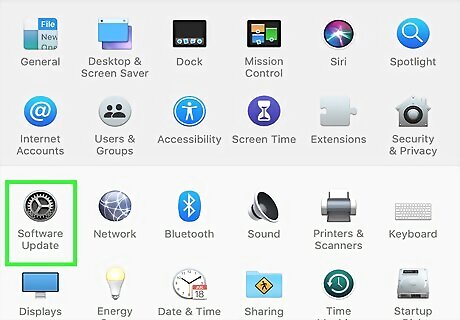
Click on Software Update. Check that your printer name is on the list for software updates.
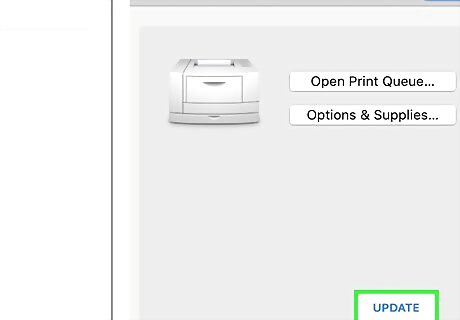
Click on the Update button to update the printer drivers and software. This will complete the process to update your drivers. If the printer name is not in the list, proceed with the following method.
Using the Manufacturer's site
Visit the printer manufacturer's site and search for the drivers and software. Select the recent version of drivers for your Mac OS version.
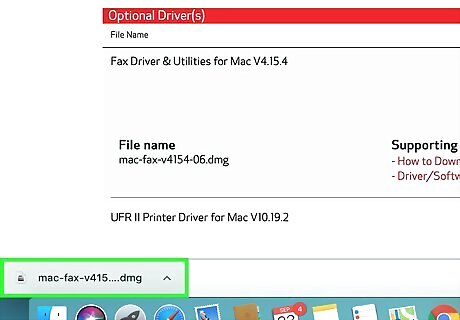
Download the file to your Mac computer. Do not use the driver installation CD from the pack as it may contain an older version of drivers. Always visit the website for the latest driver and software version.
Install the drivers to your Mac. After downloading the driver file, run the Autorun.dmg file. Follow the steps on the driver installation wizard screen. Proceed further and complete the update process. After manual driver update, you can add the printer to the software list and update it along with the OS version. If you face any issue, uninstall the existing printer driver and Software from the MAC and reinstall it.
Uninstalling and Reinstalling Drivers
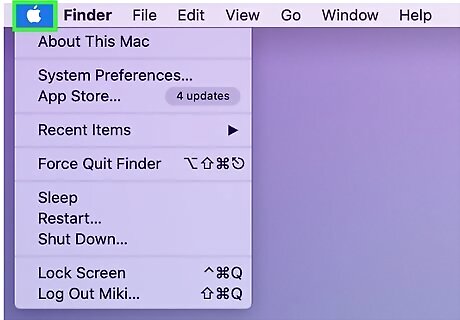
Click on the Apple icon on the top left of your computer and then click on the System Preferences option.
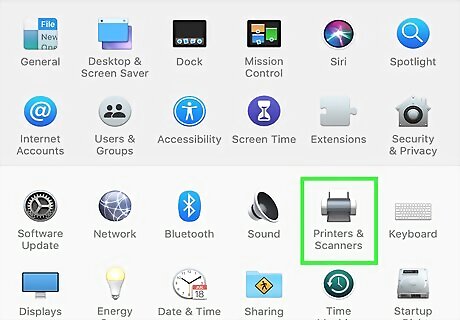
Go to Printers and Scanners and select your printer name.
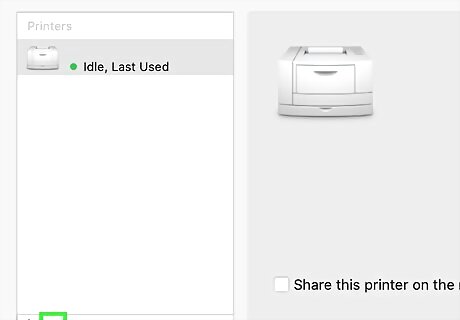
Remove the printer from the connection. This will uninstall the drivers and software files completely.
Visit the manufacturer's site to reinstall the Mac Compatible drivers and software.




Comments
0 comment