views
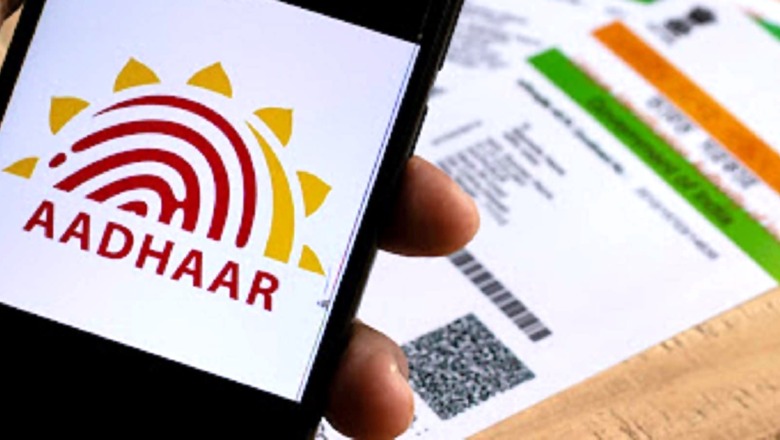
The Aadhaar issuing authority, the Unique Identification Authority of India (UIDAI), has introduced a provision for cardholders to update their address without the need for documentary proof. Considering how integrated Aadhaar is without daily lives, its stands to reason that a change of address would be taken into consideration. Now, with this provision, cardholders can ease their worries about moving houses and no longer need to concern themselves with the long process of changing the address on the Aadhaar card. Now people who do move to a new house can easily update the address on the card through the UIDAI portal without documentation as proof.
Here is a step-by-step process of how you can update your new address on the Aadhaar card without documented proof.
Step 1: Go to the official UIDAI website and log in using your Aadhaar card number.
Step 2: Click on the ‘Update Address via Secret Code’ and enter the Aadhaar information of the verifier. Note that the verifier can be anyone who is letting you use their Aadhaar and residence as your own for the purpose of updating.
Step 3: Once entered, you will receive a Service Request Number (SRN).
Step 4: The verifier who is representing you will have to click on the link that they will receive.
Step 5: After clicking on the link, the verifier needs to log in using their own Aadhaar card information and provide consent for the process.
Step 6: Then a second SMS will be sent with an OTP (One-Time Password). The Verifier need to fill it in along with a captcha and click on ‘verify’. This will get you an SRN number via SMS.
Step 7: Once the verifier has given their consent, you need to take over and submit a formal request for the completion of the process. So, with that in mind, you need to log in with the given SRN number and review the new address and edit it as needed.
Step 8: After completing all the steps, you will need to submit the request.
Step 9: Once everything is confirmed, you will receive an ‘Aadhaar Validation Letter’ along with a Secret Code in the post. Using that, you need to log into the Self-Service Update Portal (SSUP) portal and update your address with the Secret Code that was given to you.
Step 10: Then all you need to do is review your new address once more time and submit your final request. You will receive an Update Request Number (URN) that can be used to track the update status of your new address.
It should be noted that to complete the process, both the verifier and the Aadhaar cardholder will need to have their mobile numbers registered or up to date and linked with their existing Aadhaar. The process also needs to be done within a set time frame once initiated so make sure that the verifier and you are in sync when attempting this change, otherwise, it becomes invalid.
Read all the Latest News, Breaking News and Coronavirus News here.


Comments
0 comment