
Using Quick and Easy Solutions
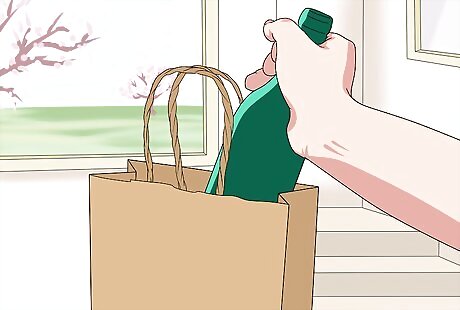
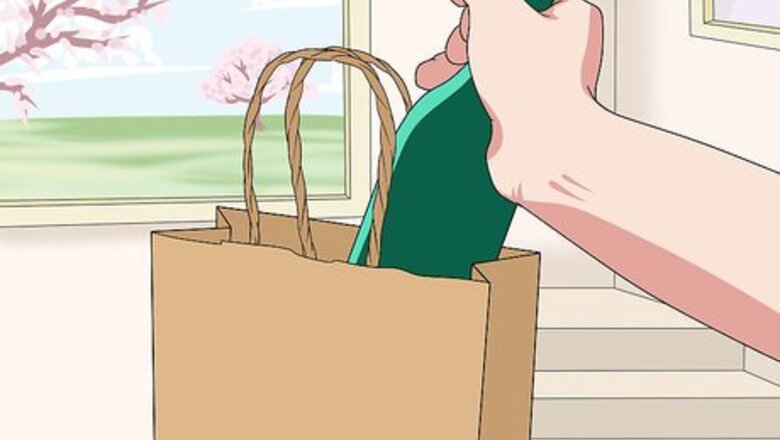
Put the bottle in a gift bag. When using a gift bag, make sure it’s firmly packed with tissue paper or newspaper. Bags can make bottles less steady, and padding will protect the bottle if the bag falls over. Many gift shops and convenience stores sell special bottle sleeves to better protect bottle given as a gift.
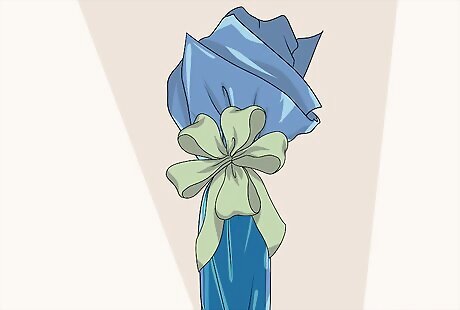
Wrap the bottle like a piece of candy. Cut wrapping paper so it extends several inches beyond the neck and base of the bottle. Center the bottle in the paper. Roll the paper around the bottle tightly. Twist the ends closed and fasten them with ribbons tied in a simple knot. Fan out the ends of the wrapping paper to give the wrapped bottle a stronger resemblance to a wrapped piece of hard candy. When wrapped like this, it will be impossible to stand the bottle upright. Be careful when setting the bottle down.
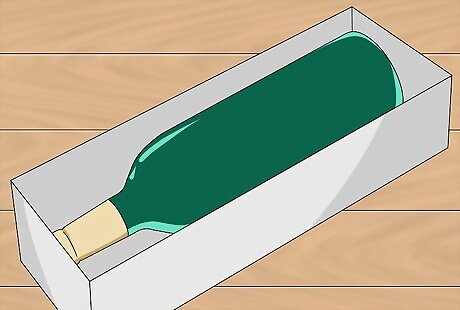
Hide the bottle in a wrapped box. A narrow box, like a shoebox, might fit your bottle perfectly. Boxes that are a little on the large side can be padded with tissue or newspaper. When the bottle is in the box, break out your wrapping paper, scissors, and tape to wrap the whole thing. A simple bow tied with a brightly colored ribbon can add a personal touch to box wrapped bottles.
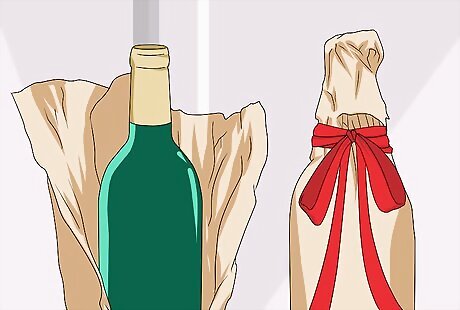
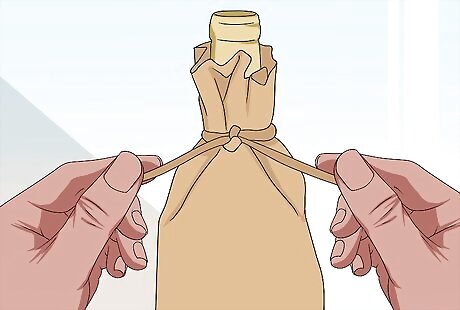
Gather several layers of tissue paper around the bottle. Lay out several pieces of large tissue paper one on top of each other. Set the bottle in the middle of the paper. Gather together all layers of tissue paper at opposite corners, then tie the corners together at the neck of the bottle. Add a ribbon around the neck to hold the tissue paper together and to add some style to your simple wrap.
Wrap bottles in cellophane. Cut a piece of cellophane large enough to encase the bottle. Set the bottle inside and draw the corners together above the bottle. Tie off the corners with a ribbon or fasten it with tape. Cellophane comes in many bright colors that you can mix and match when wrapping. Create more complicated designs by using tissue paper and cellophane together. A layer of tissue paper under the cellophane might look neat.
Using Wrapping Paper
Cut your starting sheet of wrapping paper. Cut a sheet that’s large enough to cover the bottle completely. More is better than less when starting out. When wrapping, it’s easier to cut away extra paper than it is to add more.
Fasten the bottle to the paper with two-sided tape. Position the bottle flat on its side and even with one end of the paper. Tape the paper along this end to the bottle with two-sided tape.
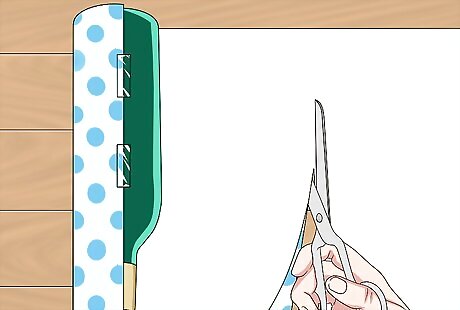
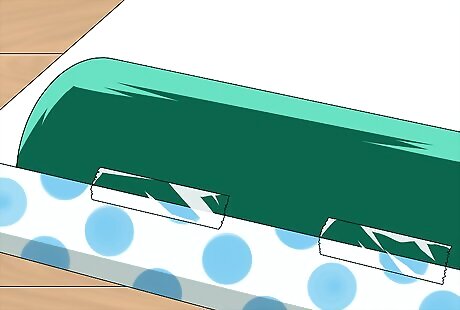
Cut free excess paper. Roll the bottle loosely in the paper to gauge how much extra you have. You’ll want enough to cover the bottle completely without overlapping too much. The top and bottom ends of the paper should be short enough to fold flat to the top and bottom of the bottle with no overlap.
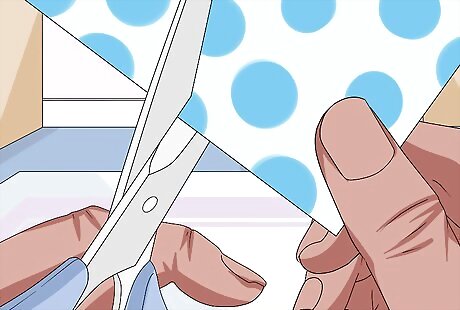
Re-roll the bottle in the cut paper and slit the top and bottom ends. After cutting excess paper, roll the bottle again in the paper. Where the ends of the paper overlap, fasten it with two-sided tape. Then use scissors to make three evenly spaced straight slits in the top and bottom ends of the paper. The slits should extend all the way to the bottle’s bottom and top.

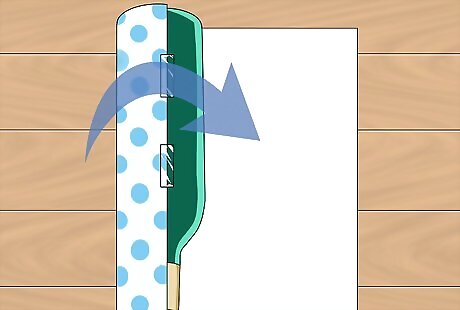
Fasten the paper to the top and bottom of the bottle. Fold the wrapping paper to the bottom of the bottle at the slits you made. When you reach the last segment, put a piece of two-sided tape on top of the segments already folded down. Press the last segment onto the tape. Similarly fasten the wrapping paper to the top of the bottle by folding the paper in segments along the slits and fastening the folded paper with two-sided tape.
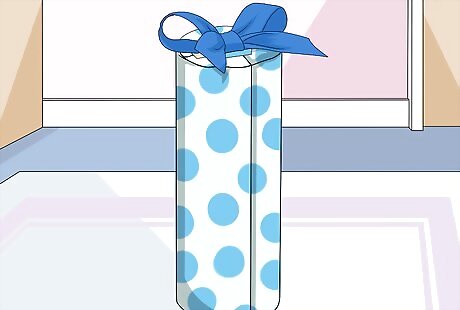
Fasten a ribbon on top with two-sided tape. String a ribbon underneath the bottle so its ends meet at the top of the bottle. Put a piece of two-sided tape on the wrapping at the top of the bottle. Tie a simple bow and press it onto the tape to complete your wrapping.
Making a Wrapped Bottle Tube
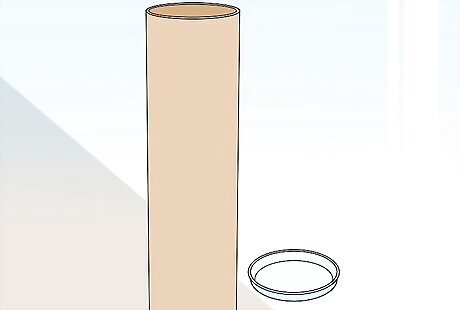
Buy a cardboard tube and plugs. These can be bought at most office supply stores, shipping stores, and through the postal service. The width of bottles will vary, but most will fit into tubes that are 3 inches (7.6 cm) to 4.25 inches (10.8 cm) wide.

Measure and cut your cardboard tube. Slide your bottle into the tube. Mark the board about an inch above the top of the bottle. Remove the bottle, then use sturdy scissors, a utility knife, or shears to cut away excess cardboard at the mark. Sturdy cardboard tubes might require a handsaw to cut. Use caution when cutting.
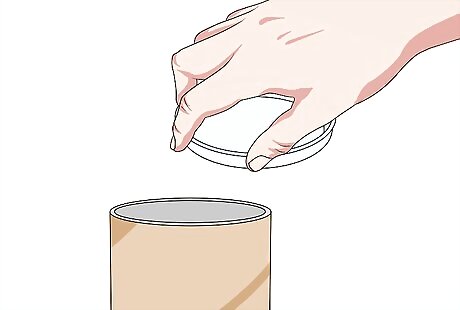
Insert and fasten the bottom cardboard plug. Press the plug into place at the bottom end of the tube. Use tape to fasten the outside of the plug. This will reinforce the bottom of the container so the bottle doesn’t fall out. Some plugs may be difficult to insert. You may need to knock the plug against a hard surface, like a desk top, before it pops into the end.
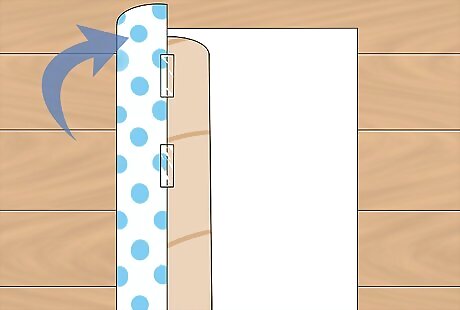
Cover the tube in wrapping paper. Fasten the end of your wrapping paper to the tube with two-sided tape. Roll the tube in the paper until it is tightly covered. Use two-sided tape to connect the paper where it overlaps slightly.
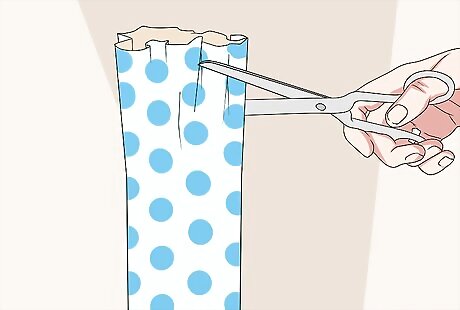
Cut away excess paper and insert the bottle. Any wrapping paper sticking out from the top or bottom of the tube can be cut free. Insert the bottle into the tube. Add a second tube plug at the top of the tube; your bottle’s almost ready to be given as a gift.
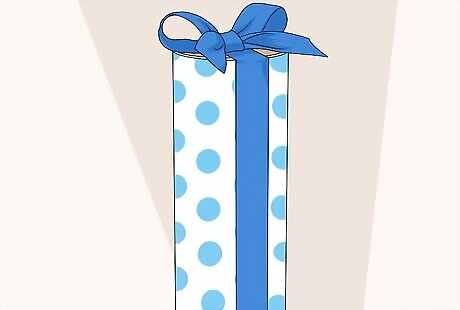
Add a bow and other touches as desired. Ribbons glued to the top and bottom of the wrapped tube can add a stylish touch. Even a stick-on bow on the plug will add some flair. If you really want to make the wrapping pop, try decorating with glitter or sequins.


Comments
0 comment