
Setting up a Safe Workspace
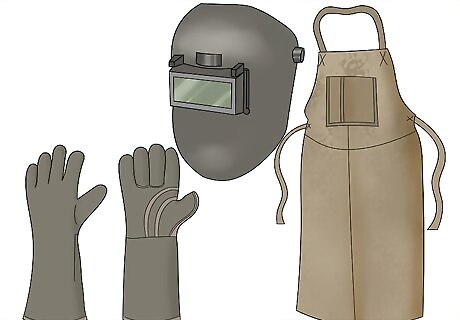
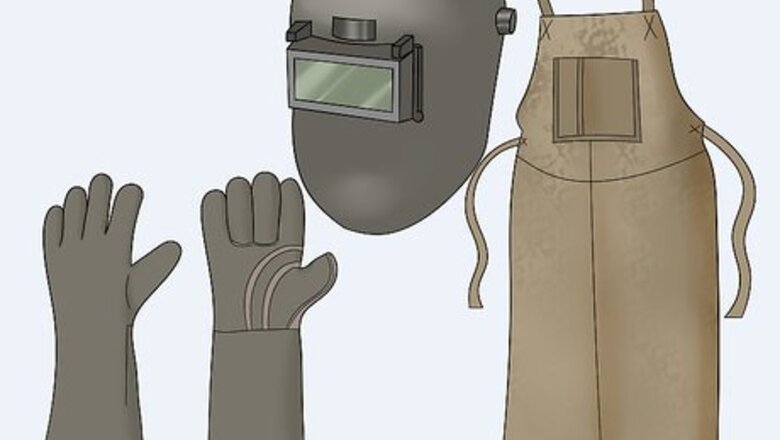
Get a welding mask, respirator, welding gloves, and apron. Galvanized steel is extremely toxic when you weld it. It is covered in a zinc coating that is highly dangerous for humans when it’s ingested. You need to take several steps to avoid the fumes. Start by getting a high-quality welding mask, a heavy-duty respirator, and a pair of welding gloves. Wear a welding apron to keep sparks from ruining or damaging your clothing. Get a respirator that is specifically designed for welding metal. A standard dust mask or dust respirator will not work. Some welders recommend drinking a glass of milk or taking a calcium supplement before welding galvanized steel. The calcium can help counteract the zinc fumes you may accidentally ingest.
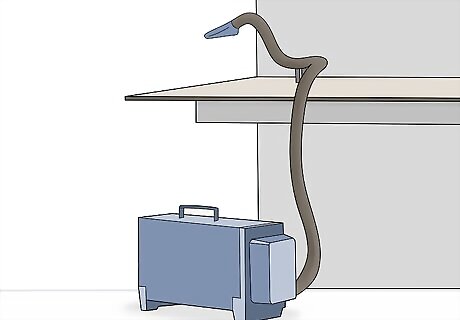
Use a fume extractor or set up a fan directly next to your welding site. If you’re setting up in a workshop or job site, set up a fume extractor 2–3 feet (0.61–0.91 m) away from the exact location where you’re welding to absorb the fumes immediately as they’re emitted. If you’re a DIY enthusiast and don’t have access to a fume extractor, set up as many fans as you can behind you at to your side to blow the zinc fumes away from you. Weld outside if you can. If you can’t, open up as many windows as you can. If you can’t open windows, find some other way to ventilate the room. You cannot weld galvanized steel in a closed room. A fume extractor is a kind of heavy-duty vacuum that sucks up fumes as they’re emitted. You may be able to rent one from a building supplies store or contractor if you don’t have one.
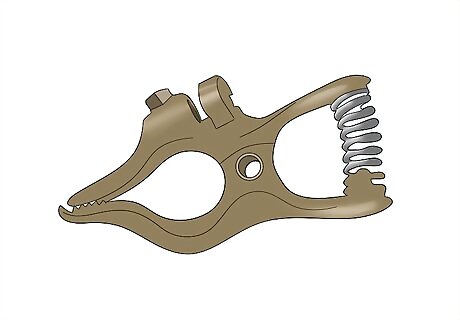
Ground your welder by placing the claw over the clamp or work surface. Some welders need to be grounded to prevent electrical currents from causing shocks. If your welder has a clamp on it, similar to the jumper cables for a car, then it needs to be grounded. Open the grips and then release them around your metal clamps to ground the object itself. You can also clamp a piece of metal directly, or the work surface that you’re using. Ground the object itself if you’re working outside. You shouldn’t be touching the object that you’re welding to begin with, but even if you do, the odds that you get electrocuted are very low. This is just another safety precaution that you need to take to stay safe while you work.
Sanding and Securing Your Project
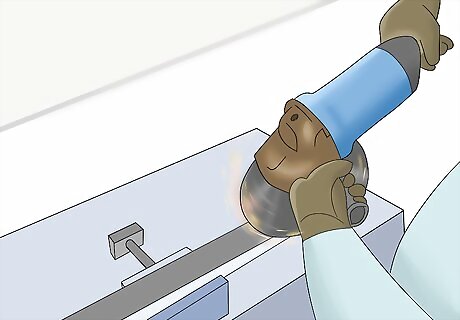
Grind away the zinc coating at the site where you’re welding. Put on your respirator and protective masks and glove. Use a sheet of 220-grit sandpaper or a grinder on a low setting to wear away the zinc coating. This is helpful in striking and maintaining a steady arc, but isn't critical if you are dealing with a thin galvanized coating and using appropriate rods. It will also increase the odds that you aren’t exposed to any harmful fumes. If you want to strip smaller materials, like galvanized bolts or strips, you can soak them overnight in a cup of vinegar. While welding galvanized steel releases the toxic fumes in the metal, grinding or sanding it won’t.

Place your 2 pieces together or isolate your repair. Put your 2 pieces of galvanized metal on your work surface and arrange them in a way that you want them to set. You shouldn’t need to hold the pieces together while you weld. If you’re welding a hole or tear to close it off, set your piece down on your work surface so that the opening is facing up. If you have to lay your pieces out on the floor, make sure that you’re welding on a non-combustible surface, like concrete.
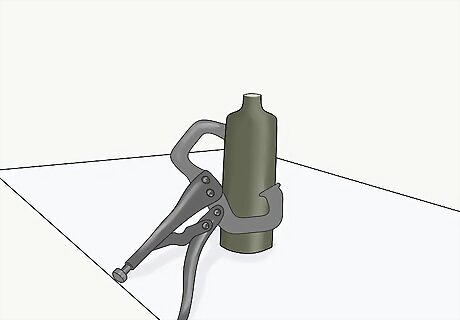
Clamp smaller pieces with a welding clamp if you can. If you’re clamping 2 sheets or joints together and they’ll fit in a clamp, use a welding clamp to force them together and make a perfect seam. Welding clamps are iron or metal clamps. To use a welding clamp, place 2 pieces in between the 2 ends of your clamp. Hold the frame still while you turn the dial at the end clockwise until the clamps close over your 2 items to hold them still. Welding clamps are often referred to as C-clamps. If you’re using clamps that aren’t marketed as welding clamps, you can probably get away with using any metal clamp. You can’t use plastic clamps to hold 2 objects together for welding.
Using the Welder
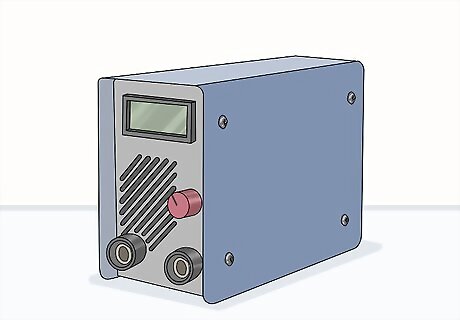
Use an arc welder to weld galvanized steel. A standard arc welder is undoubtedly the best way to weld galvanized steel. Arc welding is a versatile method that uses alternating currents to create a high-heat arc that melts your flux. If you can, work outside when using an arc welder. There is occasionally splatter from the spread of the arc. If you are new to welding and only have room for one welder in your workshop, opt for an arc welder. It’s the easiest welder to use, and is what most people think about when they picture welding.
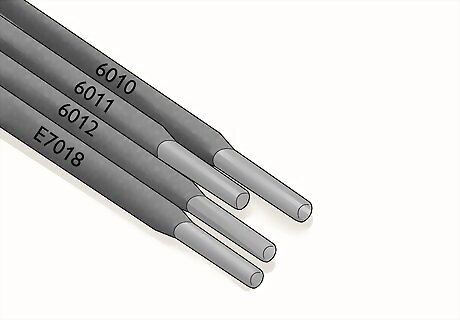
Select your welding rod based on the size of the metal. You can use a welding rod of any size as long as it works with your welder. Keep in mind that a bigger rod is going to weld a larger area than a smaller rod. There are no unique, or galvanized steel-specific tools or materials that you need. Use a 6013, 7018, 6011, or 6010 welding rod. These are the most common rods to begin with, so they shouldn’t be hard to find.
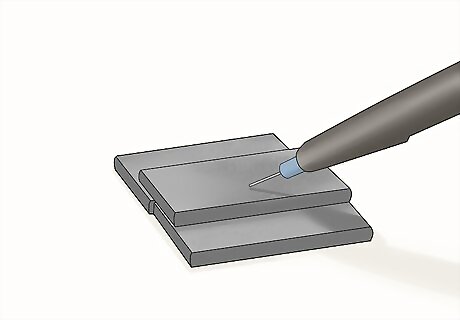
Start on one end of the seam if you’re joining 2 pieces. If you’re welding 2 pieces of steel together, start on one end of the seam where they meet. Turn your welder on by starting the power, then place the welding rod 1–2 inches (2.5–5.1 cm) away from the beginning of the seam and press the button or pull the trigger to release flux. There will be sparks coming out once you start welding. Don’t jump back to avoid them—do your best to keep the welding rod in place. You’ll be fine if you’re wearing the proper safety materials.
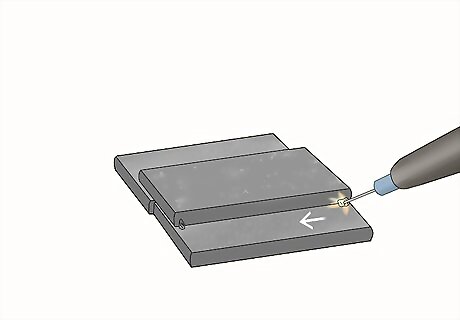
Work forward and back to apply your welding flux and heat it. Move your welding rod down the seam 2–3 inches (5.1–7.6 cm) at a time. Then, work your way back over the area that you just welded, slightly slower than your forward motion. Once you’ve covered a surface twice, move on to the next length of the seam. Repeat this process for the entire length of the gap to weld the 2 objects together. Wait for at least 15 minutes to let the welding flux settle before trying to test the bond or sand it down.
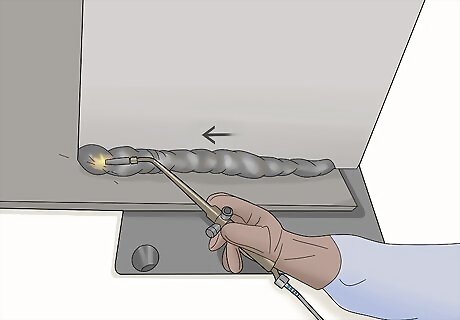
Weld around the edge of a tear and work your way in. To weld a tear or split in galvanized steel, start on any edge of the metal. Work slowly around the exterior edge on the metal itself, moving forward 2–3 inches (5.1–7.6 cm) before bringing your welding rod back over the surface you just covered. Repeat this process till you’ve worked all the way around the outside of the cut or split, then move in towards the center of the opening and repeat the process. Do this until the entire hole is covered. You cannot weld a split or tear shut if the gap in the center is bigger than 1 in (2.5 cm). The welding material just simply won’t stay closed over time. Wait 15-20 minutes to let the welding flux settle to be on the safe side. You can grind excess flux off and paint the area if you want.


Comments
0 comment