views
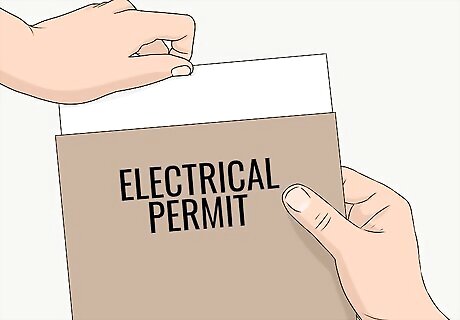
Ensure that the local authorities permit the use of BX cable in your application. There are many types of armored cables -- not all of them may be acceptable for use in all circumstances. Make sure you have the proper connectors for the selected type of cable. Some types may work for several cables types, others may be prohibited. Be sure to obtain any necessary electrical permits, even if your jurisdiction allows the work to be done by a non-licensed electrician. Many inspectors will want to see the "listing label" for your cable so they can verity that it conforms to the code requirements and standards for cable construction. Retain the label or package for later inspection.
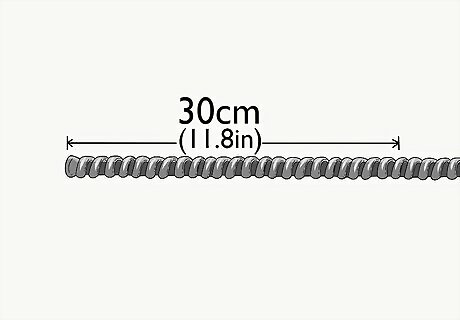
Determine the length of wire needed for your project. Always add 30 centimeter (11.8 in) for any waste/damage National Electrical Code has requirements for the minimum amount of conductor that must extend beyond the face of a junction box. Local codes may require more.
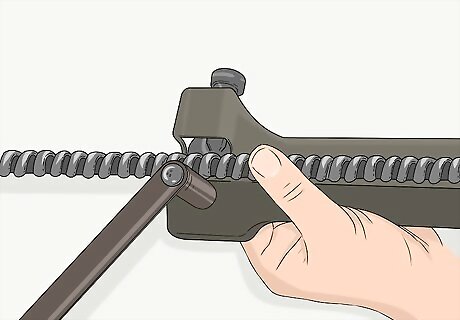
Cut a 20 centimeter (7.9 in) length of the armor using either a hacksaw or a rotary cutter designed for the purpose. Cut across the armor - not with the spiral. It is not necessary to cut completely through the armor. When the cut is nearly through, grab the cable jacket above and below the cut and twist sharply - this should break the remaining armor without the need for the saw to contact the wires inside. Use caution - the metal edges are sharp. Carefully inspect the interior insulation to make sure none of the conductors have been exposed by nicks or gashes. If there is damage, you may need to try again by moving back and redoing another cut.
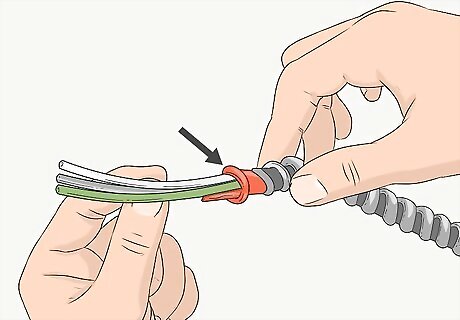
Push a plastic anti-short bushing onto the wires where it contacts the metal armor. You may be required to use bushings that have an indicator tab, tip or tail.
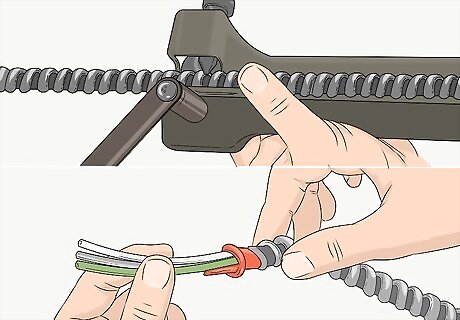
Repeat the process at the other end of the cable.
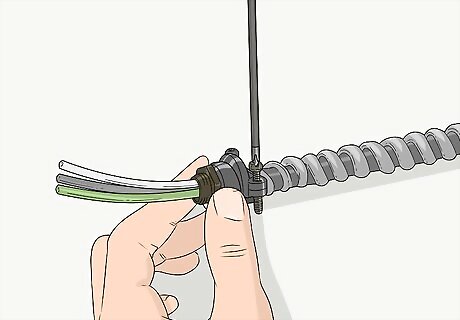
Insert a BX connector over the end of the newly cut armor and tighten the screw to secure it to the armor. Remove the threaded ring from the connector to use inside the electrical box. Most BX connectors have a small hole or slot through which you must show the tab, tip or tail of the bushing, so the inspector knows it is in there.
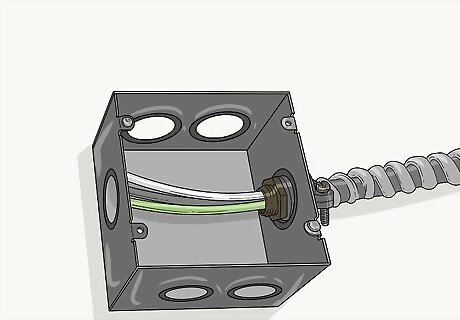
Strip the exposed wires and pull through the knockout hole of the electrical box, along with the open end of the connector. If your project is adding to existing wiring, make sure the power is off for all of the branch circuits feeding power to all of the box locations you're working on.
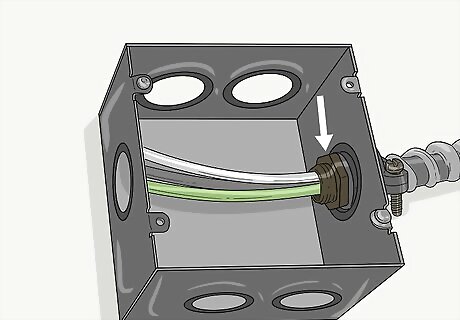
Secure the connector to the electrical box with the threaded ring. Many new installations require an inspection at this stage of "rough-in" prior to getting permission to connect any devices to the conductors.
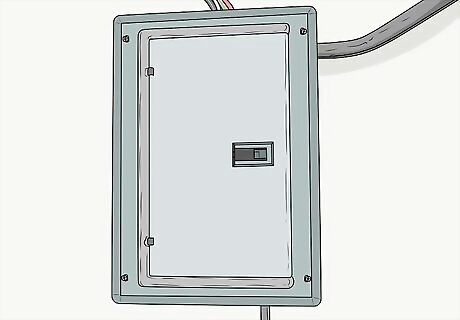
Connect the wires to your switch/outlet/splice in the electrical box. Repeat for the connections at the other end. Add any required cable supports (e.g., staples, clamps, brackets).
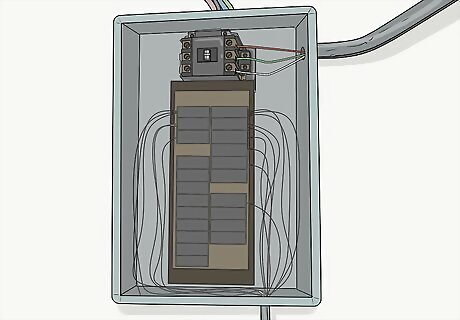
Visually verify that your wiring is complete, no exposed conductors remain. Double-check within anyone else working with you, for safety, before proceeding to the next step.
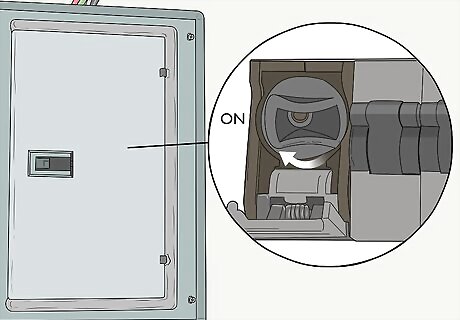
Energize and test the circuit. Schedule any necessary "final" inspection. Polyethylene outdoor Ethernet cables are more resistant to extreme temperatures than regular Ethernet cables. They are made for the outdoors and are prone to the atmosphere. They are made of polyethylene and can cope with the weather.


Comments
0 comment