views
Setting up Your Oxygen Concentrator
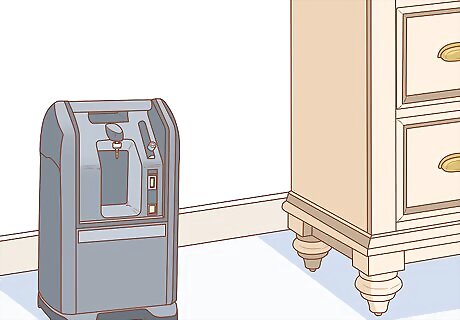
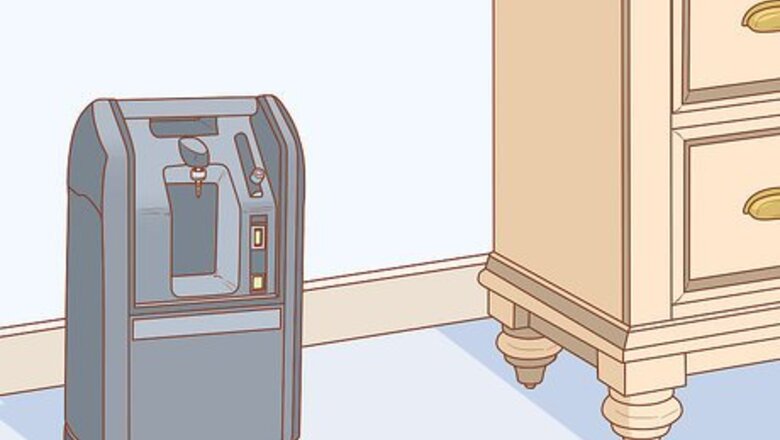
Position the machine 1 to 2 feet (0.30 to 0.61 m) from the wall and furniture. The machine needs to pull in oxygen and release exhaust, so it needs plenty of space. Make sure the area around it is unobstructed. In addition to needing space for air circulation, the oxygen concentrator will become very hot, potentially causing a fire risk if it’s near items like furniture or curtains.
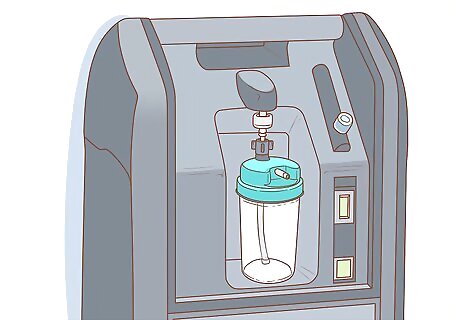
Connect your humidification bottle if one is prescribed. Fit the threaded cap on your humidification bottle into the outlet on your oxygen concentrator. Slowly twist your bottle until it’s securely attached to the machine. The location of your outlet will vary depending on your model, so you'll need to check the manual that came with your machine. In many cases, the outlet is on the side of the machine near the dials. Always use distilled or filtered water in your humidification bottle. Unscrew the cap on the top of the bottle, then fill it with water. Screw the cap back on before attaching the bottle to your oxygen concentrator. Change your water every time you use the machine. You will likely be prescribed a humidification bottle if your doctor prescribes you an oxygen flow rate greater than 2-3 liters per minute (LPM).
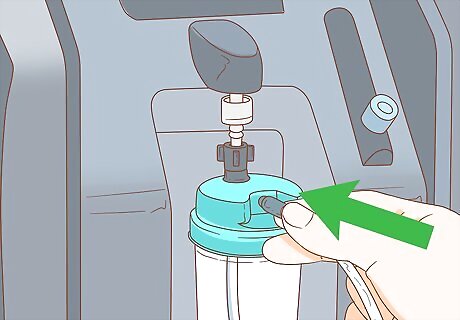
Attach your oxygen tubing to either the humidification bottle or an adapter. If you’re using a humidification bottle, you will see a port on the bottle. This is where you insert your oxygen tubing. If you don’t use a humidification bottle, you will use an oxygen adaptor, also called a Christmas tree adaptor, to attach your tubes. It looks similar to a tiny funnel, with one large end and one pointy end. The oxygen adaptor fits into the outlet on your machine that you would typically use for a humidification bottle. You just need to fit the larger side of the adaptor into the outlet. In most cases, you will simply push the adaptor into the outlet. If you're having trouble, check the manual that came with your machine.
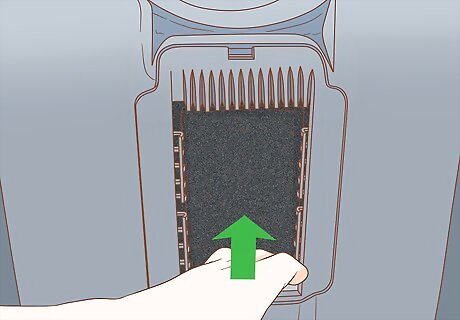
Make sure your air filter is in place. Your oxygen concentrator has an air inlet filter that removes particles and allergens from the air. It should be located on the side of your machine. On occasion, you might remove or change the filter, so always double check to make sure it’s there before you turn on your machine. You should remove the filter from the back or side of your oxygen concentrator once a week. Wash it in warm water, then squeeze out the excess water. Pat it down with a clean towel before returning it to your machine.
Turning It On
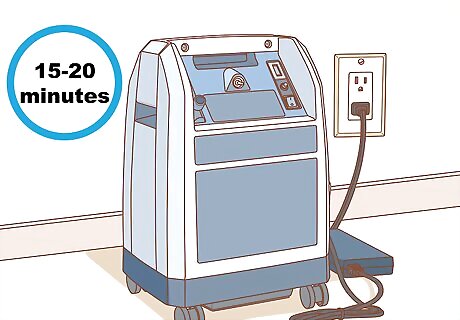
Start your oxygen concentrator at least 15-20 minutes before using it. It takes time for your oxygen concentrator to begin cycling the correct concentration of air. That means you’ll need to have it on for awhile before you begin breathing in the air the machine produces. Plan accordingly. To determine exactly how much time your machine needs to be on before the oxygen concentration is correct, follow the instructions on your model or the directions provided by your doctor.
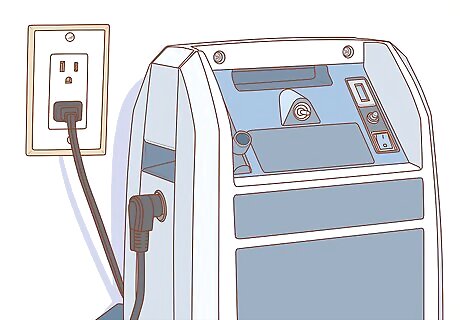
Plug it into a grounded outlet that’s not in use. Your oxygen concentrator should be the only item plugged into that outlet, as it will draw a lot of power. If your outlet is not grounded, it’s safe to use an adaptor. A grounded outlet will have 3 prongs instead of 2. Some older outlets only have holes for the typical side-by-side prongs on an electrical cord, but your oxygen concentrator will have a third round prong on the plug. Do not use an extension cord, as this causes a fire risk.
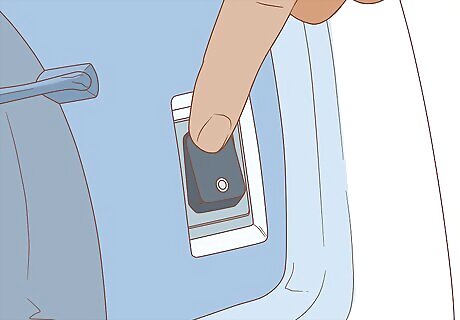
Switch the power button to the “on” position. The switch should be labeled as “on/off,” but it might also be labeled as “start.” Lights will come on and you'll be able to hear the noise of air being pulled in and released. Make sure the machine is in the "off" position before you plug it up. It could get damaged if it's already switched "on."
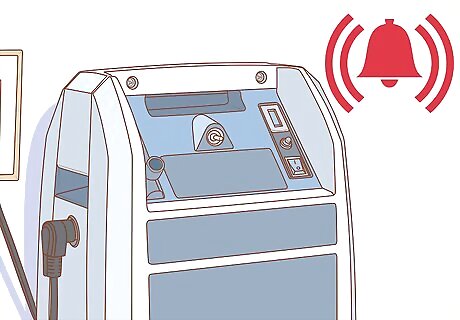
Listen for the alarm. Your oxygen concentrator should sound an alarm when it’s turned on. This is to make sure it’s not accidentally turned on when it’s not supposed to be. After a few seconds, the alarm will become silent. The alarm will sound every time the oxygen concentrator is turned on. You will also hear an alarm if the power flow is interrupted.
Adjusting Your Oxygen Flow Rate
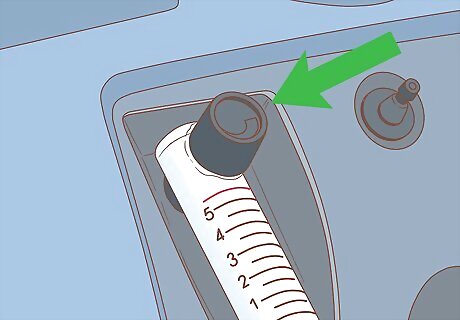
Locate the liter control knob or switch on your oxygen concentrator. What your knob looks like can vary, but it should be the main knob or switch on your machine. It may be marked for liters per minute (LPM) or levels, such as 1, 2, 3, etc. The knob or switch will likely have numbers next to it, though the exact markings will depend on your model. Check your machine’s manual to make sure you’re using the right knob or switch.
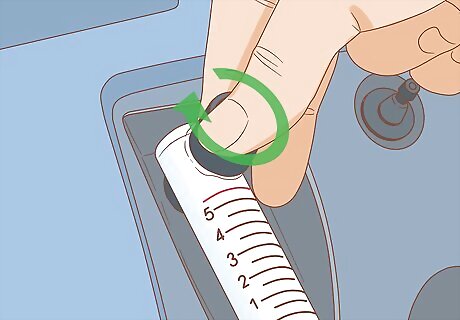
Turn the knob or switch until it points to your prescribed number. Your doctor will prescribe the appropriate amount of oxygen for you. If you aren’t sure about which setting to use, call your doctor for clarification. It’s very important that you use the right amount of oxygen, so don’t just guess. Either check your written prescription or call the doctor.
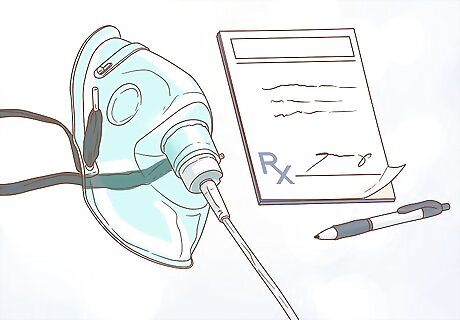
Avoid using more or less oxygen than your doctor has prescribed. Using the wrong oxygen setting can be harmful. Follow all of your doctor’s instructions! If you think you’re not getting the right amount of oxygen, talk to your doctor about it. Don’t adjust your oxygen on your own.
Putting on Your Mask or Nasal Cannula

Check your tubing for kinks or bends. These can interrupt the flow of oxygen, so smooth them out if you find any. It’s okay for your tubes to coil a bit, such as in a big circle, as long as the air can flow freely. If there is a kink, you might not get all of the oxygen you need. You may need to replace your tubing if it won't straighten out.
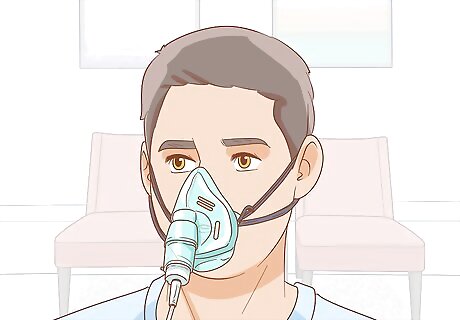
Put your mask over your face for low levels of oxygen. Make sure there are no gaps around the edges of the mask. Place the elastic attachment on the mask over your head or around your ears, depending on the style of your mask. Shift the mask around until it feels comfortable. Adjust the mask if it shifts or becomes loose.
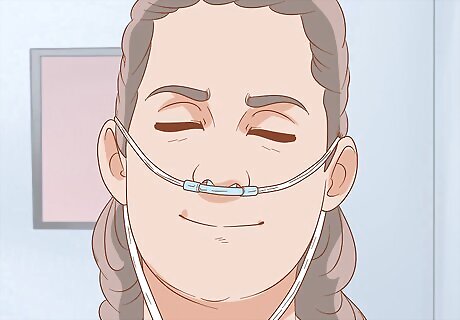
Fit your nasal cannula upward into your nostrils for high levels of oxygen. Each prong of the cannula should curve up into one nostril. Once the prongs are in place, loop the tubes over your ears. Adjust the tubes under your chin by sliding the tube adjustor up or down. Put your nasal cannula in water to check if they're working. Watch for bubbles caused by the air flowing through the tubes. Adjust the tubes until they’re comfortable once you put the nasal cannula in.
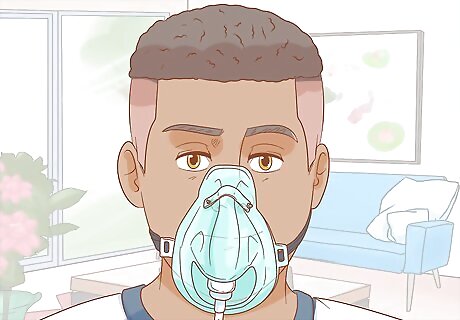
Breathe through your mask or nasal cannula. Take breaths as you normally would, allowing the machine to supplement your oxygen. Use the machine for as long as your doctor recommends.
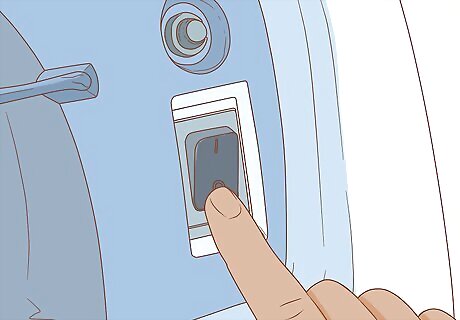
Switch the power to "off" when the machine isn't in use. Press the same button you used to turn it on. The machine can become overheated while it's on, causing a risk of fire. It's important to not leave it running when it's not in use.





Comments
0 comment