
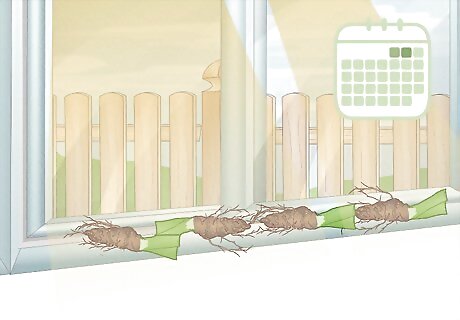
Removing Bulbs
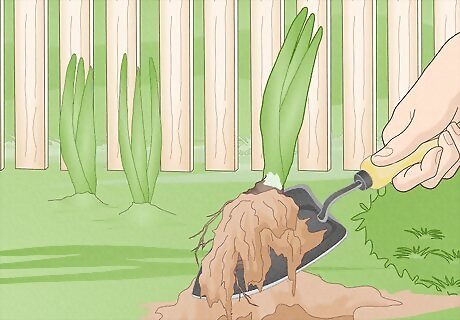
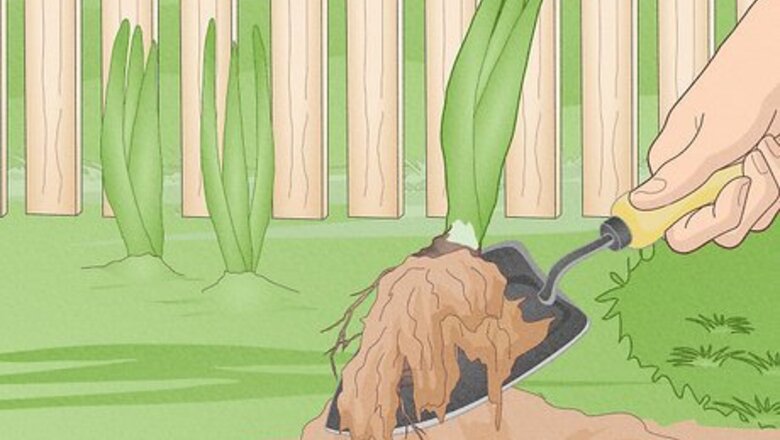
Dig up the bulbs carefully using a spade. Make a small hole about 2 to 3 inches (5.1 to 7.6 cm) around the area where your irises are growing. Dig until you reach the bulb, then set your spade aside to continue uncovering the bulb with your hands. The bulb might have roots growing from it. In that case, be very careful and try to keep as many roots intact as possible while you’re removing it from the ground. Always wear gloves when handling bulbs to avoid possible irritation of the skin.
Brush off excess soil with your hand or a scrub brush. Remove as much soil as possible from the bulb and its roots, being careful not to damage the bulb or its roots. You can use a bag to transport the bulbs, but be sure to carry them very carefully and avoid dropping or jarring the bag.

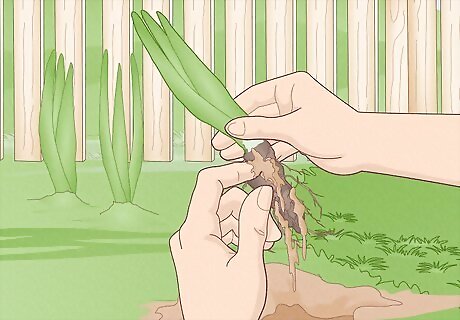
Inspect each bulb for damage or disease. Irises are particularly susceptible to pests that bore holes into the bulbs. Check the underneath of every bulb for holes and other signs of disease such as rotting or visible infestation. If the bulb is damaged during its removal, discard it. Damaged bulbs will likely not last in storage and can begin to rot in the container, potentially damaging the rest of your bulbs.
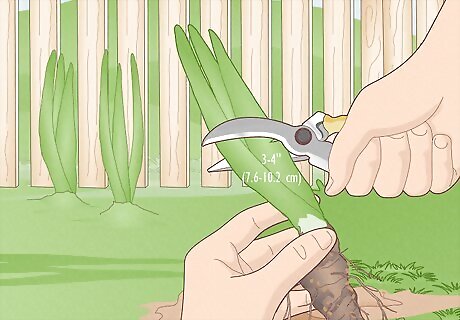
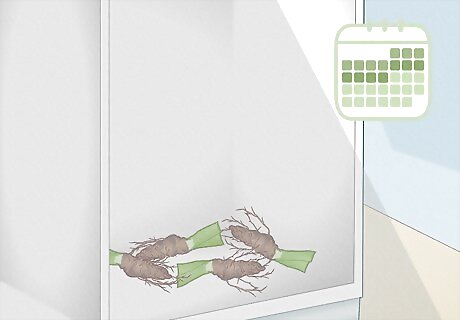
Trim the leaves to 3 to 4 inches (7.6 to 10.2 cm) using pruning shears. If your bulbs have leaves that are still intact, very carefully trim them all to length without damaging the bulbs. This will prevent drying or rotting of the leaves and allow the bulbs to conserve energy while in storage. If your bulbs don’t have any leaves when you dig them up, you can skip this step in the process.
Place the bulbs in the sun for 1-2 days to dry. The bulbs need to be completely dry to the touch before curing. Placing them in the sun will allow them to dry out without damaging the delicate bulbs. If it isn’t sunny on the days that you’re storing the bulbs, place them inside near a window. It can take 3-4 days for the bulbs to completely dry indoors.
Curing the Bulbs
Place the bulbs in a cool, dark place for 2 weeks to cure. After the bulbs have dried out, they’ll need to cure before you can store them. To get the bulbs adjusted to being outside of the ground, let them sit in an area that is around 70℉ (21℃) with good ventilation. Keeping the bulbs away from sunlight will prevent excessive drying, which will cause the bulbs to die when replanted. Try to choose a windowless room like a basement, garage, or garden shed.
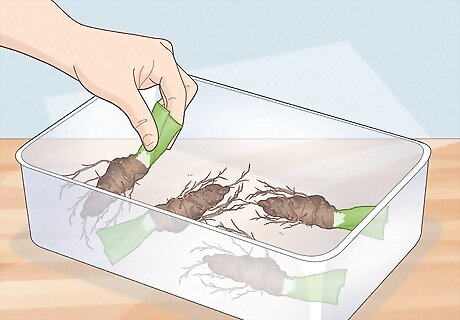
Select a shallow storage container with ventilation. A good storage container will have enough space to hold all of your bulbs in a single layer of storage medium. The container doesn’t need to have a lid or covering on the top because the bulbs require a lot of air. You can use a box or a plastic container as long as it’s clean and dry. Be sure to wipe out the container completely before use. Try to avoid storing the bulbs in layers because this can cause the lower layers to rot or dry out in storage.
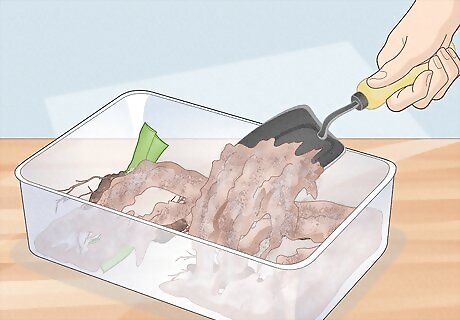
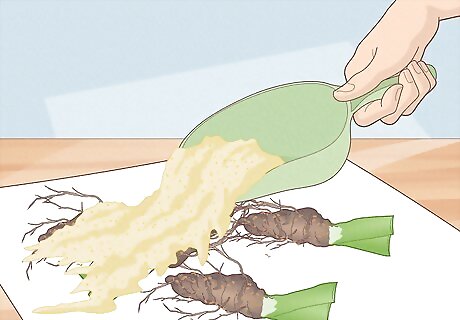
Make a mixture of equal parts sand, damp peat moss, and fine wood shavings. The amount of each will depend on the shallowness of your container. Fill the container with equal parts of each ingredient until there’s enough to cover your bulbs in a single layer. Then, mix the medium thoroughly using your hands.
Coat the bulbs in anti-fungal or sulfur powder after they’ve finished curing. You can find these powders at any home improvement store or garden center. Simply dust each bulb in a thin layer of the powder to protect them from rotting while in storage. Always remember to wear gloves and work in a well-ventilated area when handling chemical powders!
Check the bulbs every 2-3 days to ensure they aren’t dried out or rotting. Throughout the curing process, keep an eye on your bulbs to ensure that they aren’t drying out or rotting. Sometimes, bulbs can develop signs of disease after being removed from the ground. Look for browning, soft bulbs. After 2 weeks, you can remove the bulbs from their curing area and begin to prepare them for longer-term storage.
Keeping the Bulbs Safe Indoors
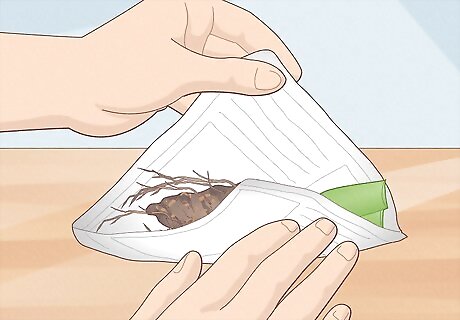
Wrap the bulbs in newspaper if you don’t have storage mix. The newspaper will keep the bulbs dry and separate in the container while still allowing you to check on them periodically. Wrap each bulb individually in one layer of newspaper before placing them in the storage container. Be careful not to wrap the bulbs in multiple layers of newspaper, as this can cause them to become too dry.
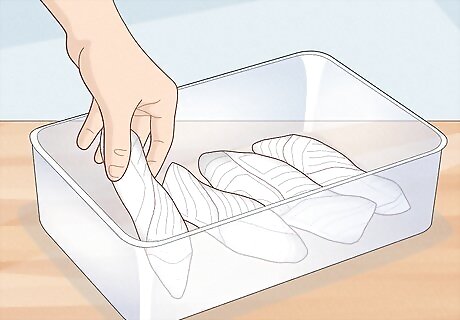
Place wrapped bulbs in the storage container. You can use the same container as you did for curing the bulbs. Make sure your bulbs are in a single layer and each bulb is completely covered by newspaper. The bulbs can touch, but make sure they aren’t packed too tightly! You should be able to move the bulbs around and rearrange them with little effort. If you need to layer the bulbs, place a layer of newspaper in between the bulbs to protect them further.
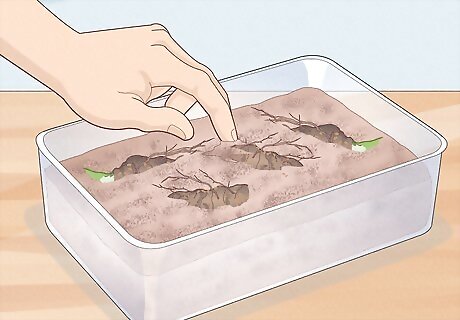
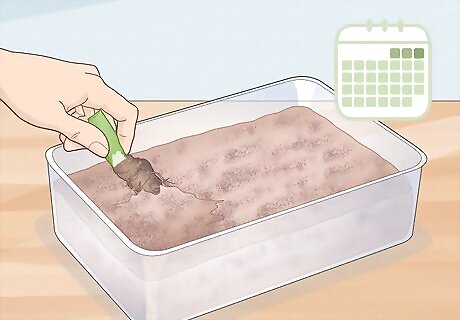
Nestle the bulbs in the storage mixture so they are 75-100% covered. If you aren’t using newspaper, start by clearing a small hole for the bulb using your hand, and place it in the area that you’ve prepared. Then, cover the bulb with the storage medium, pressing lightly on the area to ensure that it is secure. If you have to layer the bulbs in the container, include a layer of newspaper between each layer of bulbs and storage medium. This will protect the bulbs on the bottom from rotting and help to maintain moisture.
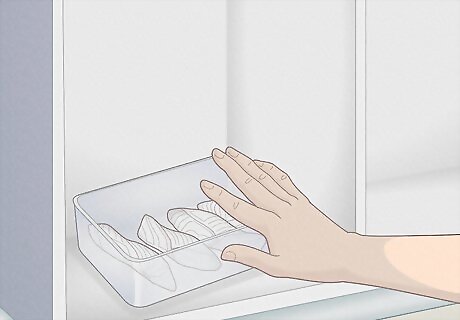
Place the container in a cool, dim location that is well ventilated. Good storage spaces include a basement, garage, or garden shed that has windows that can be opened or closed. Make sure the container is left uncovered and there are no pests or molds near the container.
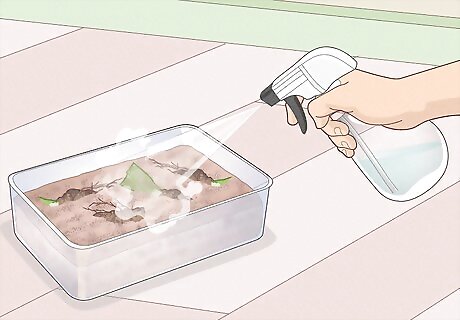
Mist drying bulbs lightly with water when the leaves begin to brown. Check on the bulbs and the storage medium once per week. If you notice your bulbs are drying out and browning, mist them very lightly until the surrounding mixture is damp to the touch. Avoid getting water on bulbs that aren’t drying out, as this can cause rotting.
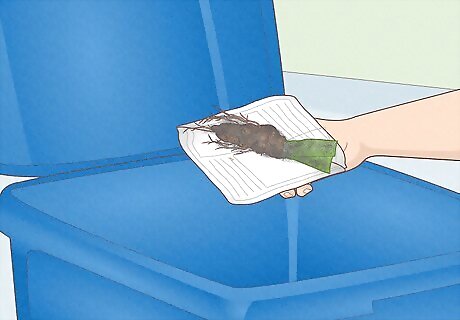
Remove and discard bulbs that are soft or mushy to the touch. Rotting bulbs will feel soft, rather than firm like healthy iris bulbs. If you notice one of your bulbs has started to rot, remove the bulb and the surrounding storage medium, wrap it in newspaper or a bag, and throw the bulb away immediately. A good way to check for rotting once per week is by gently pressing on the medium around the bulbs. You shouldn’t be able to press all the way down into the bulb.
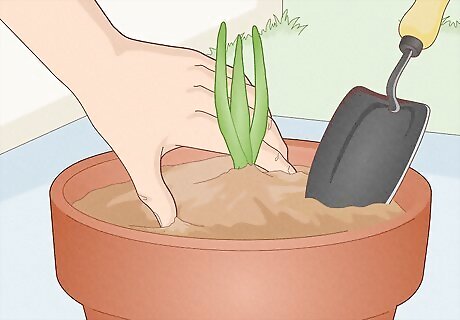
Replant your Irises after they have been stored. Iris bulbs won’t last a very long time in storage, so you should consider options for transplanting or forcing indoor growth for the bulbs after 3-4 weeks of storage. If you notice a lot of your bulbs are beginning to rot or dry out, plant them as soon as possible.


Comments
0 comment