
Getting a Well-Fitting Bra
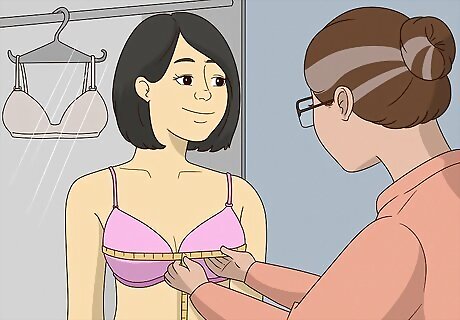
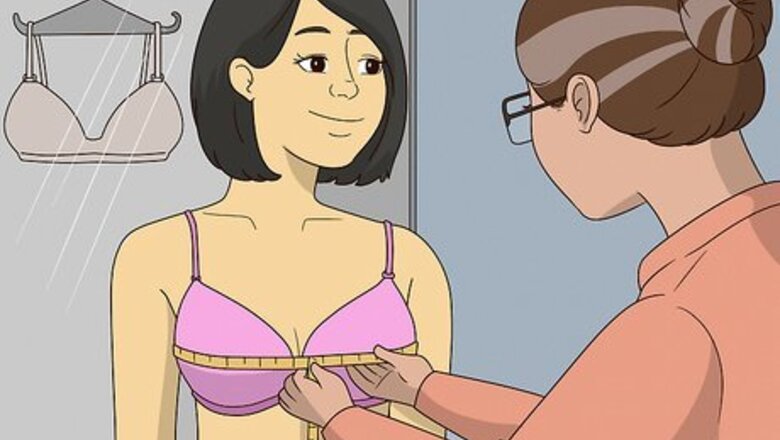
Get a professional fitting. The best way to get a good fit is to have a professional take your measurements. Most lingerie stores will do a fitting for free. Be aware that a good bra fitting takes time (at least 15 minutes) and a bit of trial and error. Tell the fitter that you are looking for a bra that won’t ride up in the back.
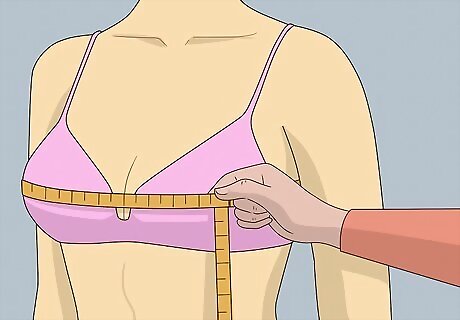
Measure your band size. The most common reason for ride-up is that the band is too big. You can avoid ride-up by getting a bra with a snug band. Have a professional measure your band size, or do it yourself by wrapping a measuring tape firmly around your rib cage directly below your breasts. Once you have a measurement in centimeters or inches, check a band size chart to find your size. Note that band sizes may vary by country or region. For example, a size 28 in the US is a size 60 in most European countries. If your measurement is an odd number (e.g., 41), try bra sizes on either side of your measurement (e.g., bras with bands sized 40 and 42). If your bra is riding up in front rather than in back, you may need a bigger band size.
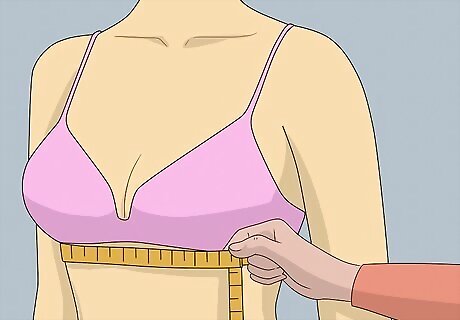
Measure your cup size. If your cups are too small, even a well-fitting band might be forced upward by the excessive pressure on the cups. Measure your bust size by wrapping a measuring tape around your chest at nipple height, loosely enough that it does not compress your breasts at all. Subtract your band size from your bust size, then consult a size chart to determine your cup size. For example, using US sizes, if there is a difference of 3 inches (7.6 cm) between your bust and band size, your cup size should be a C. A difference of 4 inches (10 cm) would be a D, and so on. If your bra is constantly riding up in the back (or your bra straps are falling off your shoulders), you likely need to size down on the band while either staying at the same cup size or going up 1 cup size.
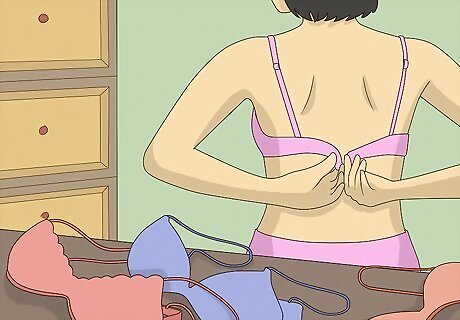
Test out a few bras until you find the right fit. Not all bras are created equal, even if they have the same measurements. Try on a few bras in your size until you find one that does not ride up in the back. The band should fit firmly, ride fairly low on your back, and stay parallel to the floor rather than curving upwards. If you’re used to wearing an oversized bra, a well-fitting band may feel a bit tight at first. However, it should not be so tight that it is painful or uncomfortable. There should be just enough give that you can slide a fist under the band in back.
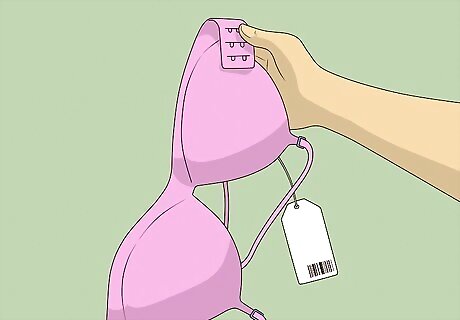
Replace your old bras. Bras get stretched out over time with a lot of wear and washing. If your bra starts to ride up even on the tightest setting, it may be time to replace it with a new one. You can wear most high-quality bras about 100 times before they start to lose their fit. Extend the life of your bra by giving it a rest between wears. Avoid wearing the same bra two days in a row.
Making Adjustments
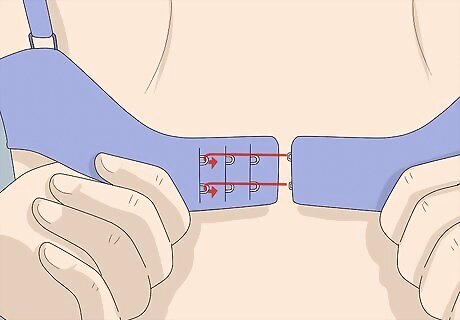
Tighten the band. If your bra band is the right size but is still riding up, you may need to wear it on a tighter setting. Most back-fastening bra bands are adjustable, with 2-4 rows of hooks that will allow you to wear the band at various levels of tightness. Try bringing your band in until you find a secure fit.
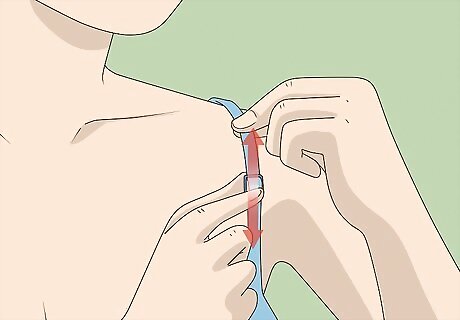
Loosen your straps. Sometimes the problem is not the band, but the straps. Straps that are too tight may yank the band upwards, causing your bra to ride up. If your band fits firmly but still rides up, loosen your straps a little. Don’t loosen them so much that they slip off your shoulders.
Keep your band in place with garters. Some people face extra challenges in keeping their bras from riding up. For example, if you’ve had a mastectomy, you may find it exceptionally difficult to keep your band in place, even if you have a specially designed bra that fits well. Try using “bra suspenders” to clip the band to the top of your pants or underwear. Use long sock garters, or make your own suspenders by attaching suspender clips to each end of a 3 inch (7.6 cm) elastic band.
Modifying your Bra
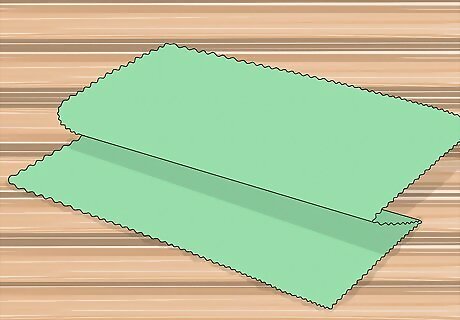
Buy a bolt of stretchy swimsuit fabric or Lycra. Keep your bra from riding up in front by turning it into a DIY body-shaper. Start by purchasing some stretchy swimsuit fabric from your local craft or fabric store. You will be sewing this fabric into a tube and attaching it to the bottom of your bra band. This method is especially useful if you’ve had a mastectomy and want to keep your bra from riding up in front. Avoid pre-made body and bust shapers, since they are designed to push your breasts up and may compress scar tissue. Swimsuit fabric is usually sold in bolts that are 60 inches (152 cm) wide. Purchase 1/3 of a yard (12 inches, or 30.5 cm). You will end up with a bolt that is 12 inches by 60 inches (30.5 cm by 152 cm).

Measure your bra band. Hook your bra shut, set to the tightness level at which you normally wear it, and lay it out flat with the band straight. Measure the width of the band.
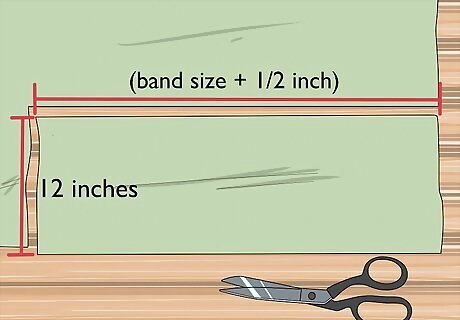
Cut your fabric. You will be cutting out a section of fabric about 12 inches (30.5 cm) long and slightly wider than the width of your closed bra band. Cut the fabric so that it is ½ an inch (1.3 cm) wider than the bra band, so that you will have room for a ¼ inch (0.6 cm) seam. For example, if your closed bra band is 32 inches (81 cm) across, your fabric piece should measure 12 inches (30.5 cm) by 32.5 inches (82.6 cm) after you cut it. If you want a tighter fight that will control your shape more, cut two pieces of fabric of the same size and lay them on top of each other to create a double layer.
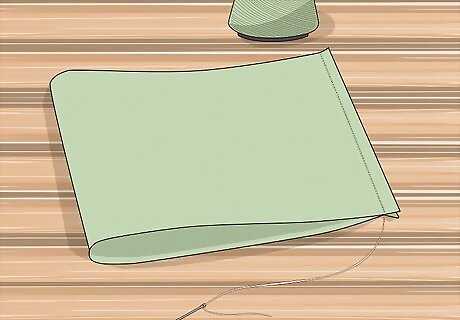
Sew the short ends of the fabric together to make a tube. Fold over your piece of fabric so that the short ends meet, with the more rough or matte side of the fabric facing out. Pin the short sides together, then sew them together about ¼ inch (0.6 cm) in from the edge. If you are using a sewing machine, set it for a wide, 3-step zig-zag stitch. Trim the seam to tidy it up when you are done. You may also wish to fold the seam over and stitch over it again to make it more secure.
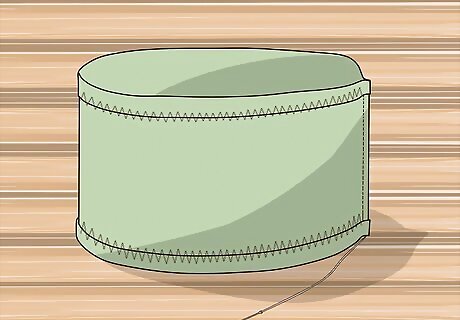
Hem the top and bottom of the tube. Fold over about a half inch (1.3 cm) of the top edge of the tube and run a zig-zag stitch all the way around to create a hem. Do the same on the bottom.
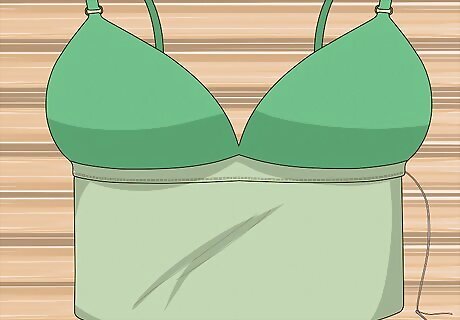
Sew the top of the tube to the bottom of the bra band. Turn the tube glossy-side out. With your bra still closed at the same setting where you usually wear it, slide the very top of the tube inside the bottom edge of your bra band and pin it in place. Carefully sew the top edge of the tube into the bottom edge of the bra band from the outside of the bra. It helps to divide the bra band and the tube into quarters before you sew. Insert pins to mark off the center front, center back, and half-way point of each side.
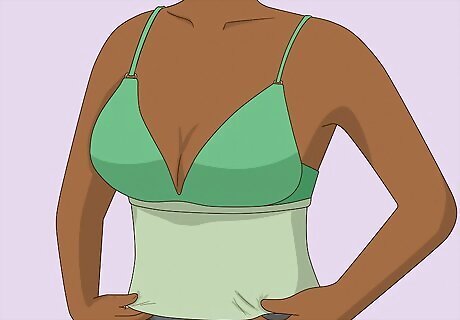
Step into your modified bra and pull it up. Once you’ve stitched on the fabric tube, you won’t be able to unhook your bra anymore. Fortunately, the bra band and the swimsuit material are both stretchy, so you should be able to pull the bra up easily over your hips.
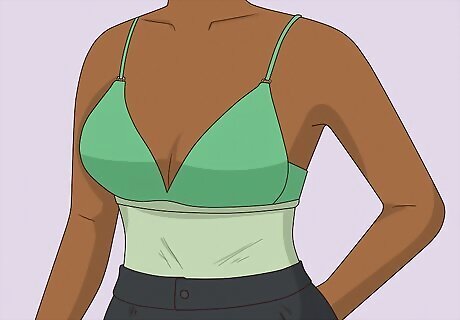
Tuck it in. Tuck the bottom of the tube into the waistline of your underwear and pants or skirt to prevent the tube (and your bra) from riding up.


Comments
0 comment