
Installing DHCP Server Role
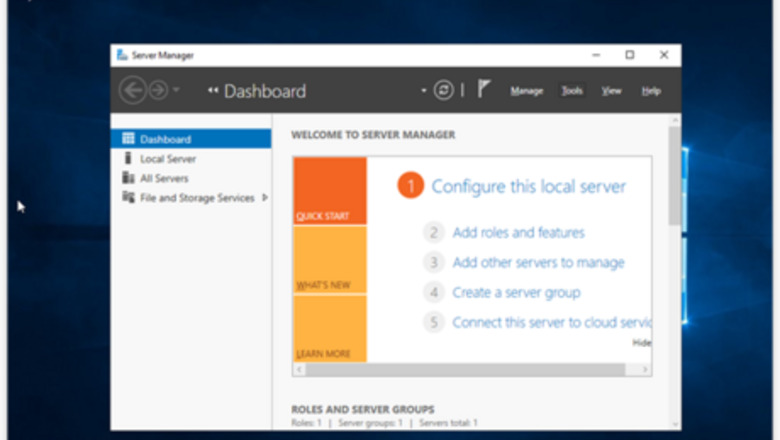
Open the Server Manager app. Go to the Start menu by clicking the Windows icon in the bottom left hand corner of your screen. Search for "Server Manager". Then, click "Open". Alternatively, click the icon on your taskbar if it is pinned there. You can also press ⊞ Win+R to open the "Run dialog" box. When this appears, type "servermanager" and press the ↵ Enter key or click Ok.

Select the roles and features you require. To make the computer function as a DHCP server the DHCP server role needs to be installed. To begin this process, make sure you are on the orange "Quick Start" option and press Add Roles and Features. This is the second option down in the "Quick Start" menu.
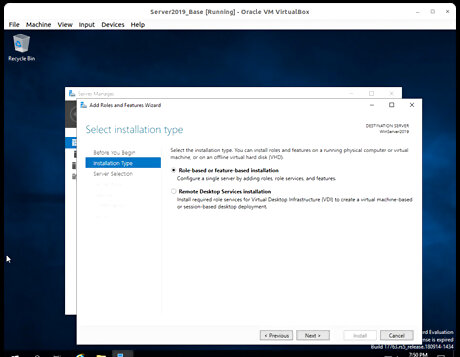
Select the installation type. Click Installation Type and select your desired option. Most of the time, “Role-based or feature-based installation” is what should be selection. If a virtual session of the role is to be used instead, select “Remote Desktop Services installation." When you are done, click Next. Role or feature-based installation refers to the installation of server roles or features directly on the server where the service will run. Remote desktop installation refers to the process of installing server roles or features on a remote server. You access this via a Remote Desktop Protocol (RDP) session. This allows administrators to manage and configure servers remotely.
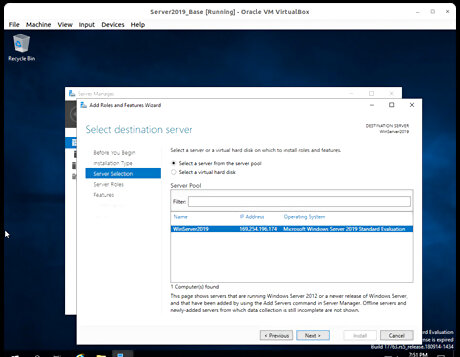
Click on your local server. Select the server from the drop down list provided. This will most likely be the computer that you are actively using. When you are done, click Next.
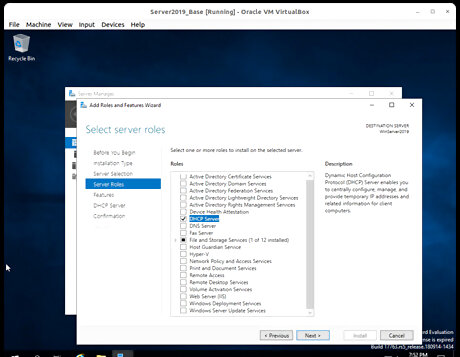
Select the server role to install from the list. Check the DHCP box. By doing this the DHCP server role will be selected for installation. If a popup appears, click Add features. When you are done, click Next.
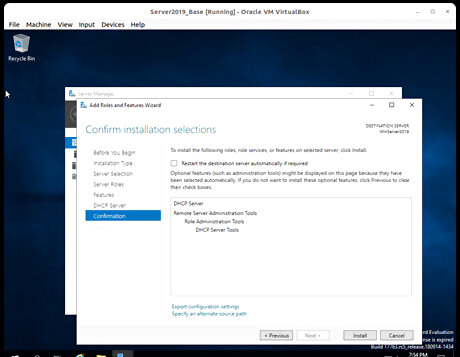
Click Install. Shortly after you press Next, the Install button next to it will become available, and you can click it to begin the installation process.
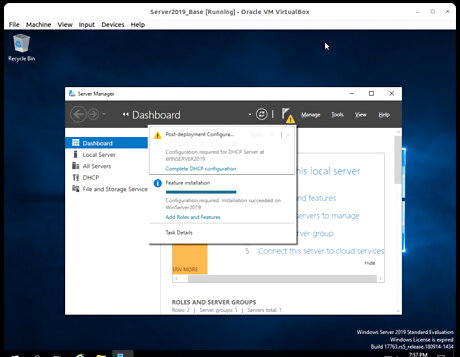
Select the blue text that says “Complete DHCP Configuration”. After clicking this, the computer will then have the DHCP role installed.
Configuring DHCP
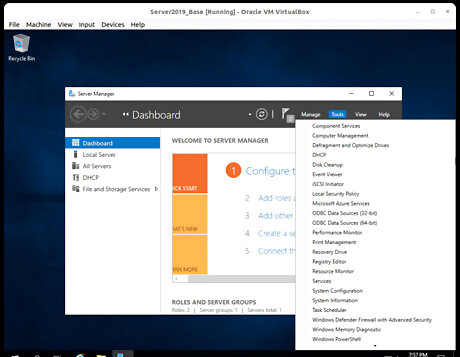
Click the Tools dropdown in the top right hand corner of the Server Manager app screen. From the menu that appears, click DHCP. This will allow you to configure and manage the DHCP server role. DHCP will be the fourth option in the list that appears.
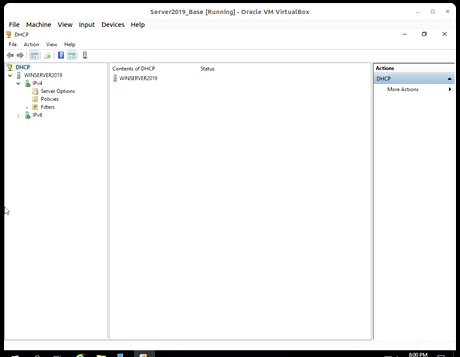
Navigate to IPv4 in the left hand column, underneath your local server name. When managing DHCP, the layout of the DHCP manager is laid out with the server it is installed on and then categorized by IPv4 and IPv6 addressing.
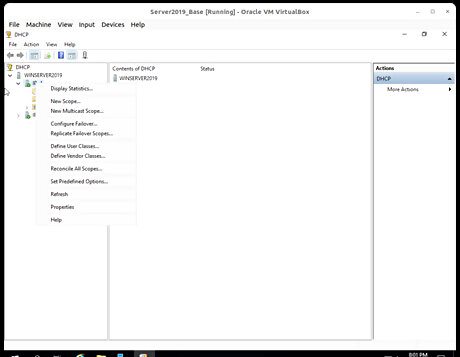
Right click the IPv4 option you have navigated to in the left hand column. Click New Scope..., which is the second option in the list that appears. Adding a scope will allow the DHCP server role to function. Through the scope you can configure the server role should operate.
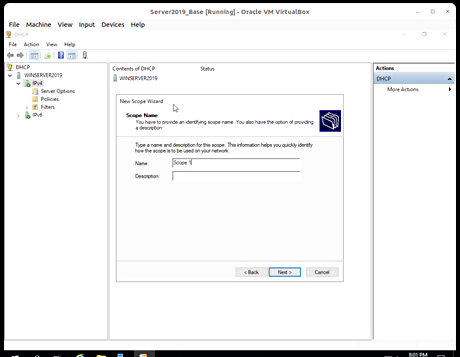
Name the scope, and add a description if necessary. This will help identify the scope later on if it needs to be managed. When you are done, click Next.
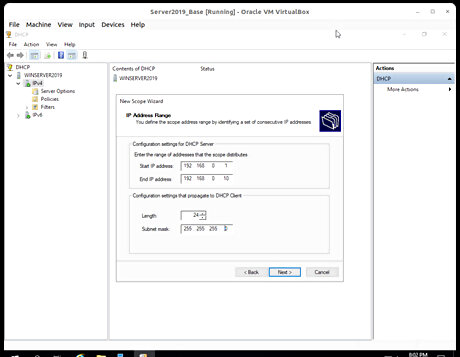
Input an IP address range. This will tell the service role the range of addresses it can hand out to devices on the same network, for example from 192.168.0.1 to 192.168.0.10 as pictured. When you are done, click Next.
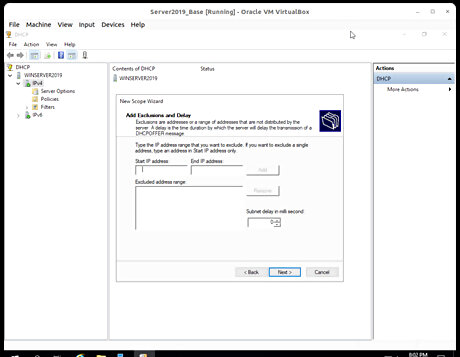
Add an exclusion range (optional). An exclusion range is a range of addresses that will not be assigned to devices on the same network. When you are done, or to skip this step, click Next.
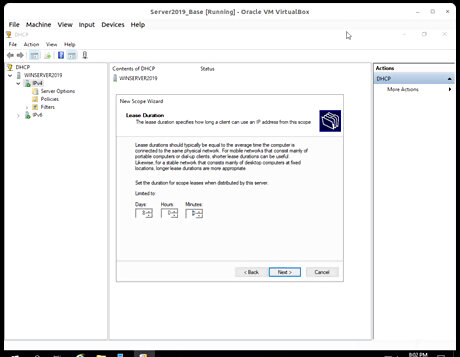
Add a lease duration. The lease duration can be configured by days, hours, and minutes. This setting will define when a new IP address will be assigned to all the devices in the scope. Use the arrows to toggle between numbers, or click into the box and type in the desired timeframe in the "Days," "Hours," and "Minutes" boxes. When you are done, click Next.
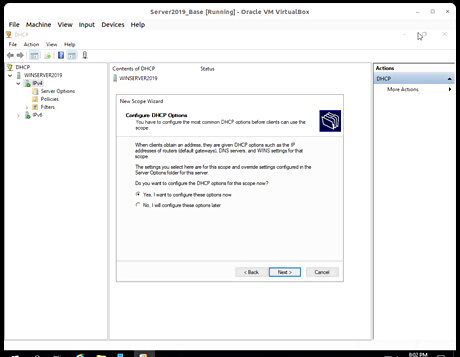
Click the box next to “Yes, I want to configure these options now” option to allow for your desired settings to be applied to the new scope. Then, click Next.
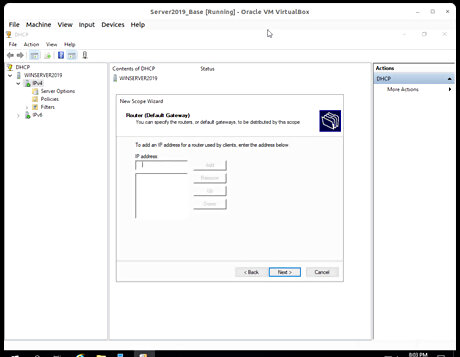
Input the router IP address in the box. This is also known as the default gateway. When you are done, click Next. If the router IP address is not known, you can find it in the Command Prompt app. Go to the Start menu by clicking the Windows icon in the bottom left hand corner of your screen. Search for "Command Prompt" and click Open. Type in "ipconfig" in the window that appears and hit ↵ Enter on your keyboard. Your IP address will appear on the screen.
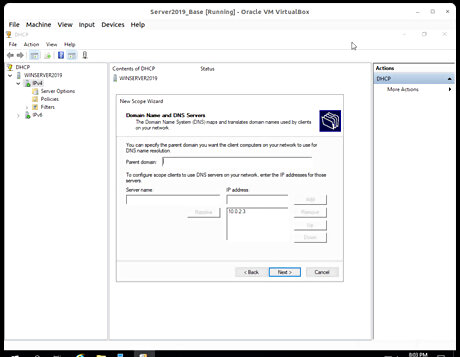
Enter your parent domain name and your DNS name and IP address, if applicable. If you are setting up a DHCP server in an environment with a parent domain and DNS, you must fill out these boxes. When you are done, or to skip this stage, click Next.
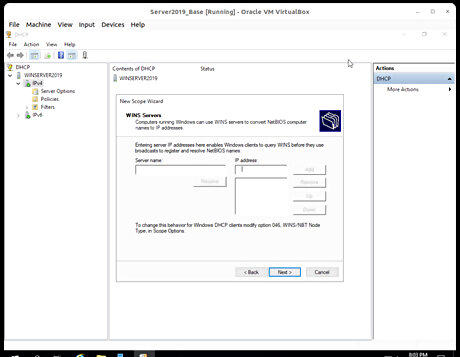
Enter your WINS server information if you have one set up. Not every environment will have this, but if there will be a WINS server on the same network as the DHCP server, then the information for the WINS server can be put here. You will need to input a server name and IP address. When you are done, or to skip this step, click Next.
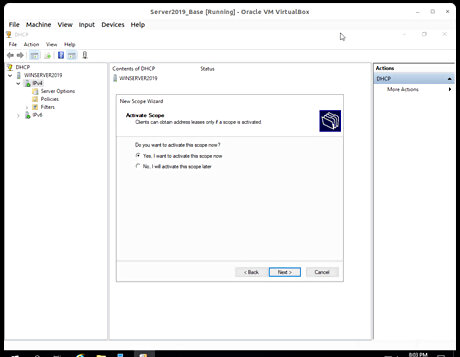
Activate the scope. Check the “Yes, I want to activate the scope now” option and click Next and then Finish. The scope will be created and activated, and your server setup and configuration is finished.


Comments
0 comment