views
Picking Your Supplies
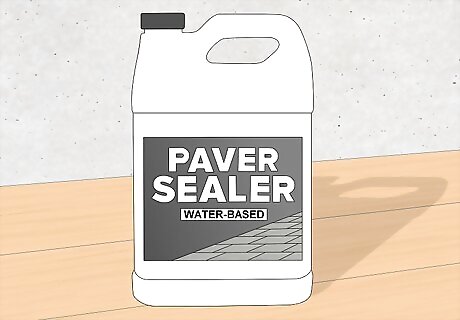
Choose a water-based sealer if your pavers are laid with joint sand. Water-based sealers are sprayed on and give an even coverage. The main benefit of a water-based sealer is that it hardens the joint sand and penetrates into pavers better. This ends up creating a hard seal over the entire paved area. Water-based sealers do not darken the stones or give a high amount of shine to the pavers. Choose this sealer for bricks that are porous and won't shine much anyway. If you are unsure what type of pavers you have or you aren't sure which sealer is best, consult a home improvement store employee. Water-based sealers often require that you apply more than one coat to the paved area.
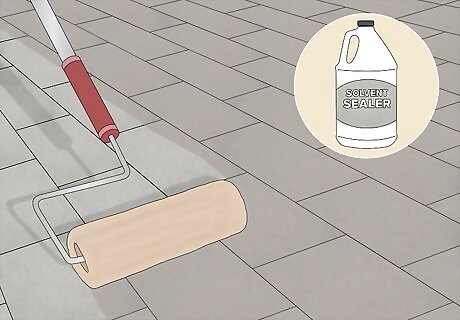
Buy a solvent sealer to darken stones and make them shine. Solvent sealers can give a much higher gloss to the stones than water-based sealers. The downside is that they do not harden sand as effectively. This sealer is great for smooth, non-porous stones. If your pavers are laid tightly together without joint sand, this is a good option. Solvent sealers are often thicker than water-based sealers, so you may be required to use a roller rather than a sprayer.
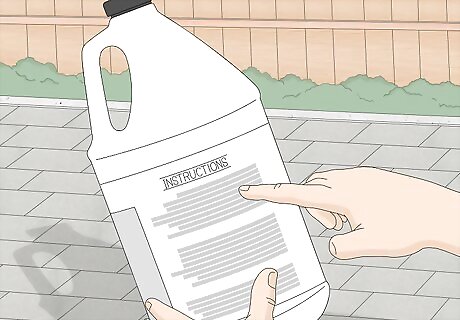
Read the instructions for proper application. Sealers may be sprayed on with a pump sprayer, laid with a nap roller, or a combination of both. Follow the instructions on the sealer you buy to use the proper tools. Thin sealers can often be sprayed on, which is much faster. Thicker sealers may need to be rolled, which can be slower and won't always cover as evenly. Some sealers are sprayed on but require that you backroll the pavers to even out the coating.
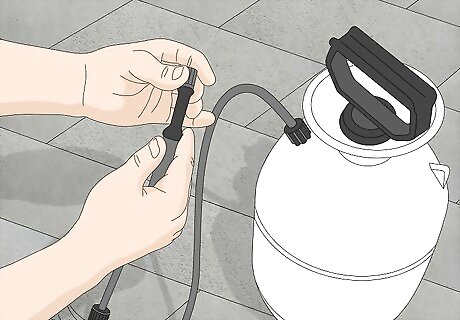
Use a sprayer with an adjustable nozzle head. For best application, you want a nice wide fan spray, so be sure that the sprayer you use has either multiple head attachments or an adjustable spray pattern. Never use a sprayer that shoots a narrow stream. A bug sprayer is a good option for this. They are widely available at hardware stores, and they are often inexpensive.
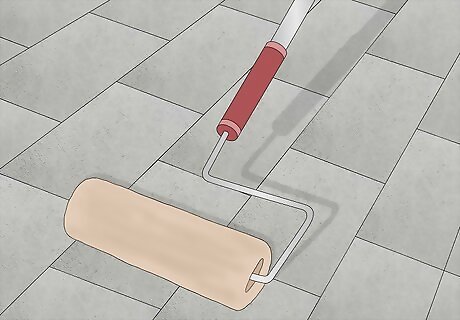
Use a roller of appropriate thickness. Many sealers will require that you lay them with a roller rather than a sprayer, and in this case it is important that the roller is thick enough. The sealer will most likely give you instructions about this. For example, one sealer might suggest a roller with a 1” thick nap. This is important because if the roller is not thick enough, the sealer will not get down into the cracks between the pavers and thus won't seal as well as it should. A roller that is too thick might coat the sealer on too thickly as well, and you won't get an even coat across the pavers.
Applying the Sealer
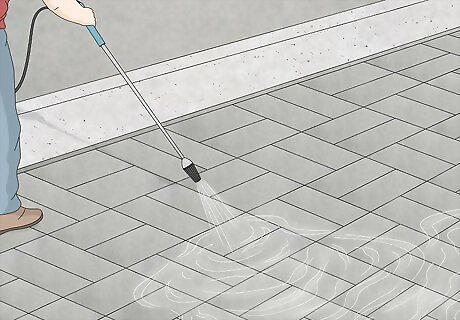
Wash the pavers. Sealing without cleaning first is only going to seal dirt and grime into the pavers. You can power wash the pavers, as long as there isn't sand in between that would be washed away. You could use some dish soap and hot water for areas that have oil or tire marks from cars. A stiff broom will help scrub the pavers clean. Let the pavers dry for at least 24 hours before you continue. The type of pavers and the way they are laid will determine the best washing method. If the pavers are packed tightly together, power washing is a great option, but not if the pavers are laid with sand between them. It's rarely a good idea to sand-blast pavers. If the pavers make up a driveway that has a lot of car traffic, wash the pavers more thoroughly to get as much of the grime off as you can. Smooth pavers that don't retain much grime might be sufficiently cleaned with a quick broom sweeping.
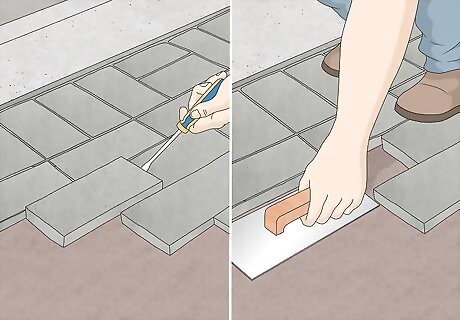
Level crooked pavers. Sometimes pavers settle unevenly, which creates a tripping hazard in areas that people frequently walk. Lift any uneven pavers and level the spot where they're sitting by adding or removing sand under the paver. If your pavers are laid tightly together, lifting any of them up to even them out may not be an option. Still, sealing is more effective when the pavers are all level.
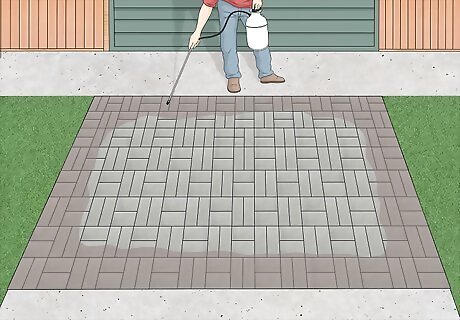
Seal the pavers one section at a time. To make sure you cover the whole paver area, work in a specific pattern. A good option can be going around the entire outer edge of the area first to establish a border, then dividing the rest of the area into 3-5 sections depending on how big it is. For example, a 100 square foot patio could be done in four 5ftx5ft sections. Start at a corner farthest away from your exit, and work your way out towards the exit. This will keep you from walking across the sealant at the end.
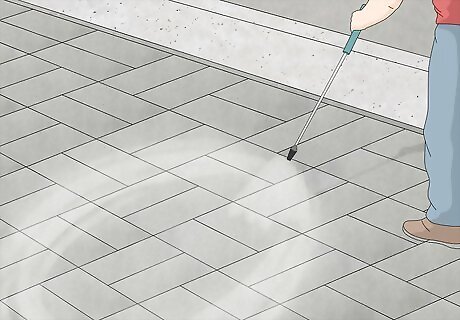
Move the sprayer nozzle in a circular motion. The sealer will make stones appear darker when they get wet, but it can still be helpful to use a consistent motion. You can move the spraying nozzle in circles for the best coverage. You don't want to cover some areas with more sealer than others, so it is important to pay attention to what stones you cover as you spray. Try not to use too much sealer, as it will take longer to dry. A light layer is all you need. If you are working in a small area, you may not have a hard time keeping track of what you have sealed, but if you are doing an entire driveway it becomes more important.
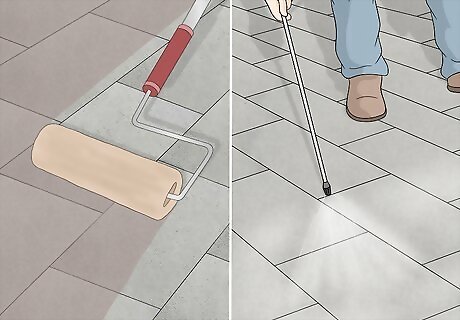
Finish the whole job at once. Sealing pavers is not the kind of thing you want to break up into multiple rounds of work. If you don't do the whole thing at one time, it's likely that you will lose track of where you have already sealed. The amount of time it takes you to seal the entire area will depend on how big it is. A small patio may only take 20 minutes, but an entire driveway will likely take you a couple of hours.
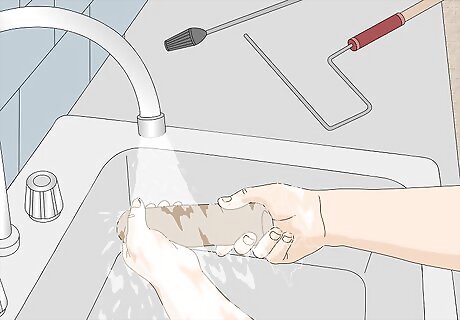
Clean the sprayer or roller. Rinse the sprayer or roller thoroughly immediately after you finish the project. If you let the sealer sit for too long it will harden on your equipment. If you don't want to wash the roller, you can throw it away. Make sure to spray water through the nozzle until the water runs clear to clean the hose as well. When you read the sealer instructions, see if there are any special instructions about cleaning equipment. You may need lacquer thinner or something stronger than water to clean the sealer out of your sprayer.





Comments
0 comment