
Open your document in Word. You can open the document within Word by clicking through File > Open or you can right-click the file in your file explorer and select Open with > Word.
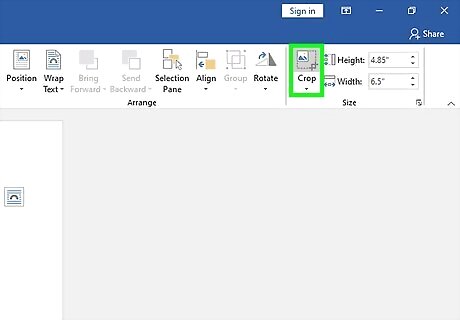
Crop your image. For a more detailed explanation of the process, read How to Crop a Picture in Word. Use the Insert feature in the Insert tab to pick a picture. When you've done that, click the picture to select it, then click Crop > Crop then drag the edges of the box to cut out what you don't need in the picture.
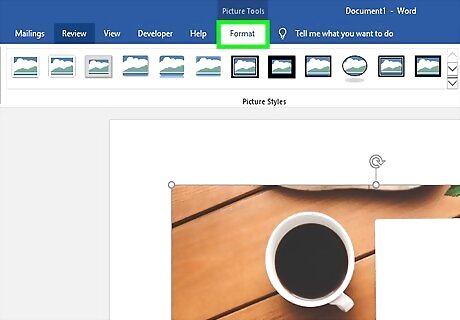
Click the Format tab. You should see this either in the editing ribbon above your document or along the top of your screen.
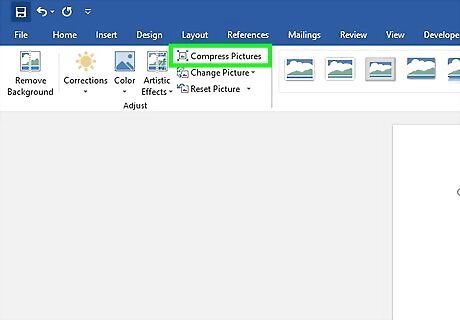
Click Compress Pictures. You'll find this in the Adjust grouping and a box will pop-up.
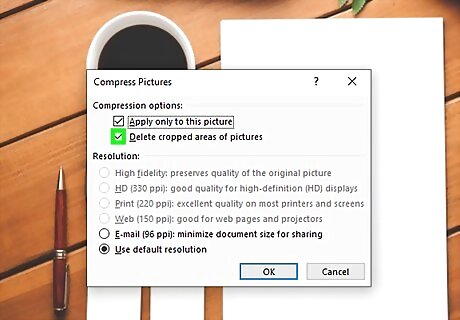
Check the box next to "Delete cropped areas of pictures." If this isn't checked, the image will be restored to its original settings when the file is opened again.
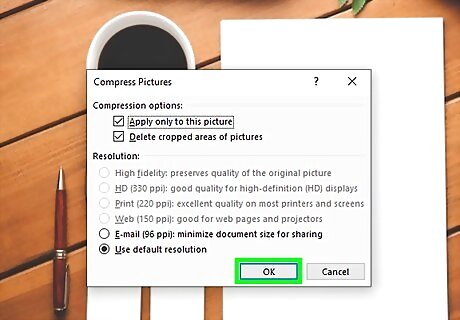
Click OK. You'll see this at the bottom of the pop-up window.
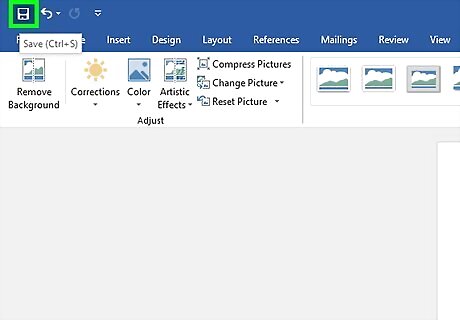
Save your document. You can go to File > Save or press Ctrl+S (Windows) or ⌘ Cmd+S (Mac).


Comments
0 comment