
Disassembling the Motor
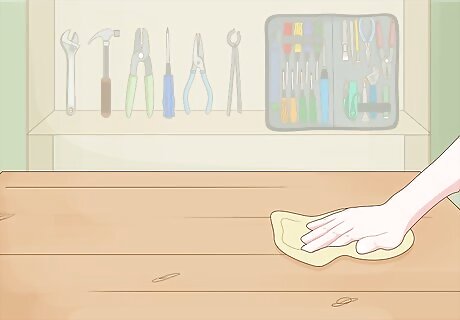
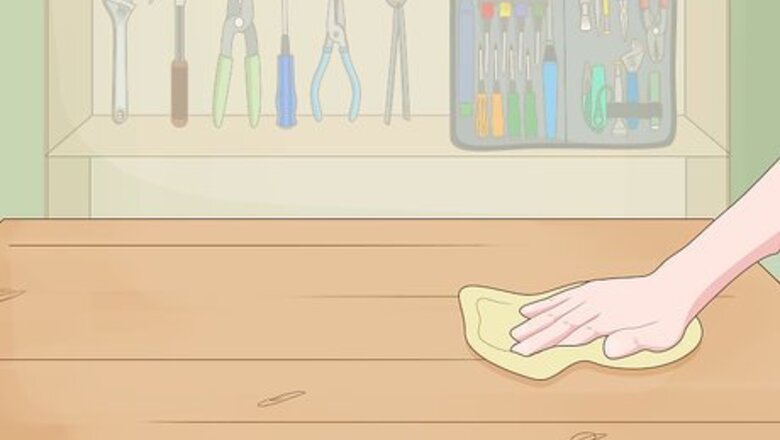
Wipe off your work surface with a lint-free cloth. Run the cloth lightly over the table, desk, or work bench where you’ll be doing your tinkering to remove any standing dust or debris. It should be completely clean before you crack open the motor. Working on a dirty surface could introduce dust or debris into the motor housing. It’s especially important to make sure there are no metal shavings in the area, as you’ll be working with magnetic parts that can accidentally attract them in if you’re not careful.

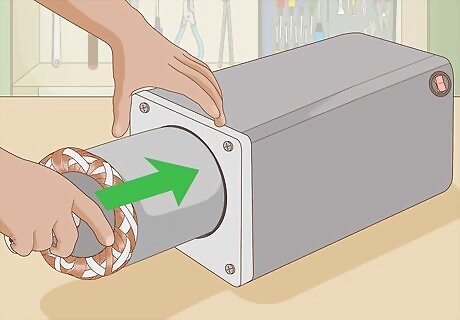
Remove the motor’s outer housing. On most types of small motors, this will require you to unfasten four screws from around a small endplate on the top and bottom of the unit. Once they’re out of the way, you’ll be able to see each of the motor’s primary internal components, including the stator, armature, and windings. The stator is a fixed steel drum encircling the innards of an electric motor. It typically carries the electromagnet. The armature (also known as the “rotor”) is a small bearing-like piece in the center of the motor construction. When it receives the magnetic force of the stator and windings, it spins, powering the motor. The windings are long coils of copper wire typically located around the stator. They channel electromagnetic energy into the rotor to cause the motor to turn.
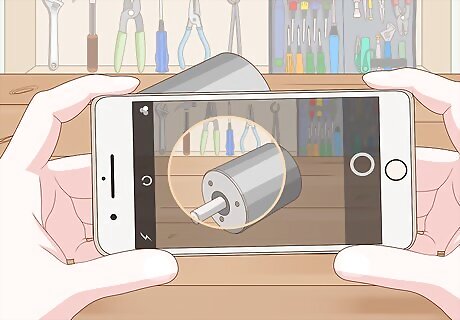
Take pictures of the motor’s current configuration. Snap a few photos of the inside of the motor from different angles and make a note of the way each of the main components looks. Documenting the motor’s appearance before you begin making modifications to it can be helpful in case you make a mistake. You could even make a video recording of the deconstruction process in order to ensure that you’re recreating the original winding pattern and connections precisely.
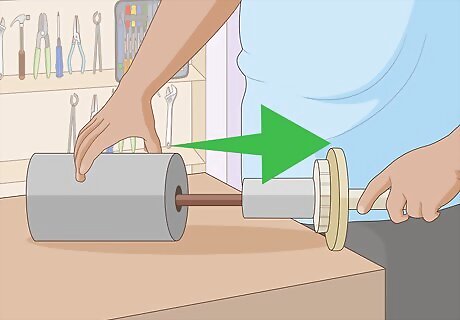
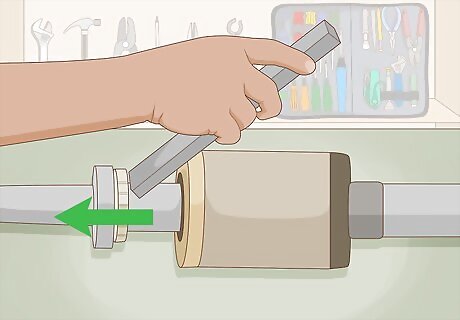
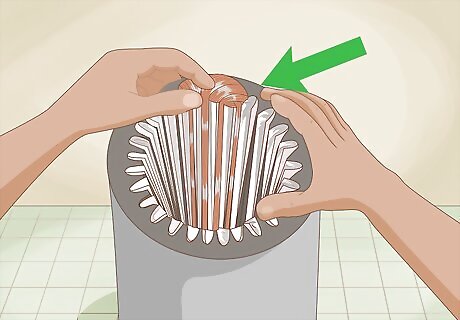
Force the armature out of the stator by hand. Once you’ve removed the upper endplate from the motor housing, guide the armature straight out the bottom of the circular stator, along with the attached lower endplate. You'll encounter some resistance from the magnets around the stator, which means you may have to push a little harder than you might expect before it will give way. Wear gloves to protect your hands and avoid transferring the oils from your skin to any part of the stator or armature. Be careful not to damage the armature or any of the surrounding parts of the motor, especially the conductive copper commutation pads. Once you’ve removed the stator and armature, set the housing aside where it won’t accidentally attract stray metal pieces.
Removing the Original Windings
Use a screwdriver to pry open the tabs on the brush pads. Wedge the tip of a flat-blade screwdriver underneath the thin metal tabs, then pull up gently on the handle to lift them enough to loosen the coiled wire. On some motors, there may be as many as 12-16 tabs in total. Try to bend the tabs as little as possible to avoid damaging them. If one of them happens to break off, you may have trouble keeping the replacement windings in place later on.
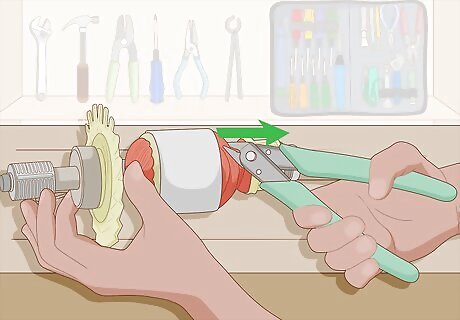
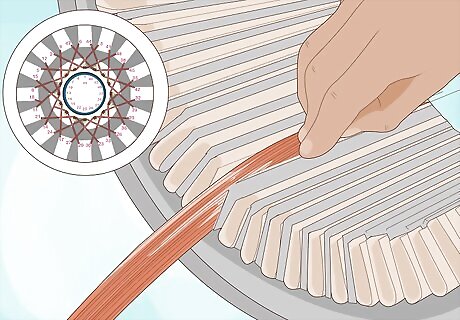
Cut the old windings free using a pair of wire cutters. Depending on the type of motor you’re working on and where the problem lies, the faulty windings may be found on either the stator or the armature. Snip each coil of wire where it connects at the top of the protruding posts. Cutting out the spent windings can be painstaking work. It may be necessary to sever one wire at a time to make removing the coils more manageable. Be sure to count the number of winds in each coil so that you can rebuild the motor in the exact same configuration.
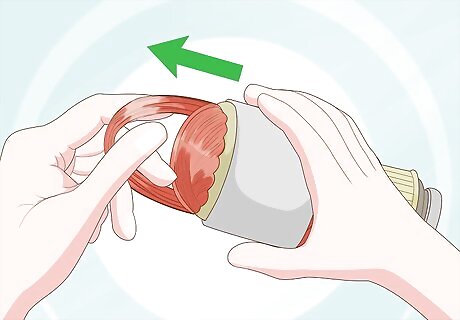
Pull the cut coils free of the armature or stator by hand. Once you’ve cut every last connection, the old windings should come out with a couple of tugs. If you're having trouble getting them started, use the tip of your screwdriver or a pair of pliers for extra leverage. Before you handle the cut coils, pull on a pair of thick work gloves to safeguard yourself against cuts and scratches. If the coils refuse to budge, it's possible that they haven't been severed completely. Look for connections around the posts or bottom of the coil that you might have missed.
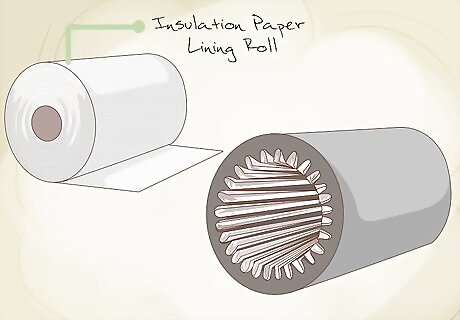
Replace the insulation paper lining the stator if necessary. First, pull out the old paper out of the slots in the stator using a pair of pliers or tweezers and make sure the empty slots are free of debris. Then, measure the width of the slots and cut a sheet of insulation paper into strips of the same width. Fold the strips gently and slip them into the slots in the stator individually by hand. If the insulation paper that’s already in place appears to be in good shape (it should be clean and intact), you can simply leave it where it is and begin the rewinding process. If it appears burnt or otherwise damaged, it’s a good idea to replace it before proceeding. Do not, under any circumstances, attach the new wire directly to the bare steel stator or armature posts. The coils must be insulated at all times. You can order electric motor insulation paper online from suppliers that carry electrical materials.
Installing the New Windings
Rewind the armature or stator using the same gauge of wire. It’s important that the wire in the new coils be the same thickness and have the same number of winds as the original windings. Otherwise, it may be a poor fit or cause conductivity issues. Run a search for your engine's voltage online to see what gauge of wire it's commonly fitted with. If you don't see the voltage displayed anywhere, you may have no choice but to eyeball it. If you’re unable to find magnet wire in the same gauge as the motor’s original windings, opt for a size larger rather than smaller. Thicker wire can slow the motor down slightly, but presents less risk of overheating. Consider using this opportunity to upgrade from outdated enamel-coated wire to a higher quality variety, such as nylon and polyurethane-coated wire.
Recreate the original winding pattern for each set of coils. The exact configuration you use will depend on the specific type of motor you’re repairing. To ensure optimal performance, take great care to make each coil tight, precise, and compact, without any unnecessary crimping or spacing. Leave the end of your first winding free and make sure it’s long enough to reach one of the metal tabs circling the brush pads. Unless you’re familiar with the necessary winding pattern, it’s recommended that you leave the job to a professional. Your motor may not work correctly if you make a mistake.
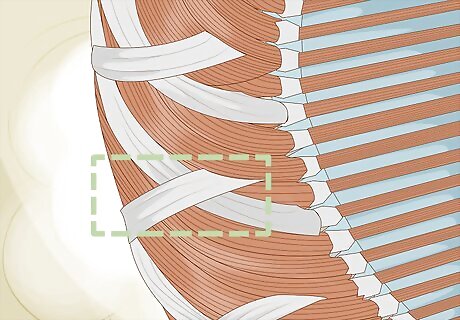
Secure completed windings using the tabs around the stator. Every time you finish a section, lower the tabs down over the coils. This will help hold them in place while you work and ensure a proper connection once the motor is operational. If you wish, you can remove a small amount of insulation paper from the spot where the wire makes contact with the tab using a sharp knife or sandpaper to improve the connection.
Connect the loose ends of the first and last windings to the starting tab. Twist the two wires tightly around the edge of the tab. Doing so will complete the circuit, allowing energy to flow from the generator through the windings to the armature. Double-check to make sure that none of the wires connected to the tabs are touching one another.
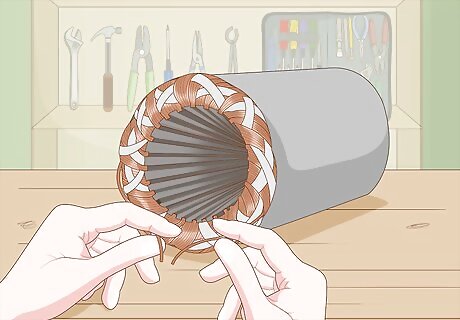
Reassemble the motor. Once you’ve successfully rewound your motor, reinsert the armature into the stator and fit both pieces back into the motor housing. Replace the end-plates on either side of the unit and tighten the screws until they’re secure. If you’ve done everything properly, your motor should function like new. If you don't remember how the motor is supposed to fit together, refer to the photos or videos you took earlier.

Test the motor out. Reinstall the motor in the device it came out of and give it a trial run. If it doesn’t work, there’s a good chance you made a mistake somewhere along the way. At this point, you’ll have no choice but to take it in for professional repairs or purchase a new motor. Turn the motor off immediately if you see smoke or detect a burning smell. It's possible that the new windings are overheating, or that there's a short somewhere in one of the connections.


Comments
0 comment