views
- Pull down firmly on the left side of the motor unit, becuase this is the cover to the control panel. The side should fall down and reveal the controls.
- Press the "Learn" button to de-link any smart devices that are currently connected to your garage door.
- To link a new opener, hold "Learn" until you see an LED light come on. Hold any button on your new remote, and the device should pair automatically.
Accessing the Garage Door Motor
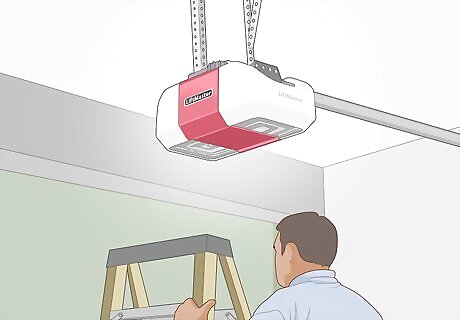
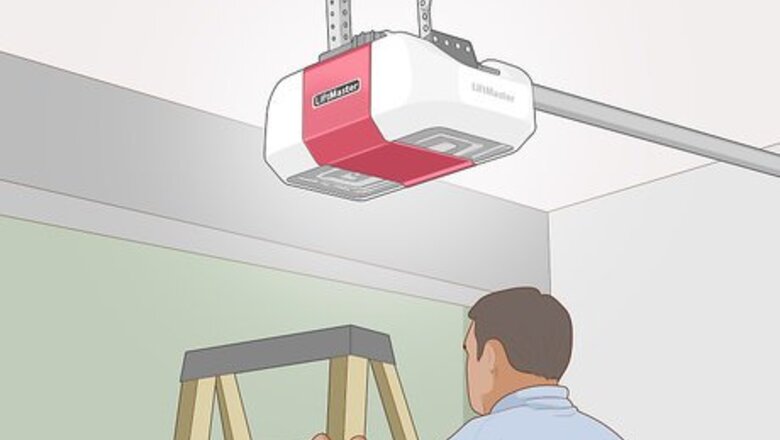
Set up a ladder beneath the garage door motor in your garage. The garage door motor is a roughly 8 in × 5 in (20 cm × 13 cm) box mounted to the roof of your garage. Open the ladder by pulling the 2 metal halves apart from each other and pressing down on the 2 cross-beams. Then, climb up the ladder until you can comfortably reach the garage door motor. If you don’t have a ladder, purchase one from a hardware store or a home improvement store. Or, borrow one from a friend.
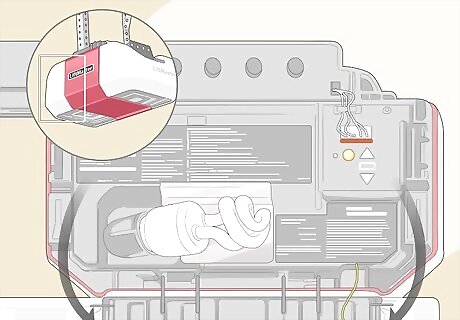
Open the panel on the left side of the motor unit. If you’re standing in front of your garage door and looking at the motor unit, the left-hand light compartment doubles as a panel covering the unit’s controls. Pull firmly down on this panel until it comes away from the motor unit. The hinges at the bottom of the panel will allow it to swivel down without falling. The panel placement may differ from one style of unit to the next. The panel may also be located at the back or side of the garage door motor box.
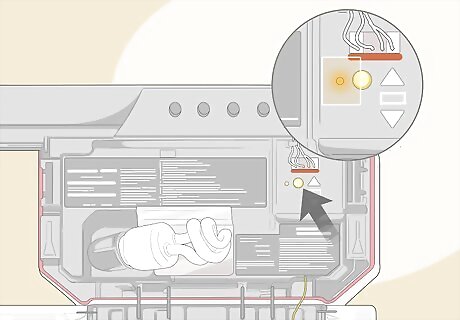
Locate the “Learn” button at the front of the control panel. Once you’ve lowered the light panel out of the way, you’ll see a series of warnings and safety information, a light bulb, and a small control panel. Look over the control-panel area until you spot a small button labeled “Learn.” The button will only be about ⁄2 inch (1.3 cm) in diameter. Depending on the make and model of your garage door opener, the button may be yellow and round or purple and square.
Erasing the Motor’s Memory
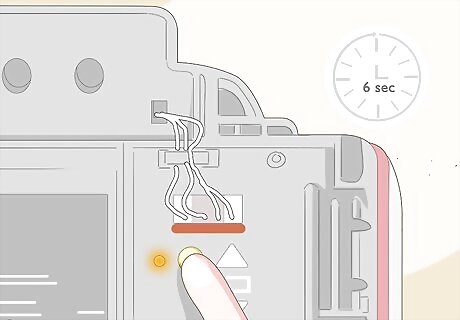
Press and hold the “Learn” button for roughly 6 seconds. Press firmly down on the button to engage it. When you press it, you’ll notice that a small LED lights up next to the button. Continue pressing down until the LED goes out. This will erase all remote-control and keyless entry codes that had been connected to the garage door. If your fingers are too large to push the small button, try poking it with the tip of a pen.
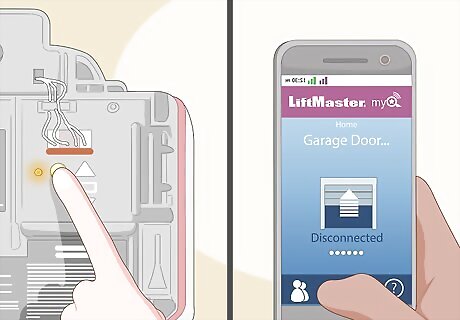
Press and hold the button again to erase linked smart devices. If you have a smart phone or tablet linked to your garage door, they will still be active at this point. If you’d like to de-link these devices, press down on the “Learn” button a second time. Hold it down for 6 seconds. When the light goes out, all linked devices will have been de-linked. Liftmaster smart garage door openers can be connected to smartphones and tablets via the “myQ” setting. To use myQ, download the myQ app from the Apple or Google Play store. Set up an account on the app if you don’t already have one. From there, follow the app’s directions to connect myQ to your home Wi-Fi network and hook it up with your smart garage door opener.
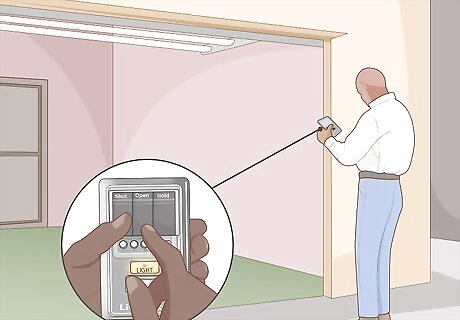
Test the remote-control button to make sure it’s de-linked. Safely climb down from the ladder. Then, fetch your garage door’s remote control opener. Click the button to check and make sure that the garage door does not open. If you de-linked any smart devices, double check those to make sure they can’t still open your garage door either. If you have more than 1 garage door, you’ll need to reset each unit individually.
Linking a New Garage Door Opener
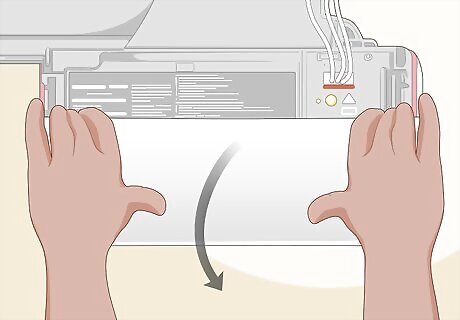
Pull off the bulb cover to expose the motor unit’s control panel. Pry off the bulb cover that covers up the unit’s safety warnings and control panel. If your bulb unit has release tabs on the top right and left corners, press those and then pull down on the bulb panel. Different models of Liftmaster motor units may have the control panel on the back, left, or right.
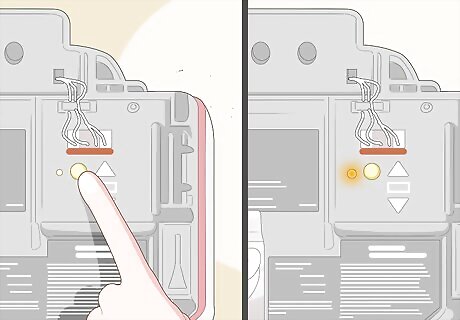
Press the “Learn” button until the LED light comes on. The “Learn” button should be in the top-right corner of the motor unit’s small control panel. Press it down 1 time and don’t hold it. You’ll see a small LED light illuminate. This lets you know that the motor unit is ready to receive a radio signal from the remote unit. If you have large fingers and can’t push the small “Learn” button, press it with the tip of a pen instead.
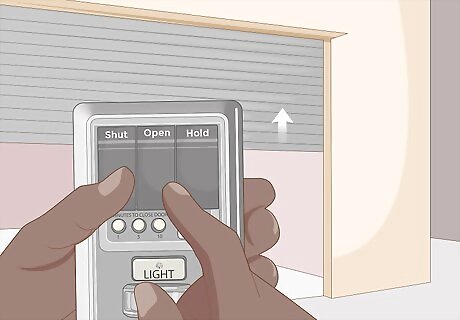
Hold down a button on your remote garage door opener. Within 30 seconds of pressing the “Learn” button, press down on a button on the remote. This will send out a radio signal to the ceiling-mounted motor unit. In the future, when the unit receives that specific signal, it will open the garage door it’s attached to. On most Liftmaster units, the light attached to the motor unit will light up for 1/2 a second to indicate that the remote’s button has been linked.
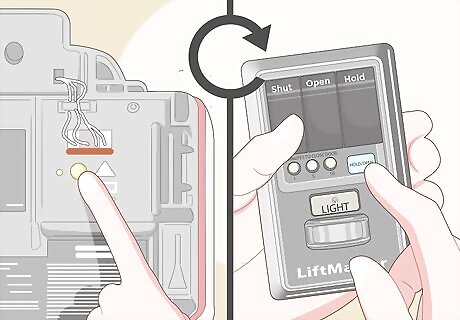
Repeat the process with any additional garage doors. Most remote controls have 2 or 3 buttons on them and can be linked to 2 or 3 garage doors. To link another garage-door motor to your remote, move your ladder over to a second or third ceiling-mounted garage door opener. Remove its bulb cover. Press down on the “Learn” button until the LED lights up. Then press the button on the remote control that you’d like to open that door. Be careful not to press a button that you’ve already linked to another garage door! If you do, pressing the button will open both doors.




Comments
0 comment