views
Removing the Old Door
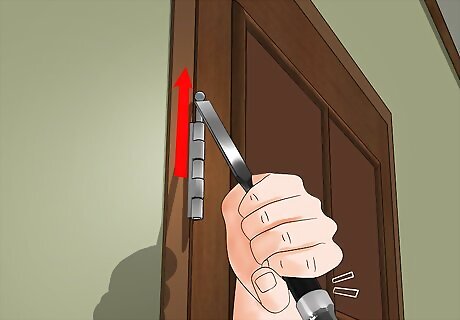
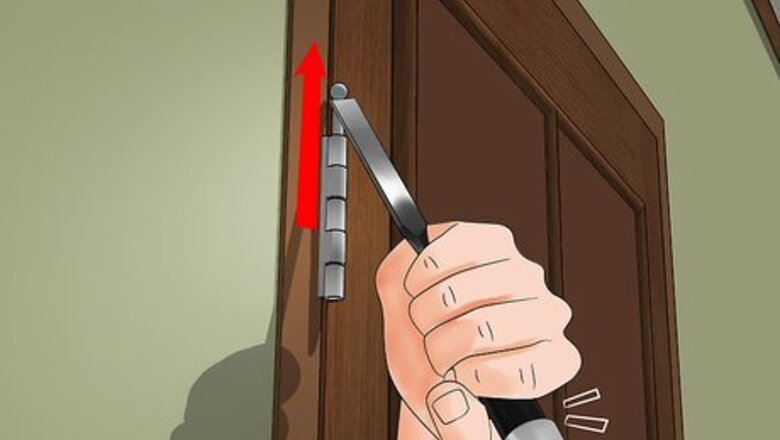
Hammer the hinge pins loose with a chisel. Hold the chisel or a punch underneath the hinge. Tap it into the hinge with a hammer. It'll raise the pin in the hinge, which you can remove and set aside.
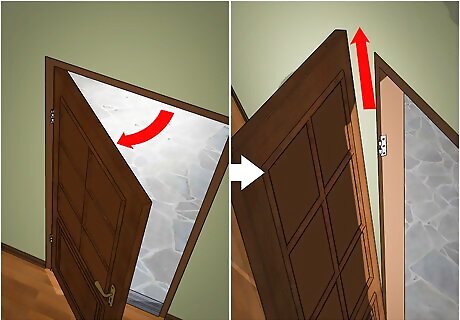
Swing and lift the door to remove it. Swing the door inwards, then lift it off the frame. It'll be heavy, so it helps to have someone else hold onto 1 end. Lay a towel on the floor in the doorway to protect the floor from damage.
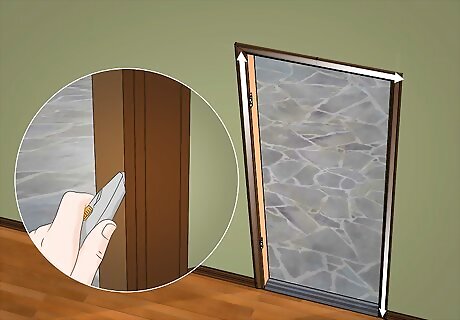
Slice through the trim caulking with a utility knife. Cut through the caulking to remove the door trim on both sides. Angle the utility knife towards the trim, then cut the caulk all the way around the door. To avoid messing up the paint on the wall, be sure to make clean cuts that penetrate all the way through the caulking.
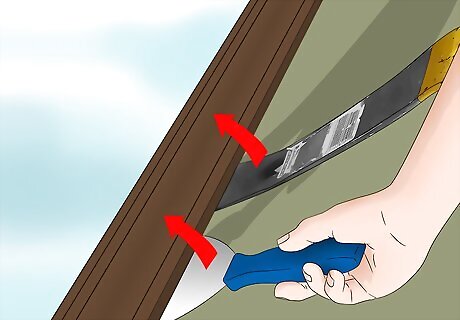
Pry off the old trim with a pry bar. Hold a wide putty knife or block of wood against the wall. Rest the back end of the pry bar on it to avoid damaging the walls. Slip the pry bar underneath the trim to leverage it off. Do this on both sides of the door. If you're going to reuse the old trim, be careful not to damage it.
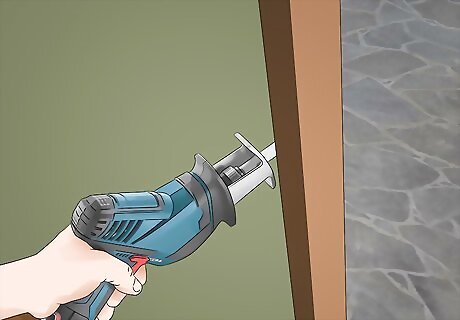
Use a hand saw to remove the door frame. The fastest way to begin removing the frame or jamb is to cut through 1 side of it with a hand saw. This should make the rest of the frame pieces easy to pull out by hand. Move slowly to avoid cutting into the wall itself. You can also slide a reciprocating saw between the frame and wall, using it to cut off the nails holding the frame in place.
Fitting the Sill and Door
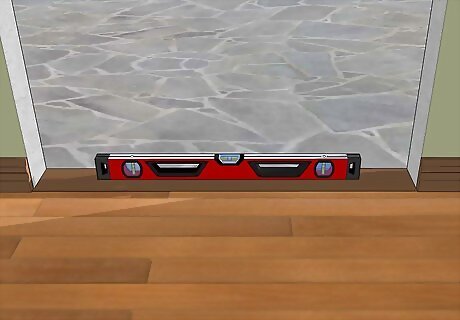
Level the door sill with shims. Lay a flat piece of treated lumber in the doorway to form the sill. Check it with a level. You want the sill to be as flat as possible. Most likely you'll need to slip some wooden shims under the lumber to level it. The length of wood you need for the sill depends on the width of your door. Use a tape measure to figure out the dimensions.
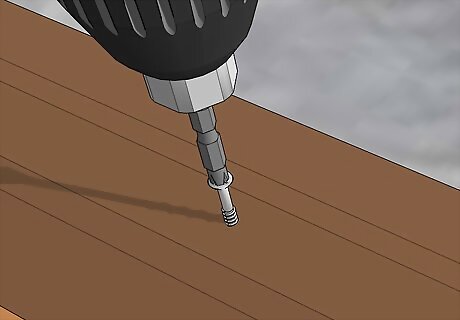
Secure the sill with deck screws. Purchase a pack of 3 in (7.6 cm) coated deck screws. Measure the length of the sill. Place screws at both ends and place the remaining screws approximately every 9 in (23 cm). Screw them in place with a cordless screwdriver.
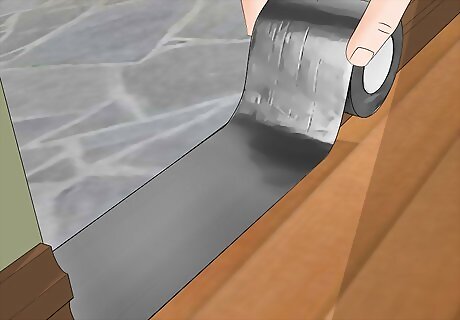
Cover the sill with flashing tape. Pick up a roll of weather-resistant flashing tape at the home improvement store. Lay the tape from side to side. Wrap the excess tape over the front edge of the sill and up the doorway.
Make sure the door is square. Measure the door from the bottom left corner to the top right corner. Then, measure the door from the bottom right corner to the top left corner. The measurements should be exactly the same. If they're not, the door isn't square and needs to be adjusted.

Set the door in the opening to check the fit. Hold the door and frame in the opening. Use a level to make sure they're plumb. Be sure to hold the door trim up to gauge whether or not there's enough room for it. You may need to make adjustments to fit them all.
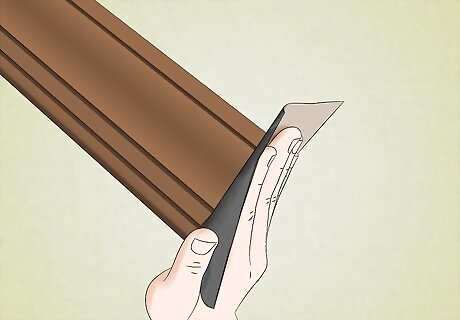
Sand or saw the door to size. If there isn't enough space for the door, frame, and trim, you'll have to reduce the size of the door. Once the frame is set, you can adjust the door with a belt sander or circular saw. It's also possible to sand down the siding in the doorway to create the extra space.
Installing the New Door
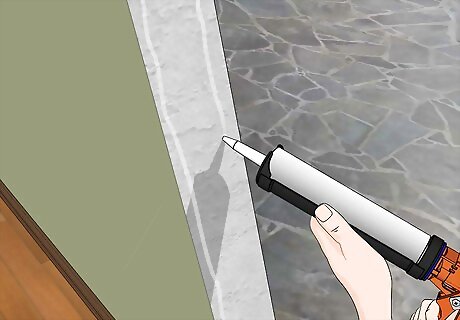
Caulk along the door opening. Squeeze a bead of polyurethane caulk between the door opening and wall. Drag the caulk along the sides and top of the doorway. Do this for the other side of the doorway too. Then spread beads of caulk in straight lines over the sill. If the gap between the door jamb and rough opening is large, you can use a putty knife to push fiberglass insulation into the space. Be sure to wear gloves, goggles, and a mask to protect yourself from the insulation.
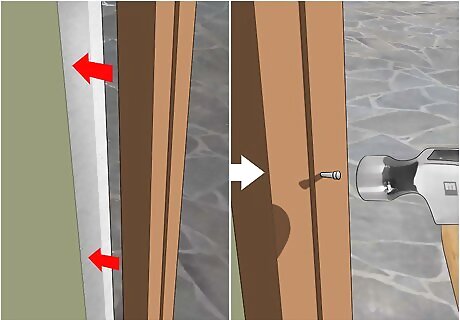
Nail the frame in place. Center the door frame in the doorway, making sure it's level on the bottom and hinge sides. Push the frame into the caulking first. Then get some 16d or 3.5 in (8.9 cm) casing nails. Spread out 4 nails along the top length of framing, hammering them in place. Finish by hammering another nail into both of the bottom corners of the frame. A 16d nail means a 16-penny nail. It's an old way of indicating the nail's length. Most nails are labeled with both a penny measurement and standard measurement.
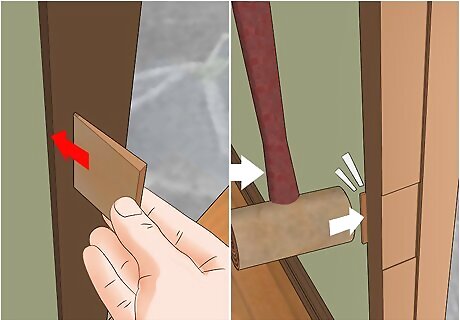
Add shims behind the door hinges. Go inside and lay the shims between the wall and door frame. Use plywood squares to tackle large gaps and wood shims for smaller gaps. Keep the hinge side of the door even, checking it with a level.
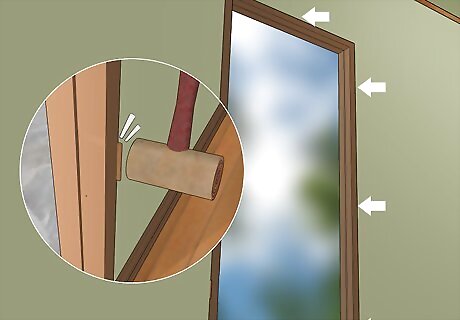
Shim the other sides of the doorframe. Start with the latch side of the door. Place plywood and shims at the top, middle, and bottom of this side to level it. Then add a shim to the center of the frame's top edge. Get the gap between the door and jamb as even as possible on all sides. Cut the shims off with a utility knife.
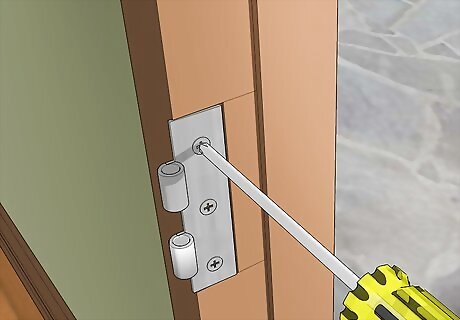
Screw the hinges in place. The back part of the hinge should be on the inside of your threshold, allowing the door to swing inwards. Take out 1 of the screw on each hinge. Replace it with a 3 in (7.6 cm) screw. Use your cordless screwdriver to push it all the way into the framing.
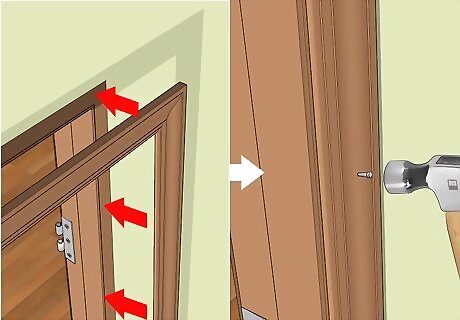
Nail the exterior trim in place. Use 8d or 2 ⁄2 in (6.4 cm) finishing nails on the exterior trim. Place these nails every 16 in (41 cm) along the sides and top of the trim. Hammer the nails in to secure the trim.
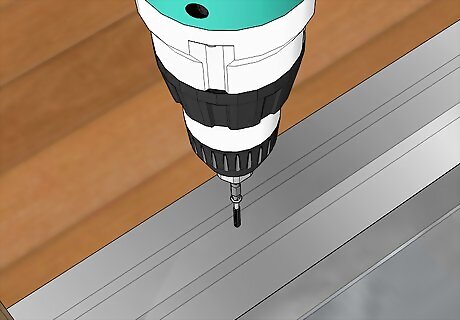
Install a threshold in the doorway. Find a metal threshold strip at the store. Line it up in the center of the sill. Push the included screws into the premade holes along the length of the strip. Use your cordless screwdriver to fasten the strip directly to the door frame.
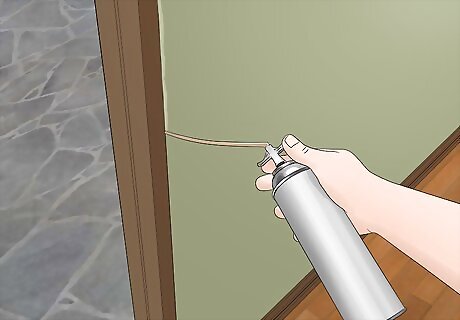
Fill the doorjamb with foam insulation. Go back inside your home and locate the gaps between the doorjamb and the walls. Spray minimal expanding foam insulation until these gaps are filled. Wait for the foam to expand and harden, then stuff any remaining gaps with foam or fiberglass insulation strips. Read the manufacturer's instructions to find out how long you need to wait for the foam to dry.
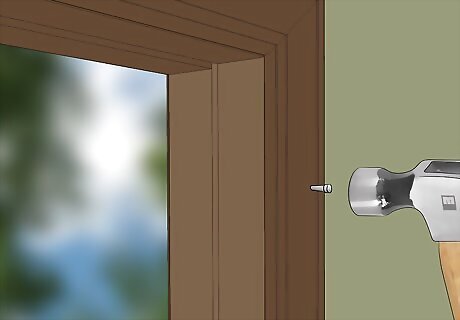
Nail on the interior trim. Predrill holes on both sides of the trim every 16 in (41 cm). Use 4d or 1.5 in (3.8 cm) finishing nails on the sides covering the jamb. Switch to 6d or 2 in (5.1 cm) nails for the sides over the walls. Depending on the thickness of your trim, you may need larger nails than this.
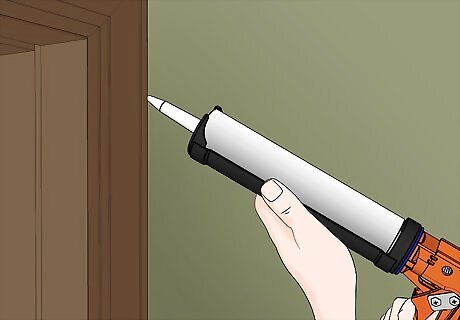
Caulk around the trim. If the gap is too large to fill with caulk, place a foam-caulking backer in the space first. Squeeze out a bead of caulk and use it to fill the edges around the trim. Run your finger along the bead of caulk to smooth it out, then wipe your finger clean on a wet rag. Repeat for each side. After the caulk solidifies, your new door is set and you can customize the parts by staining or painting them as you please.


Comments
0 comment