
views
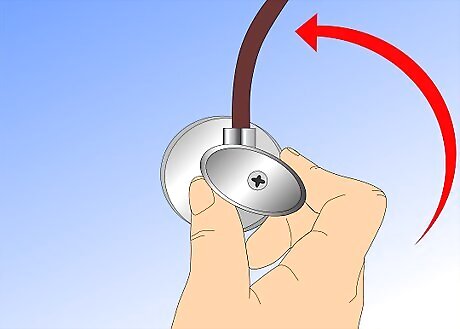
Turn off the water supply to the faucet. Look beneath the sink for a valve close to the wall on the same side as the handle you are replacing. If this is a single handle faucet, turn off both supplies. When you locate them, twist the water supply valve or valves tightly to the right.
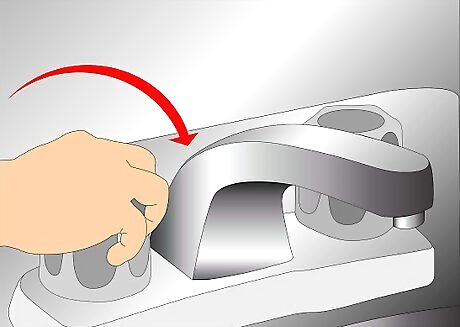
Test the faucet to ensure no water comes out when the handle to be replaced is turned.
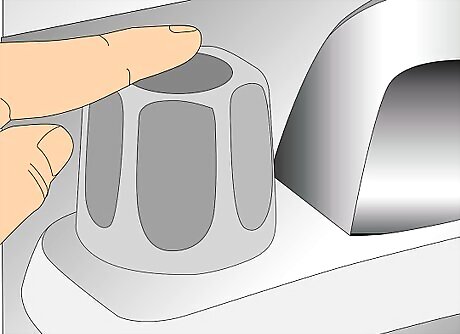
Examine the cap or top of the handle. Typically faucet handles have a false top or cap. This may be a porcelain cap that reads "hot" or "cold," or it may be a metal cap in the same finish as the rest of the handle.
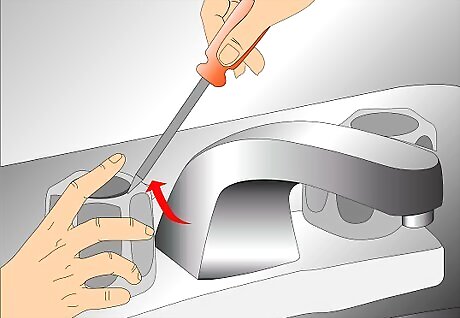
Use a flat head screwdriver to loosen the cap and pry it up.
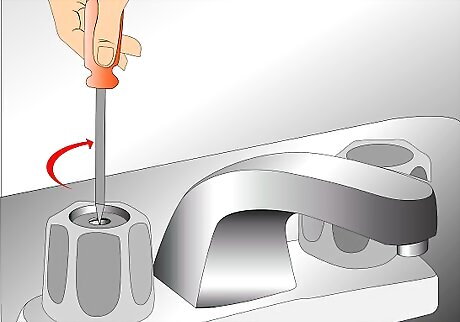
Look at the area hidden beneath the cap for a screw.
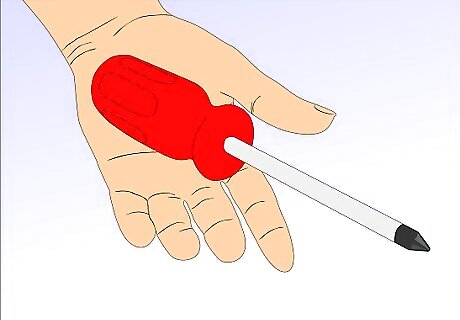
Use the appropriate screwdriver to loosen and remove this screw.
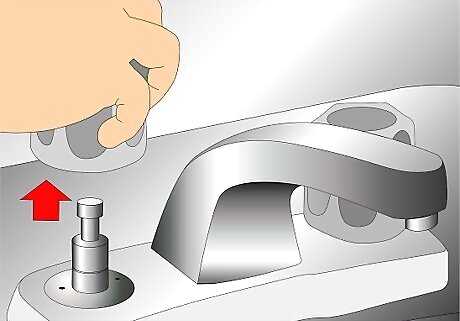
Lift off the handle of the faucet from its stem.
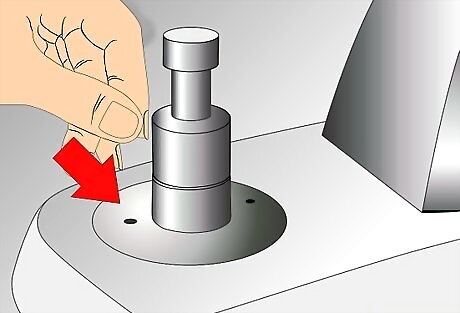
Look at the back of the escutcheon or decorative cover at the bottom of the handle. There should be a very small hole with an Allen key screw in the back.
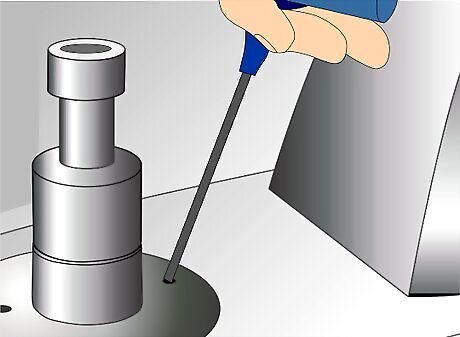
Use an Allen key to loosen and remove this screw.
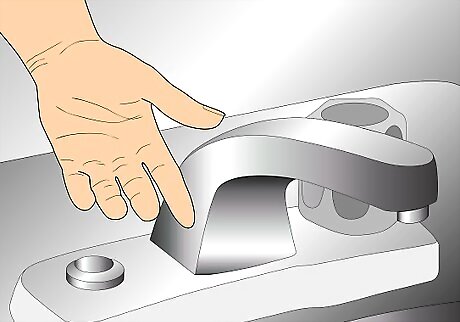
Lift the escutcheon off of the counter. The interior valve of the faucet should now be visible.
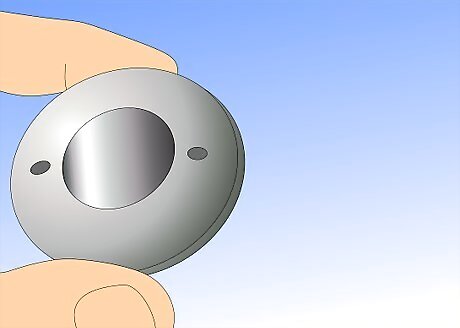
Place a new escutcheon over the valve.
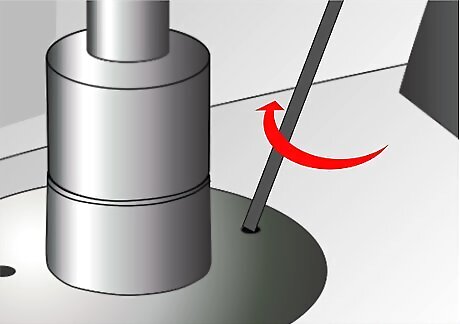
Line up the screw at the back and tighten it down so the escutcheon does not move.
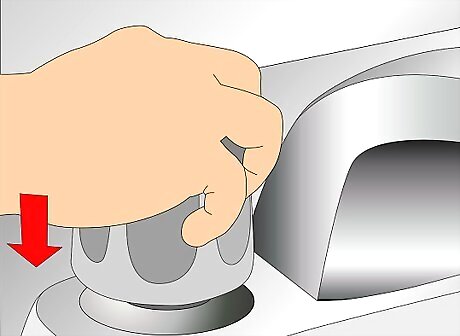
Place the handle over the top of the valve so it sits on the escutcheon.
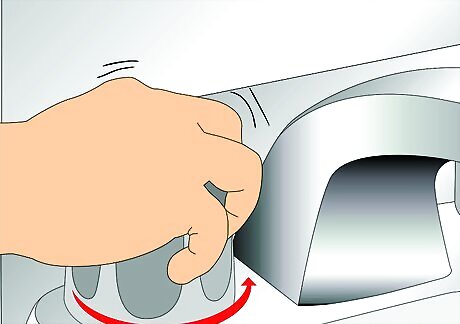
Twist it completely to the "on" position and back off to make sure it is positioned properly.
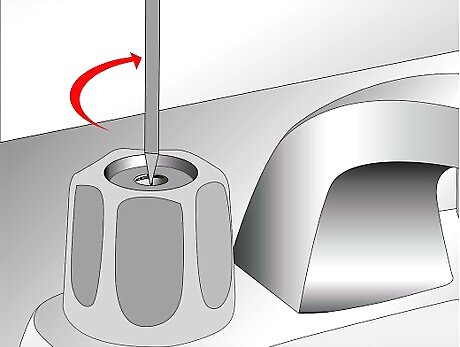
Insert a screw into the top of the handle and tighten it down.
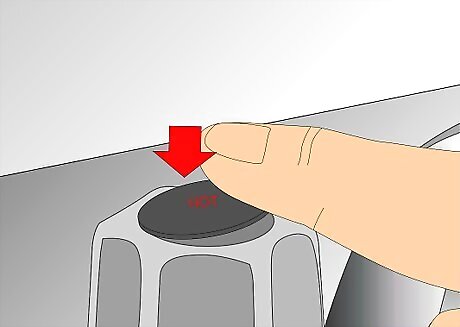
Place the cover or cap into the top of the handle. If the cap reads "hot", "color" or another word, line this up to face you.

Snap the cap down into the cap of the faucet.
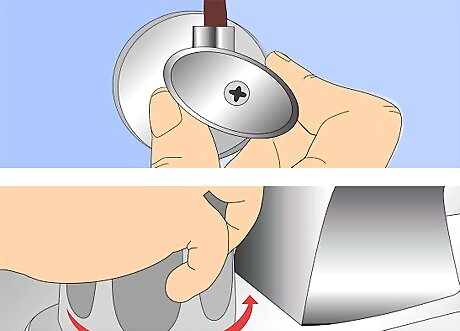
Turn on the water supply and test the handle.




Comments
0 comment