
Clearing the Holes
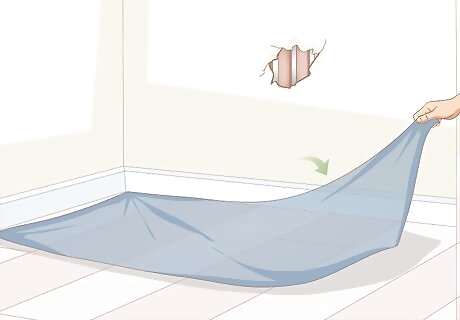
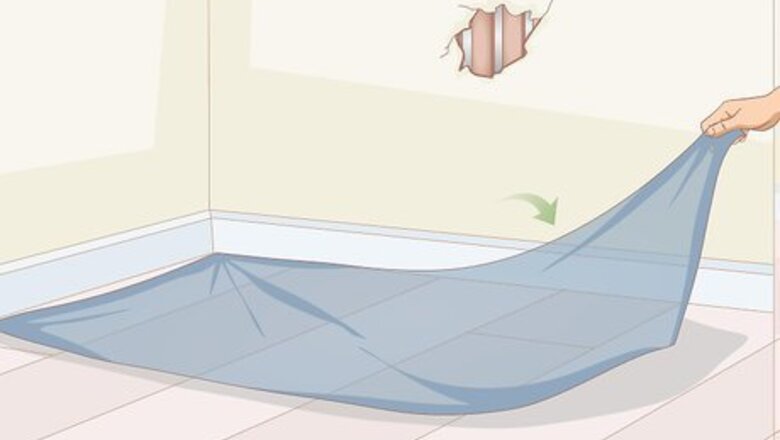
Protect your work area by laying a plastic tarp over the floor. Use it to cover the floor underneath the holes. It will catch any wet plaster dripping during the repair so you don’t have to worry about removing it later. Once the plaster hardens, it is difficult to scrape off without scratching the floor. Get a tarp or painting drop cloth online. They are available online or at most hardware stores along with all the other tools you will need to repair plaster. If you end up getting plaster on the floor, remove it as soon as possible. If it hardens, use a putty knife or scraper to remove it.
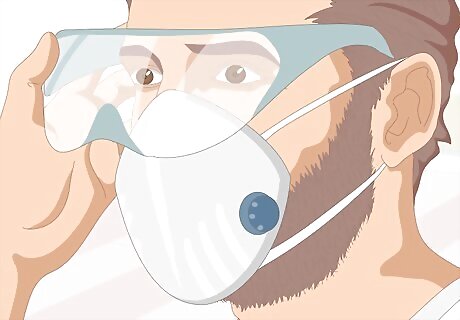
Put on a dust mask and eye goggles. Although plaster isn’t particularly dangerous on its own, working with it creates a lot of dust. The stuff you mix could also end up getting into your eyes. As you protect yourself, warn other people in your home to stay out of the area until you are finished. Keep pets out as well. Open up doors and windows to help filter out the dust. Consider also using a strong vacuum to catch dust as it settles inside the room.
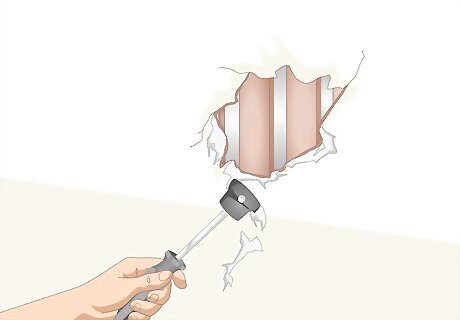
Remove the loose or damaged plaster around the hole. Clear out the bits of plaster hanging around the hole’s opening. Remove enough of it to create a flat, stable base for the new coat of plaster needed to cover the hole. The easiest way to do it is by lightly tapping the loose plaster with a hammer or paint scraper, then sanding the edges of the remaining plaster with 120-grit sandpaper. Make sure the existing plaster is flat and smooth so the new plaster adheres to it properly. Plaster walls generally include a wood surface called a lath. You will notice it as you look through the hole. Don’t cut through this part. Remember to remove all the loose plaster inside the hole as well. It could get in the way of the new material you install. The plaster has to adhere to the wood lath in the wall in order to be sturdy. If it feels loose, replace it with new plaster or pin it down with plastic washers.
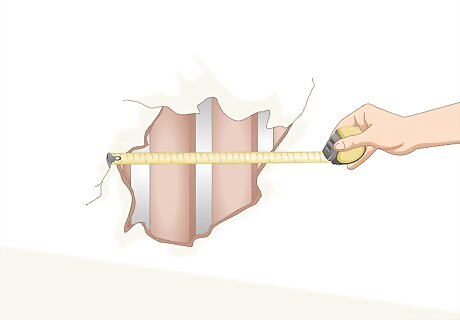
Measure the size of each hole you wish to repair. Find out the hole’s dimensions to ensure you can fill it properly. Use a tape measure to determine both its length and width. Note the dimensions of each hole you have to fix. For small holes from screws and nails, measuring isn’t necessary. They don’t require mesh for extra reinforcement. Instead, skip to filling in the holes with a lime-based plaster mix.
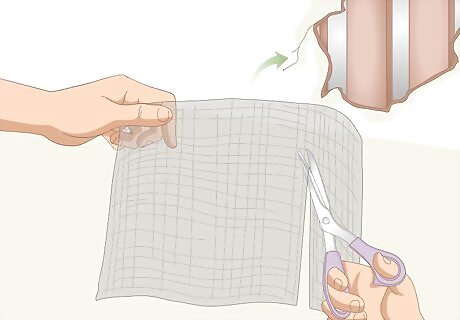
Cut a piece of fiberglass mesh to the size of the hole. The fiberglass plaster mesh provides a surface for the new plaster to adhere to. It comes in rolls, so cut enough to fit over the lath inside the wall. You may have to cut several pieces to cover up a particularly large hole. Hold the cut pieces up to the hole before installing them. Make sure they fit well so you have a base to cover with the plaster. For particularly large holes, consider using a metal mesh instead. Galvanized or aluminum plaster mesh rolls are much stronger and hold up better than fiberglass.
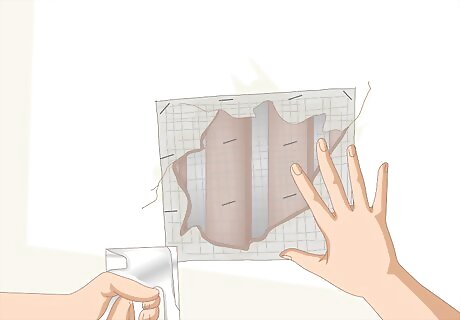
Secure the mesh to the wood lath if you can reach it. Use a staple gun to secure it to the lath. Add the staples about every 3 in (7.6 cm) around the edges of the mesh. If you are unable to reach the lath, use plaster tape to secure the mesh directly over the hole. It won’t affect the finish of the plaster as long as you spread enough of it to fill in the gaps and cover the mesh in a smooth layer. There are several ways to secure the mesh, such as by using nails or screws and plastic washers. Another option is to drill holes into the plaster and fill them with plaster adhesive. If the wood lath appears to be rotting or damaged, cut it out and replace it. If you notice a lot of damage, ask a professional to have a look at it to avoid causing serious damage to the wall.
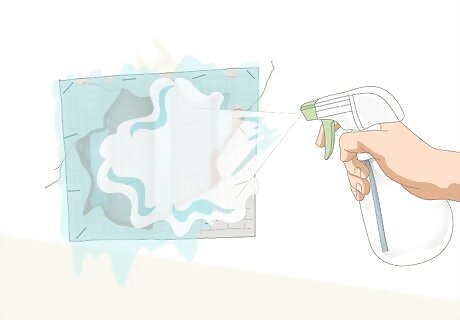
Spray water on the mesh and lath to prepare it to for plaster. Fill a spray bottle with lukewarm water and mist the fiberglass. You could also use a damp sponge. Keep applying water until the wood and mesh are thoroughly dampened but not dripping. If you notice water dripping, stop spraying and blot the excess moisture with a towel. Plaster adheres better to damp surfaces. However, the moisture can cause the wood to rot if you’re not careful. Mop up spills before attempting to seal the hole.
Applying the First Layer of Plaster
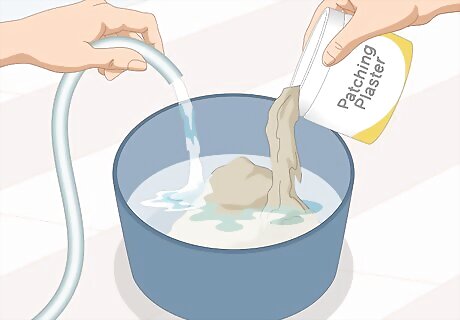
Mix a lime-based patching plaster with water. Set out a large mixing bucket near the walls you plan on repairing. Pour lukewarm water into the bucket first, then add the plaster. Combine equal parts water and plaster to create a quality mix that adheres well to the wall. Stir the plaster in the bucket until it’s smooth and about as thick as peanut butter. For consistency, use a lime-based patching plaster. It doesn’t set as quickly as other types of plaster, so it’s easier to use. Always check the manufacturer’s recommendations to ensure you mix the proper ratio of plaster and water. You can thin out a plaster mix by adding more water to it. Similarly, thicken a mix by adding more plaster.
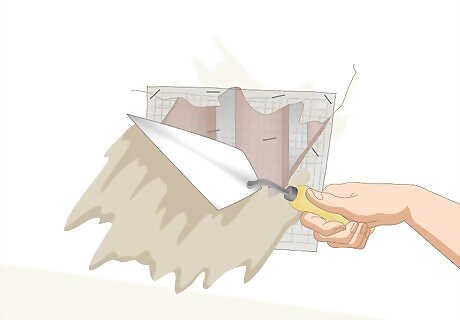
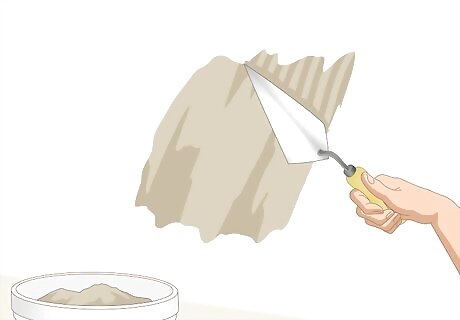
Use a trowel to start filling the hole with plaster. Margin trowels are flat, metal tools that are great for spreading plaster across a flat surface. Start by spreading plaster around the edges of the holes. Then, begin spreading more plaster across the mesh. Make this layer about ⁄4 to ⁄8 in (0.64 to 0.95 cm) or half as thick as the original plaster on the wall. The coating has to be only half as thick as normal in order to give you room to add additional layers. Applying additional coatings leads to a much stronger patch. If you’re patching small holes, such as from screws and nails, fill them halfway.
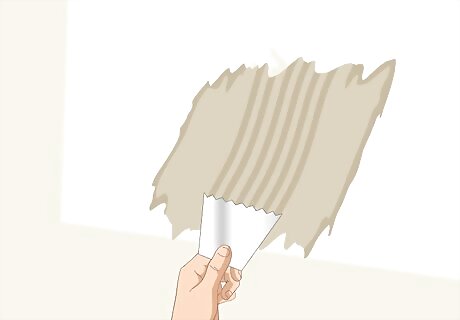
Use a scarifier to rough up the plaster you applied. A scarifier is like a metal comb used to prep a surface for an additional layer of masonry. Drag the scarifier horizontally across the wet plaster. The ridges created by the tool enable the next layer of plaster to stick better to the first one. If you don’t have a scarifier, you could also try using an old comb or the edge of your trowel. If you’re using a trowel to make lines in the plaster, make them about 1 in (2.5 cm) apart. They don’t have to be perfectly straight, but try to keep them evenly spaced apart.
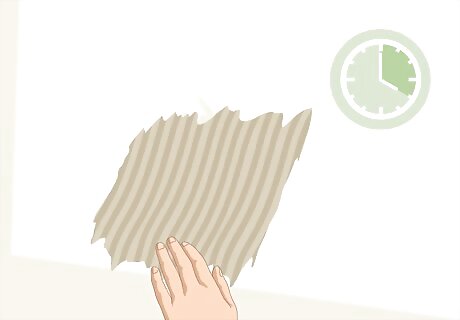
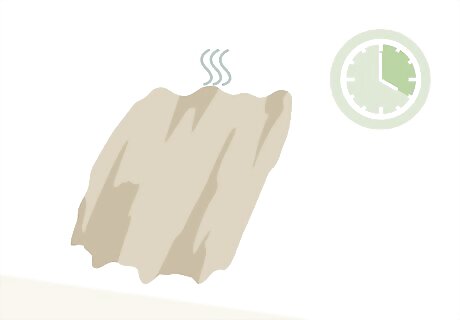
Wait about 4 hours until the plaster feels firm to the touch. It will feel dry and solid once it is ready. Don’t mix more plaster before then or else it may dry out before you have a chance to use it. Also, keep in mind that any plaster allowed to dry on the wall will be difficult to remove. Hold a plastic paint scraper roughly parallel to the wall, then use it to lift off the plaster you wish to remove. Check the manufacturer’s recommendations for the proper drying time. Finishing the repair too early could cause problems. The plaster patch could be flimsy and break apart much more easily than normal.
Finishing the Repair
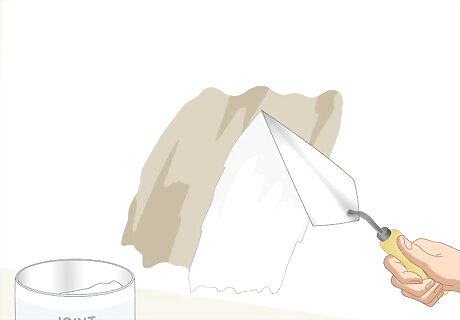
Mix and apply a second layer of plaster. Stir a new batch of plaster in your bucket, then use the trowel to spread it over the original patch. Make this layer identical to the first one. It will also be ⁄4 to ⁄8 in (0.64 to 0.95 cm) thick. Spread plaster until the patch is flush with the rest of the wall. Try mixing the plaster so it’s slightly softer than the original batch you made. If it’s at the consistency of a buttercream frosting, it will be much easier to spread. Finish filling in small holes from screws and nails. Smooth out the second layer so it’s flush with the wall and then use a joint compound if needed in order to finish the job.
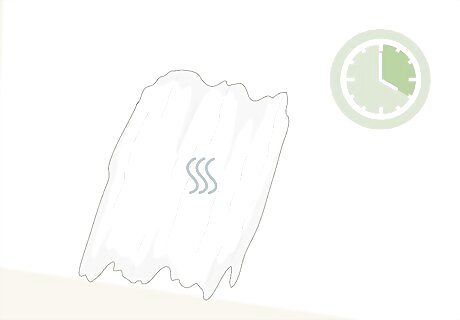
Wait another 4 hours for the plaster to dry. It’s more waiting, but it’s necessary for the plaster to set properly. In the meantime, make sure you have removed any plaster that has dripped outside of the patch. Use the trowel to scrape it off before it has a chance to harden. This layer doesn’t have to be scored. Keep it flat and let it dry. The joint compound used for the final layer will adhere to it without issue.
Cover the patch with a layer of ready-mix joint compound. The joint compound is already mixed, so all you have to do is put it on the wall. Use a trowel to spread it in a consistent layer across the hardened plaster. Make the layer about ⁄8 in (0.32 cm) thick. Check that it looks smooth and blends in with the rest of the wall. Joint compound is used as a finisher. It’s very good for masking blemishes, including things like screws and drywall tape. Joint compound is very spreadable, so you could also use it to make patterns like swirls.
Let the final coating dry for another 4 hours. Once the joint compound becomes dry to the touch, your wall will look as good as new. You may wish to add an extra layer of joint compound to complete the patch. It isn’t necessary, but it can help if the patch doesn’t blend in very well on the wall.
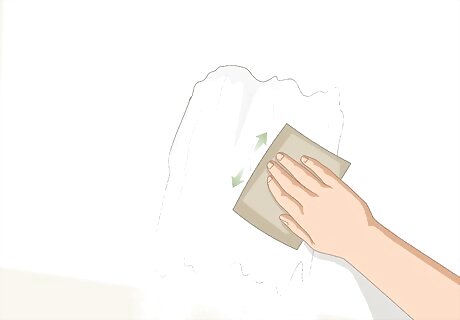
Sand the plaster smooth using 120-grit sandpaper if necessary. If you took the time to smooth the joint compound out before it dried, you won’t have to do a lot of sanding. However, fixing a rough finish isn’t much of a challenge. Lightly wear away the rough parts of the plaster until the wall feels smooth and uniform to the touch. Take a step back and look at the patched area from afar to ensure it blends in well with the existing plaster. Sanding is useful if you plan on painting. It roughs up the plaster, which helps the paint bond with it. Sand with a very light touch to avoid leaving noticeable scratches. Wipe the wall clean with a cloth dampened in lukewarm water in order to remove the dust left behind after sanding.
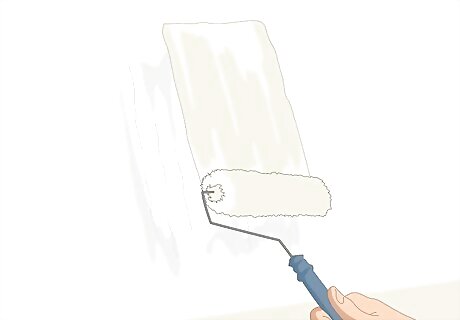
Clean up and paint the area if you desire. Once the plaster is repaired, use a paint roller to coat the wall in a latex drywall primer. Then, choose a latex wall paint to finish the job. When you’re done, roll up the drop cloth and wash off the paint roller in a bucket of warm water. If you paint the wall, place painter’s tape on baseboards and surrounding walls to guard against stains.


Comments
0 comment