views
Washing and Protecting the Windshield
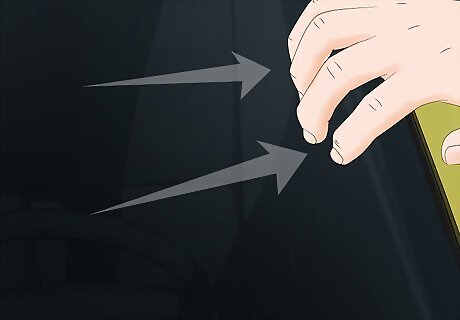
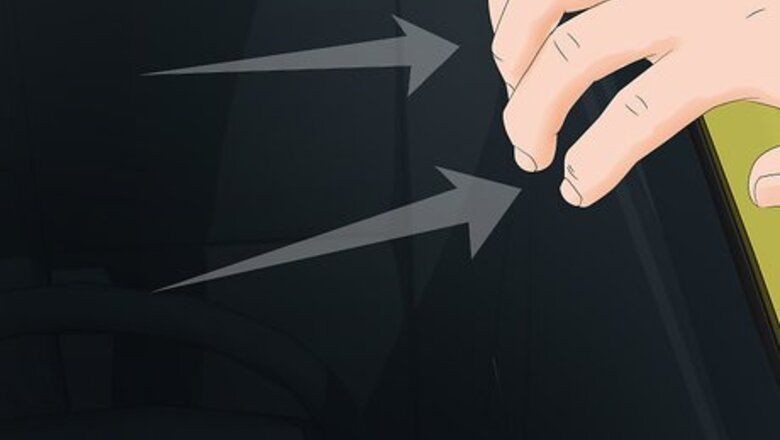
Run your finger over the scratch to see how deep it is. Hold your finger vertically. If your nail catches, you’ve got a deep scratch on your hands. Deep scratches aren’t fixable. Scratches that feel smooth to the touch are shallow enough to be fixable. Deep scratches continue to grow until your windshield breaks. Ask a glass repair specialist for advice. They may tell you to replace your entire windshield.
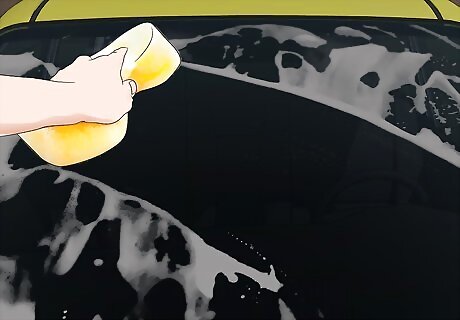
Wash the windshield with a glass cleaner, then dry it completely. Clean off all dirt and debris before attempting to apply a polishing product. Start with a regular window cleaner. Spray it onto the window, then wipe it off with microfiber cloths. Use specialty glass cleaners to treat tougher stains. Dish soap abrades car paint, so using it on a windshield isn’t safe. Instead, try mixing together 1 part vinegar with 1 part water. Alternatively, use an all-purpose cleaner or degreaser.
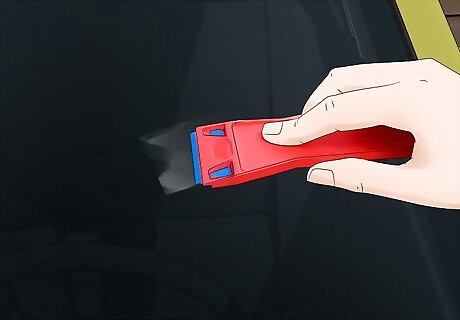
Scrape off stubborn grime with a plastic razor. Only use plastic, since metal razors will likely lead to more scratches on your car’s windshield. Stand beside the car and drag the razor back and forth along the windshield. Continue doing this until the grime is gone, then finish up with a damp microfiber cloth.

Cover the edges of the windshield with painter's tape. You only need to apply the tape around the edges closest to the scratches. This includes the edges of the windshield wipers. The polish will splatter when you work it into the scratches, and anything that gets in between the windshield and the rest of the car is hard to remove. Also, consider using the tape to outline the scratches. Place the tape on the inside part of the windshield to keep track of which spots you need to treat.
Buffing out Scratches
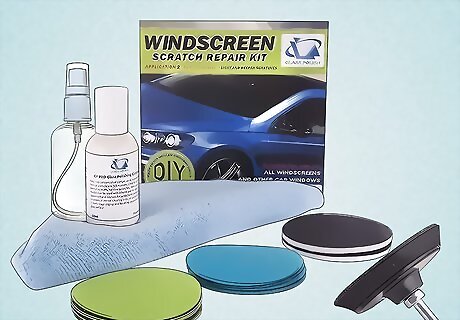
Purchase a glass repair kit with cerium oxide polish in it. Every tool you need to repair scratches comes in a repair kit. Repair kits include a polishing compound along with a buffing pad. Cerium oxide is the most common type of polish in these kits, but other products are available and work the same way. Kits are available online or at most auto parts stores. An acrylic scratch remover is a product similar to cerium oxide. It comes in a liquid form you drip onto the buffing pad. It works best on lighter scratches. Another option is to assemble the kit components separately. Get cerium oxide or another rubbing compound. If you have a handheld buffing and polishing tool, use that to apply the polish.
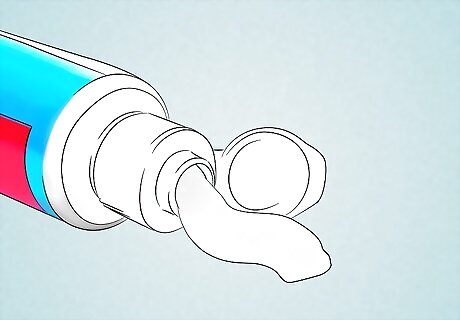
Use white toothpaste as an alternative to buffing compounds. Toothpaste works, but it takes multiple applications to fill in scratches. Get a non-gel toothpaste with baking soda, or mix a white toothpaste with 1 teaspoon (4 g) of baking soda. Then, buff it into the scratches with a microfiber cloth or a buffing pad. Apply the toothpaste the same way you would apply cerium oxide or another buffing compound. Wipe off the excess paste when you're done. Toothpaste has the advantage of being safer to use, but it isn't as immediately effective on most scratches.
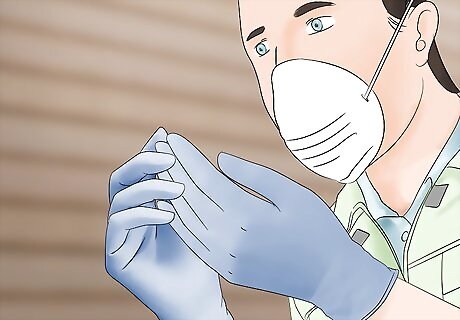
Put on rubber gloves and a dust mask before using repair powder. Cerium oxide powder is a pretty harsh irritant. Always put on the safety gear before opening the polish. Even if you’re careful, buffing pads tend to fling powder into the air, which will irritate your lungs. Wearing goggles is also a good idea. It eliminates the possibility of polish splashing into your eyes. Work in a ventilated environment if possible. Open your garage door, for instance, to help disperse the powder. Keep close to an electrical outlet, though, since you need one for the buffing pad.
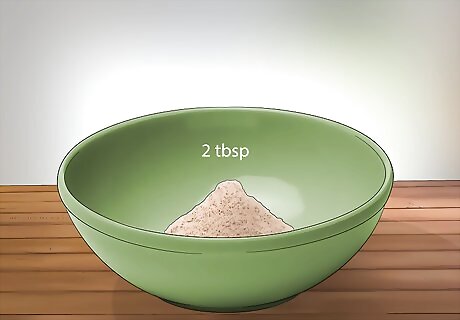
Pour some of the cerium oxide powder into a bowl. Estimate how much of the powder you will need to fill in the scratches on your windshield. Start with a small amount, such as 2 tablespoons (14.75 g). This will usually be enough to repair a large portion of the windshield. Making the initial estimation is tricky since there are no hard and fast rules about how much polish to use. You are better off making more than you need or focusing on a single scratch at a time.
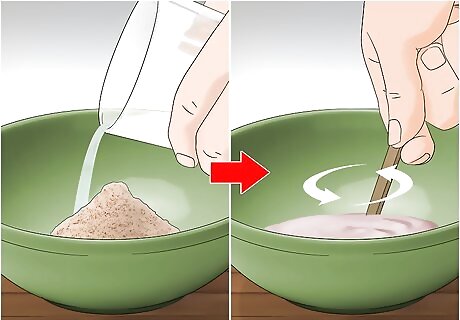
Mix the powder with warm water to form a paste. As a rule, combine 1 part water for every 2 parts of powder you use. For example, use 1 tablespoon (15 mL) of water for every 2 tablespoons (14.75 g) of powder. Then, stir them together with a mixing stick to form a paste with the consistency of glue. Thin out the mixture by adding more water, or thicken it by adding more powder. Don’t wait too long to apply the paste. If it starts to harden, spray it with more water.
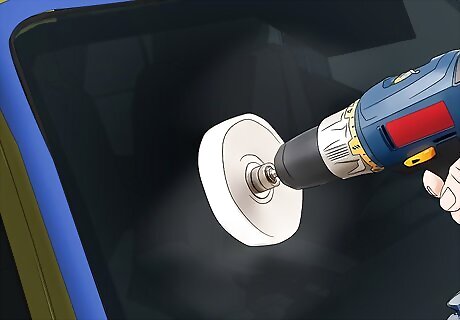
Apply the polish with the buffing pad and an electric drill. Attach the buffing pad to the end of the drill. Once the pad is secure, dip it into the paste or apply the paste directly to the scratched areas. Then, turn on the drill and run the edge of the pad back and forth along the scratches a few times. Keep the pad pressed firmly against the glass in order to grind the paste flat. Use only electric drills or polishing tools on the windshield. Cordless tools don’t generate enough power and may overheat. Use tools that run at 1300 rpm or higher. EXPERT TIP Bicycle Glass Bicycle Glass Glassblowing Experts Bicycle Glass Co. was founded in 2016 by David Royce and Michael Boyd, two professional glass experts. Bicycle Glass is primarily a lighting company, committed to quality, sustainability, and affordability. All Bicycle Glass products are made of high-quality, recycled glass and are hand-blown by a dedicated team of artisans. The studio is committed to reducing its carbon footprint by conserving energy in all of its production. Using renewable wind energy to offset all electricity usage, the studio is actively working toward the goal of carbon neutrality. Bicycle Glass believes that high-quality, handmade glass products should be within reach for everyone. Bicycle Glass Bicycle Glass Glassblowing Experts There are multiple ways to buff glass. The most basic way involves starting with rough diamond grits and gradually moving to smoother ones. You increase the grit sizes over time to achieve a buffed or polished edge. Finally, use a felt wheel and cerium oxide to remove scratches and achieve a smooth finish.
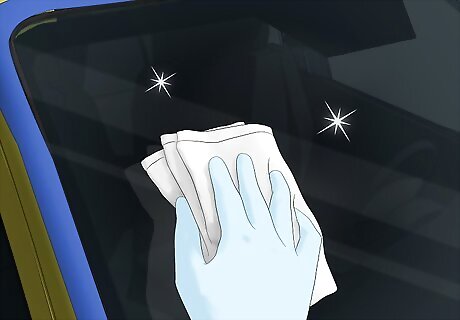
Wipe away the excess paste with a microfiber cloth. Remove the excess paste before it has a chance to dry. The cloth will not reach the paste inside the scratches, so you do not need to wait before wiping down the windshield. Now take some time to admire the reflection in your scratch-free windshield. If you still see scratches in the windshield, chances are the paste didn’t get inside them. Spread more paste over them. Align the edge of the buffing pad over each scratch and grind them down again.




Comments
0 comment