views
Recycling the Stamp’s Individual Materials
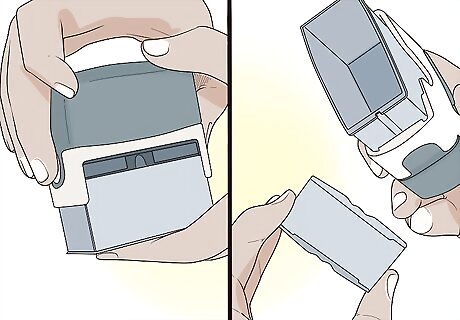
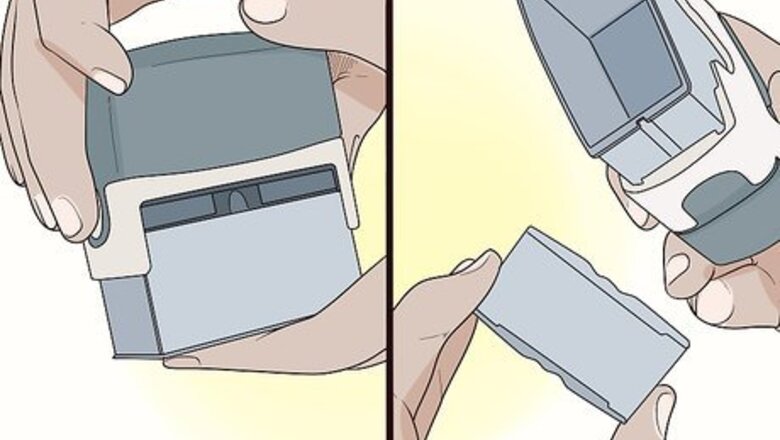
Remove the ink pad from the stamp. Compress the stamping mechanism and engage the retention clips on either side of the plastic casing. Then, press the release button in the center of the unit to eject the ink pad. Set the ink pad aside. It’s a good idea to place the ink pad on a layer of newspaper or similar surface to avoid getting ink all over your work area.
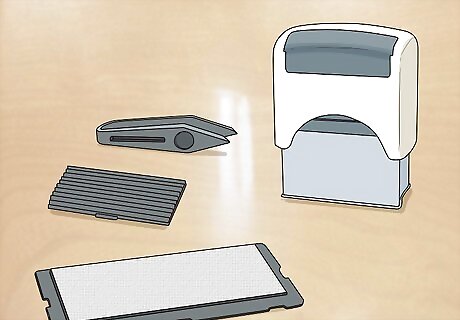
Disassemble the stamp’s plastic casing. Look for knobs, tabs, and grooves that indicate how a given component is intended to be removed. Certain pieces, like the sliding halves of the unit or the swiveling stamping mechanism, may come apart with a little bit of gentle prying. Others might require more force to work free. If all else fails, grab a hammer and give the stamp a couple of whacks right in the center. It’s not essential for the individual pieces to be intact, since they’re going to be recycled anyway. Work carefully. Broken shards of plastic could splinter or cause cuts.
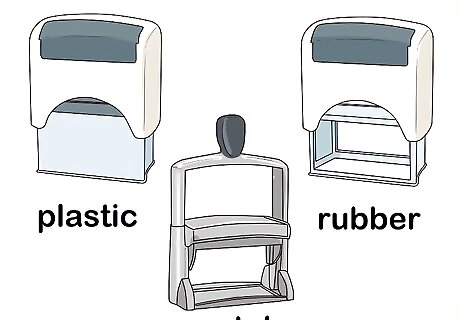
Sort the materials into separate piles for plastics, metals, and rubbers. The majority of self-inking stamps feature mostly-plastic constructions, but you may encounter an occasional spring, screw, support strip, or other metallic pieces. Divvying up each material by type will ensure that they all end up where they’re supposed to be and make them easier to prepare for recycling later. Dispose of the ink pad separately or hold onto it until you know how it should be recycled. If you’re serious about doing the job right, you could even spend a few extra minutes peeling off any stickers you come across and adding them to their own paper pile.
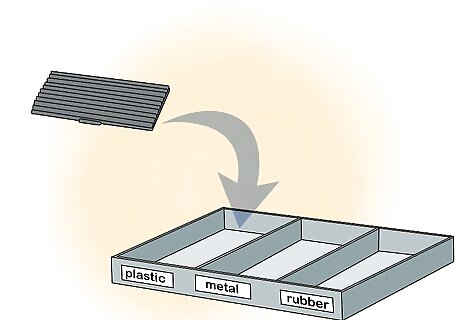
Place all recyclable materials into an appropriate receptacle. If you’ve taken the time to separate the various components beforehand, all you’ll need to do is scoop up each pile and dump them into their respective containers. Remember, plastic pieces should only go with other plastics and metal pieces only with other metal ones. Rubber pieces may or may not be recyclable depending on where you live. Consider keeping your custom-engraved stamp plates. They can make unique and interesting mementos of the major milestones in your career.
Contact your local recycling center if you have any questions. Different municipalities have different guidelines for what can be recycled, and how. If you’re not sure what to do with a particular piece (like a rubber stamp plate or ink pad, which are typically made from spongy composite materials), get in touch with the recycling authority nearest to you. A representative will be able to tell you how best to dispose of each material. Flip through the phone book to “R” for “Recycling” to find the contact information for your local recycling center. You can also track down recycling centers in your area using an online locator like http://www.recyclerfinder.com/, http://iwanttoberecycled.org/, or https://earth911.com/recycling-center-search-guides/.
Replacing a Custom Stamp Plate
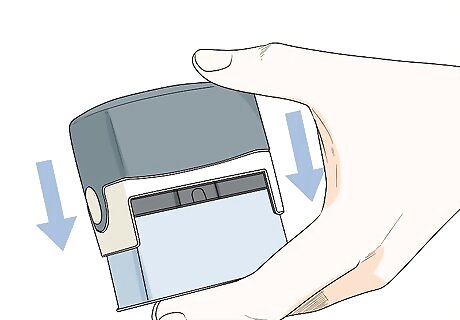
Compress the stamp to lower the stamping mechanism. Push up on the plastic chamber of the stamping mechanism (the piece that you position over the surface being stamped) until it’s level with the retention clips on either side of the stamp. This makes it possible to remove the ink pad, which will then allow you to access the stamp itself. You’ll usually only have to move the stamping mechanism 1 inch (2.5 cm) or so to get it aligned with the retention clips.
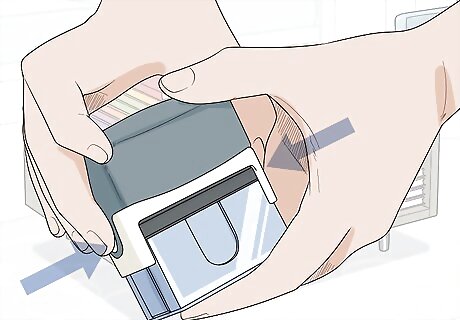
Press the retention clips to lock the stamping mechanism in place. Most self-inking stamps feature retention clips that are used to hold the swiveling stamping mechanism in place while you remove or replace the ink pad. You’ll typically find these clips on either side of the unit’s plastic casing. Once you’ve engaged them, you’ll be able to remove the ink pad with the press of a button. Your self-inking stamp’s retention clips may take the form of sliding plastic knobs, or they may be small circular buttons covered in a thin layer of rubber. Most self-inking stamps have a pair of clips, but some might have only one.
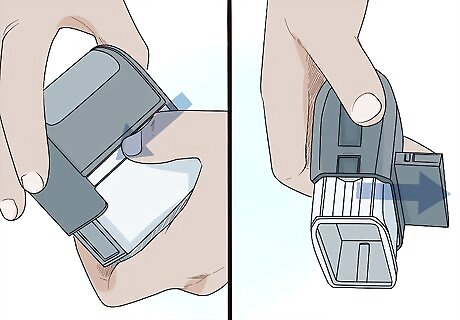
Release the ink pad. Locate the small button in the center of your self-inking stamp between the two retention clips. Press it in all the way to eject the single-piece ink pad. If your self-inking stamp doesn’t make use of removable ink pads, simply lock the stamping mechanism into the bottom position to prepare the rubber stamp plate for removal. On some models, the spent ink pad may be part of a larger cartridge that you have to pull off yourself. Grip the ink pad by its sides to avoid getting ink on your fingers.
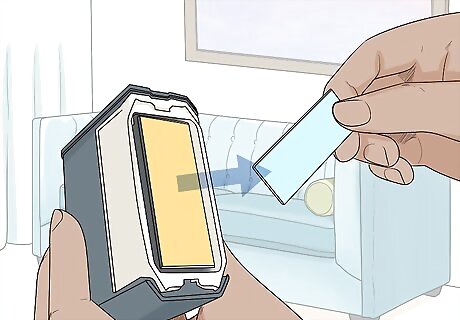
Remove the rubber stamp from the base of the stamping mechanism. With the ink pad out of the way, the engraved stamp plate itself should be exposed. Take hold of one corner of the stamp and gently peel it away. It may help to use the edge of your fingernail to get it started. Before handling the stamp plate, make a series of impressions on a clean sheet of paper to wear away any remaining traces of ink. This will help minimize the amount of ink transferred during removal. If you’re having trouble getting the stamp to budge, try using a pocket knife, flathead screwdriver, or similar tool for better leverage.
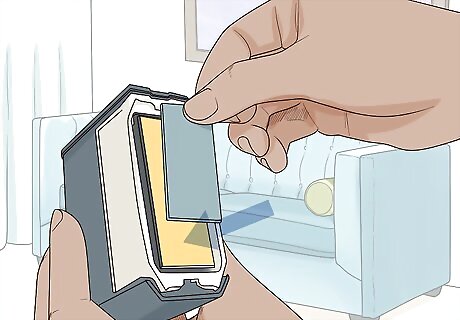
Press the new stamp onto the base. If you have a new custom-engraved stamp plate you want to use, remove the protective backing and apply it directly to the blank adhesive base. Line up the edges of the new stamp carefully to make sure it’s as straight as possible—otherwise, you could end up with crooked stamps. Once you’ve got the new stamp on, press down firmly on each end to confirm that it’s secure.
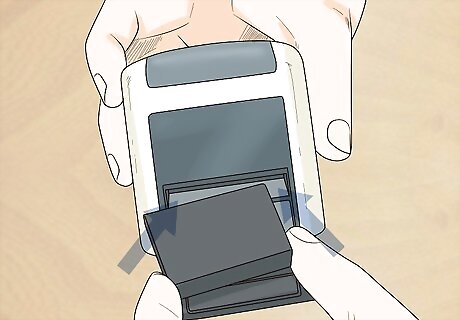
Reinsert the ink pad. Slide the ink pad back into the slot in the casing of the stamp. Make sure it’s facing down so that it contacts the surface of the stamp plate when it's not in use. Your new and improved self-inking stamp is now ready to leave its mark on all your important documents! This is a good time to put in a new ink pad if you’re repurposing a stamp you haven’t used in a while.




Comments
0 comment