
views
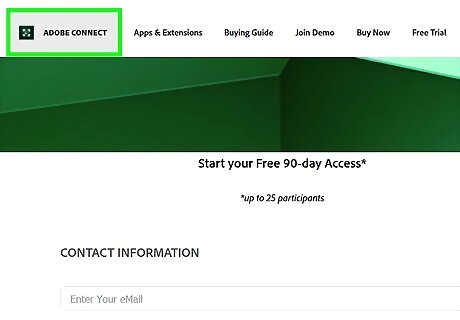
Start or join your Adobe Connect Meeting. Once you’re in the meeting, you will be able to start recording. If on PC, you can find Adobe Connect on the desktop or by clicking on the Windows Start Start button and typing Adobe Connect in the search bar. If on Mac, you can find Adobe Connect on the desktop or by clicking on the Mac Spotlight Spotlight and typing Adobe Connect in the search bar.
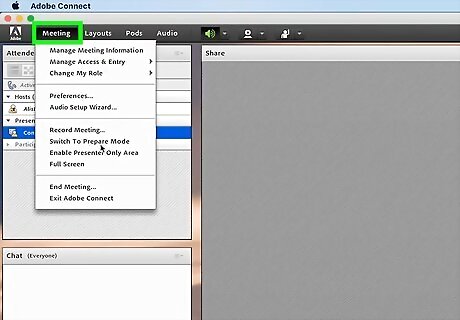
Select Meeting from the menu bar. The menu bar is in the top left corner of your screen. This will produce a drop-down menu.
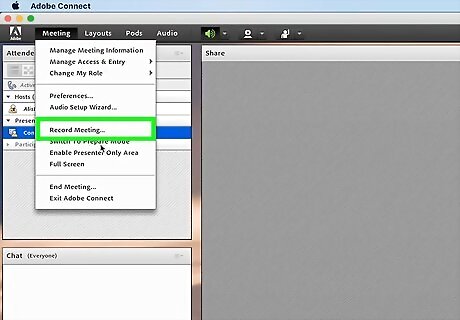
Select Record Meeting from the drop-down menu. This will automatically begin recording the Adobe Connect Meeting. This will produce a pop-up window.
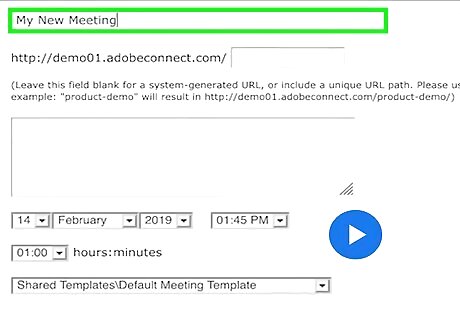
Enter the meeting name and description. The pop-up window should disappear once you have entered this information. Your Adobe Connect Meeting will begin recording. Stop the recording by selecting the Stop button. Your recording will automatically be saved as a shareable URL. Pause the recording by selecting the Android 7 Pause pause button.
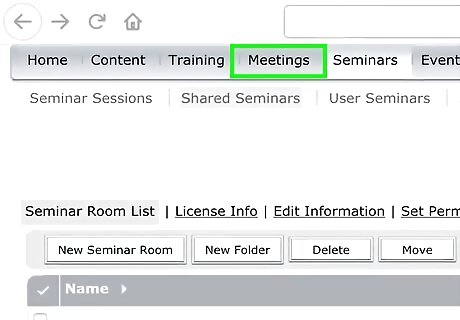
Access the recorded meeting through the shareable URL. Select Recordings from the Meetings page in Adobe Connect. Select the recording you want to access. Select the URL to begin playing the recording.


Comments
0 comment