
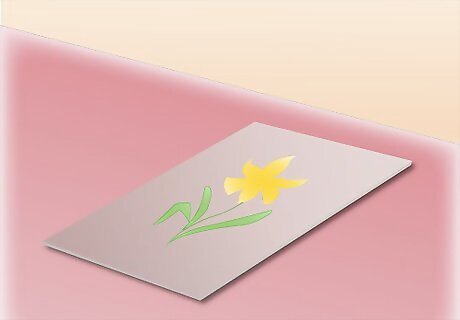
Choose the type and size clayboard you wish to use for the painting. Smooth clayboard allows you to create your own texture with the paint, while textured or rough surfaces gives the paint something to grab onto and results in a different look. There is no right or wrong type of clayboard surface, it is simply personal preference. Just like using a regular stretched canvas, you need to determine the size of the clayboard before you begin. This is an important step to remember for watercolor artists who are used to cutting and cropping watercolor paper to the size of their final painting.
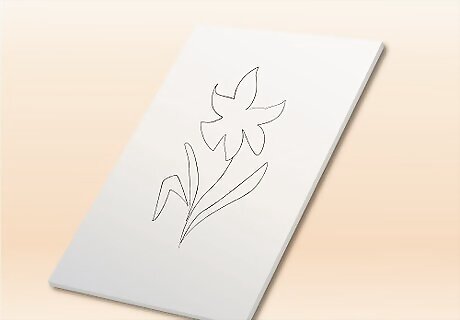
Sketch the basic outlines and main shapes of your painting with a pencil, if you desire. Since clayboard is manufactured to be ready to paint and you do not need to prepare the board for painting, your pencil lines will show up as a guide when you begin to paint on clayboard.
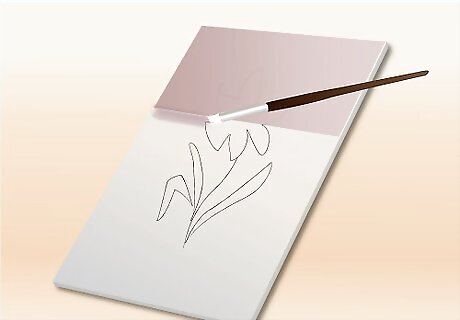
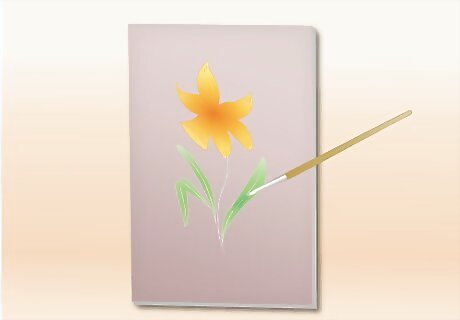
Start with a thin coat of watercolor paint with a paintbrush for background colors. If you choose to use acrylic paint, remember that acrylic can take on both translucent and opaque properties, so you must thin out your paint to create an underlying, translucent color.

Apply another coat of acrylic or watercolor paint to block out main shapes in your painting.
Allow the paint to dry.
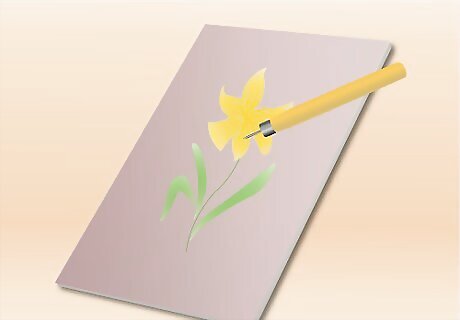
Use an etching needle or scriber to etch details into your painting. When you scratch through the paint, the etched lines will show up white, which makes it easy to see the details you are creating.
Brush the next layer of acrylic or watercolor paint onto your clayboard, painting over the etched areas. The etched lines begin to add texture and depth to the painting.
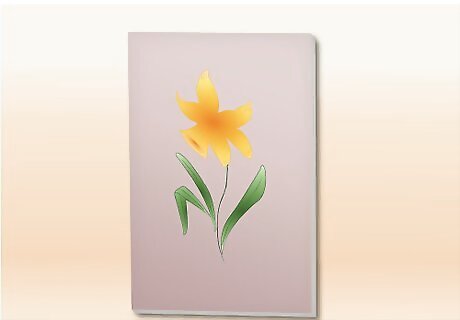
Continue this process until you have completed your painting. You can finish your painting with etched lines that you want to leave white as a contrast to your painting, or let the etched lines simply be colored details in your painting.


Comments
0 comment