
Cleaning and Prepping Your Countertop

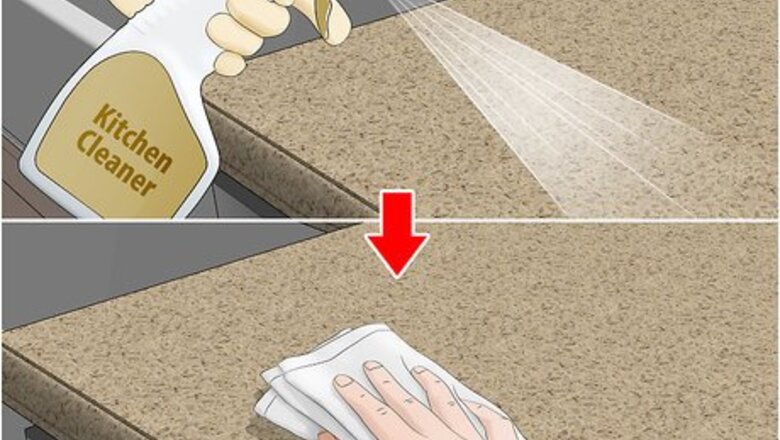
Use a cleaning solution to clean your countertop, then let it dry. Kitchen countertops especially can have years of buildup on them, especially if they’re near the stove. Use kitchen cleaner to scrub the countertop free of all dirt, grime, oil, and grease. After you clean it, allow the countertop to completely dry before beginning the painting process. You can use a kitchen cleaner, or a combination of dish detergent and water, to clean your countertop. However, don’t use an ammonia-based cleaning solution if your countertop is made of granite or laminate. If you want to take extra care in making your countertop ready to paint, you can also sand it with medium-grit sandpaper before you clean it. Your countertop probably won’t need more than an hour to completely dry.
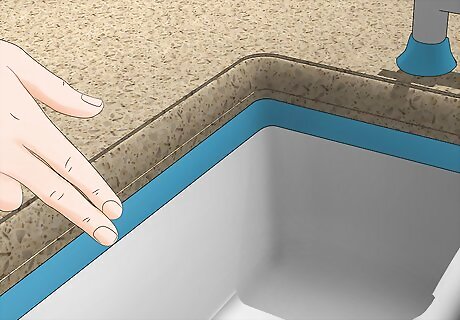
Cover any areas that you don’t want painted with painter’s tape. Place the painter’s tape on any trim, walls, or cabinets around your countertops that might have paint dripped on them or be accidentally brushed by your paint roller. Expending the effort on this preparation will save you a lot of time and aggravation on touch-ups and cleanups after you refinish the countertops. If you’re painting kitchen countertops, you will especially want to tape off the kitchen sink and the backsplash.
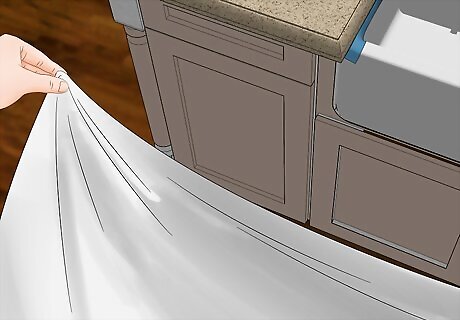
Lay down drop cloths to protect your floors. As with any painting job, painting your countertops carries the risk of accidentally dripping or spilling paint on the floor, so laying down drop cloths is very important. Be sure to tape down the drop cloths with painter’s tape to avoid displacing them when you walk on them. If you have any old bedsheets that you don’t want anymore, consider repurposing them as convenient (and free) drop cloths!
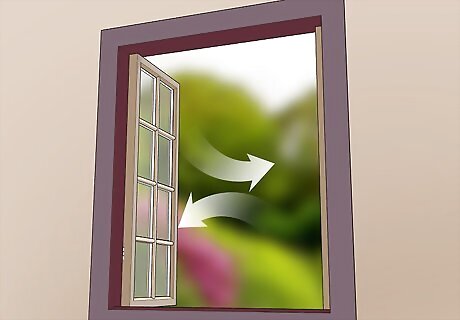
Make sure the room you’re working in is well ventilated. Open any and all windows in the room and turn on some fans to ensure you have proper ventilation. This will be especially important when you prime the countertop, since most primers (and many paints) have a very strong odor that could linger in your house for days. If you have a box fan, place it in a window pointing outside to suck the fumes out of the room as you paint. For maximum safety, consider wearing a respirator as well.
Priming, Painting, and Sealing the Countertop
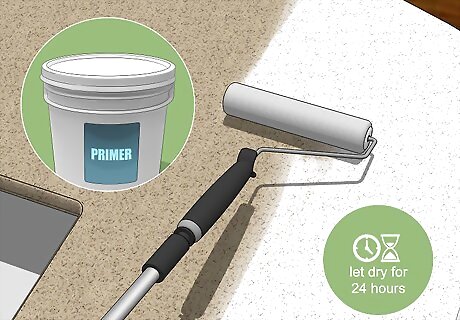
Apply 2 coats of primer to the countertop and allow them to dry. Prepare the countertop with a good quality bonding primer that will improve paint adhesion when you go to apply your actual paint. Allow the primer to dry for 24 hours, then apply a second coat. Let this second coat dry for 24 hours as well before moving on to the next step. Because bonding primer tends to be relatively thick, use a foam roller to apply it to make sure you get a smooth application. Most primers will need around 24 hours to dry. However, if the manufacturer’s instructions state a different length of time for you to allow the primer to dry, follow these instructions instead.
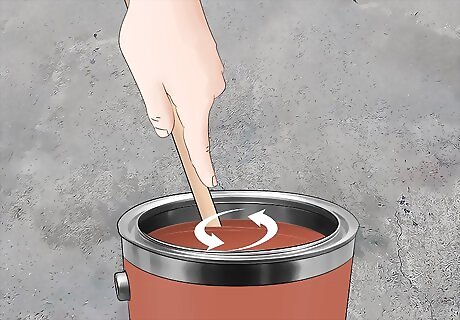
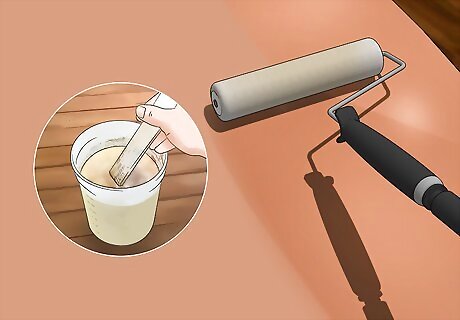
Mix your paint with a painting stick. It’s very important that you mix the paint before applying it, in order to get it at the right consistency. You should wait to mix your paint until right before you plan to apply it. Although all types of countertop can technically be painted, not all paints can be used on each type. Read the label on the paint you have to make sure it works on the material your countertop is made of. If you’re unsure which type of paint is right for your countertop material, talk to an employee at a home improvement or paint store to find out which type you need.
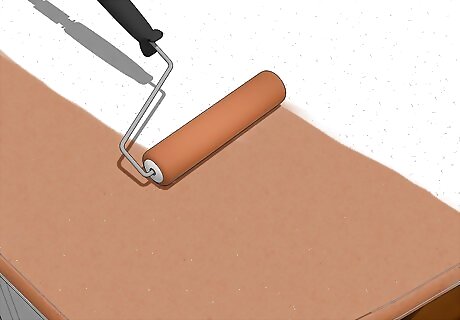
Use a paint roller to apply the first layer of paint to the countertop. Pour some of the freshly mixed paint into a paint tray, then dip your roller into the tray to get paint on it. Simply roll the roller over the countertop to apply a thin layer of paint. Avoid applying the paint too thickly in any spots; you’ll apply a second coat to the countertop later, so there’s no need to use excess paint here.
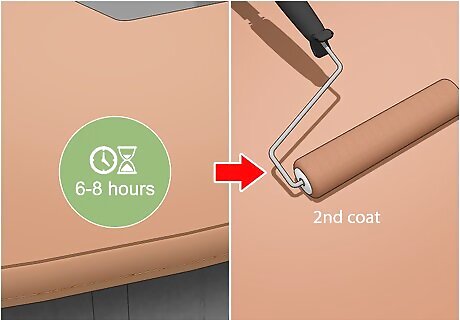
Allow the first coat to dry, then apply a second layer of paint. It will probably take at least 6-8 hours for the first coat to completely dry, but to play it safe, wait a full 24 hours before applying the second coat. Paint the second layer with the roller brush the same way you painted the first layer. If you’re using a paint kit that is specifically meant to resemble stone or granite, make sure you follow the manufacturer’s instructions for applying the second layer of coat, since it may be more complicated.
Seal the paint with countertop resin to finish the job. Mix your resin according to the manufacturer’s instructions, then use a separate paint roller to spread it evenly across the countertop. The resin will harden shortly after you apply it and will protect your newly painted countertop from chipping or scratching. You can buy commercially available resin anywhere painting supplies are sold. Keep an eye out for any bubbles that pop up in your resin as it begins hardening. If you spot any bubbles, even them out quickly with your roller. If they’re already hardened, you’ll have to use a blowtorch to reheat the resin and cause the bubbles to pop.


Comments
0 comment