views
Taking the Picture
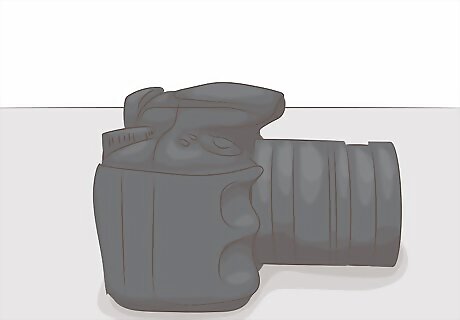
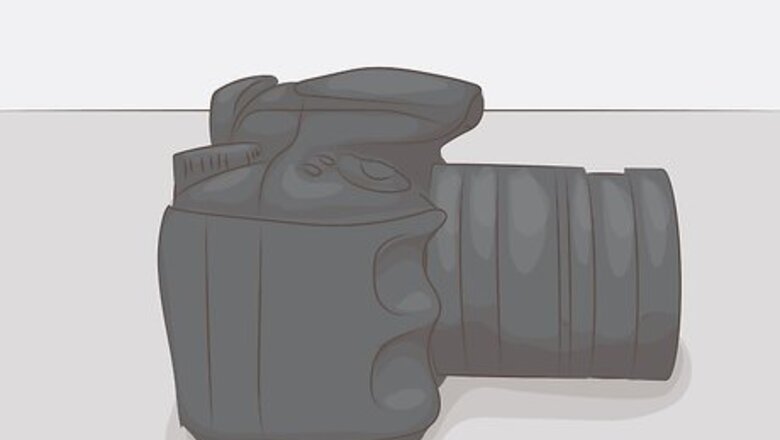
Get a digital camera or smartphone. A digital camera will make it very easy to crop the picture to the right size. Any decent camera phone should be fine.
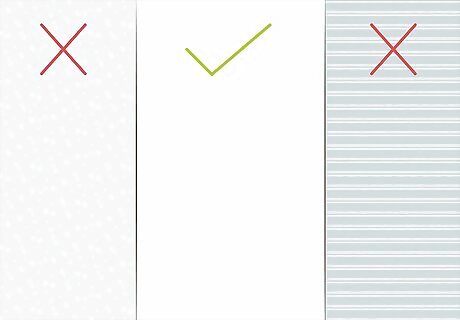
Find a neutral background. You'll need a well-lit white or off-white backdrop for the shot. Avoid anything textured, such as spackled walls. Avoid patterns and wallpaper as well. A cream sheet makes a good backdrop, as long as it is not too bright.
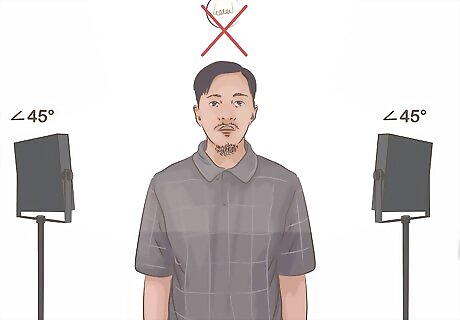
Position your light sources to reduce shadows. Shadows play a big factor in the clarity of your passport photo. If you have full control over the environment before taking the picture, adjust your light sources so that shadows are not cast over the face of the subject. Place light sources to the right and left of the where the subject will be standing. This will help eliminate shadows on the face. Ideally, these should be directional lights that point at a 45° angle towards the subject's face. Try to light the backdrop that the subject is standing against. This will reduce shadows cast on the backdrop by the subject. A small light at the base of the backdrop pointed upwards is usually sufficient. Turn off any overhead lighting. This will reduce shadows from hair and eyebrows.
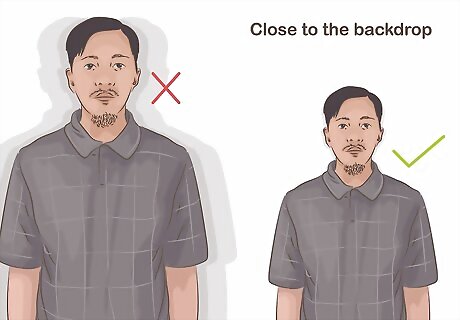
Have the subject stand close to the backdrop. This will reduce the amount of shadow that is cast behind the subject.
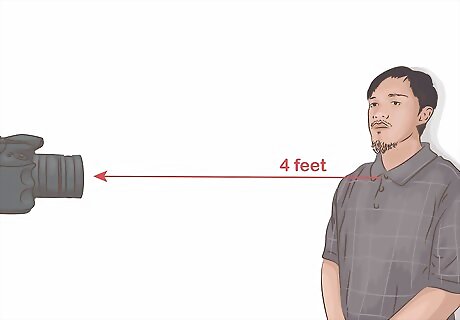
Stand at least four feet from the subject. You'll want to be able to see the entire upper body. The top quarter of the frame should show the backdrop.
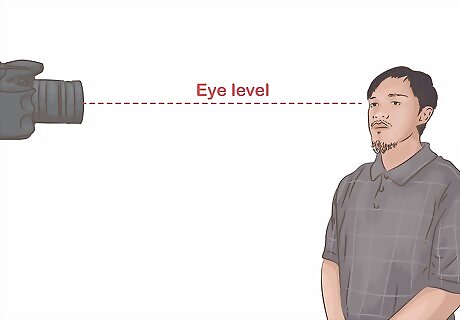
Hold the camera at eye level. This will ensure that the subject is looking directly at the camera. It will also help your framing.
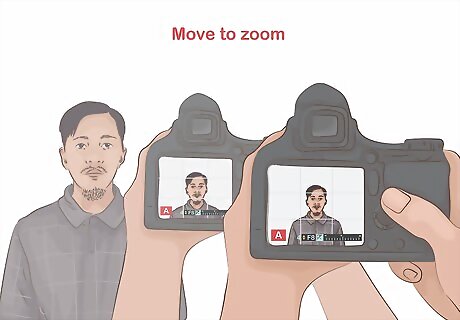
Use a regular zoom. Avoid using any zoom when taking the photo. Instead, move your body to capture the right amount of the subject in the frame.
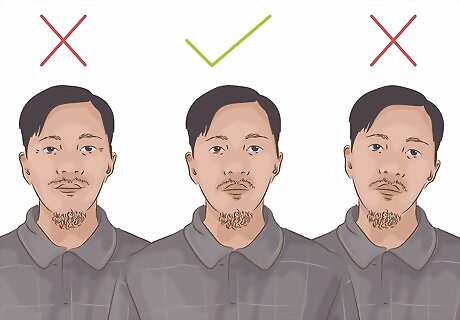
Have the subject show a neutral expression. A passport photo should be as neutral as possible, so don't have the subject smile or tilt his or her head. Make sure the subject is looking into the camera. The photo must be taken in normal street attire, without a hat, head covering, or dark glasses (unless a signed statement submitted verifying the item is worn daily for religious purposes or a signed doctor's statement).
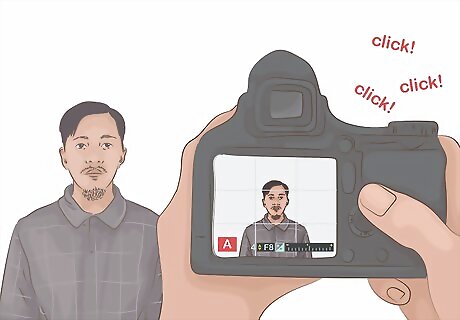
Take the picture. If your subject is properly illuminated, you shouldn't need to use the flash. Take a couple of pictures in case the first is too blurry.
Cropping the Picture
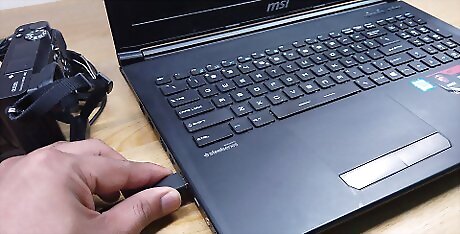
Transfer the picture to your computer. The easiest way to edit your picture so that it has the correct dimensions is to use the Department of State's photo cropping tool. To use this, you'll need to get the file onto your computer first. The process for this varies depending on what you used to take your photo. Generally, you'll just need to connect your camera to your computer and then copy the photo to your hard drive. See How to Transfer Images from a Digital Camera to a Computer for details on transferring images from a camera. If you used your smartphone to take the picture, see How to Send Pictures from Your Cell Phone to Your Computer.
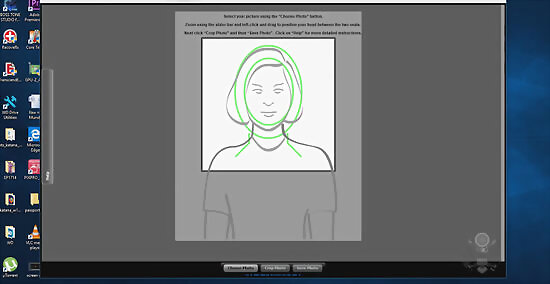
Visit the Department of State's photo tool website on your computer. Click here to load the tool in your browser.
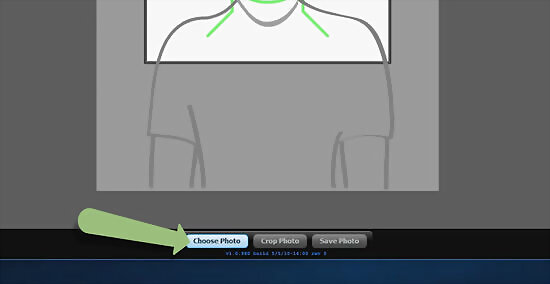
Upload the image that you want to use. Click the "Choose Photo" button and browse your computer for the image that you want to use. It may take a few moments to upload a photo if you have a slow connection. The tool only accepts JPG images. See How to Convert Pictures to JPEG if your image is in another format.
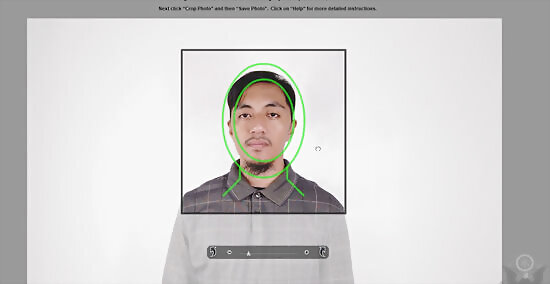
Click and drag the photo to position your subject. Make sure that the subject's face is centered in the face overlay in the cropping tool.
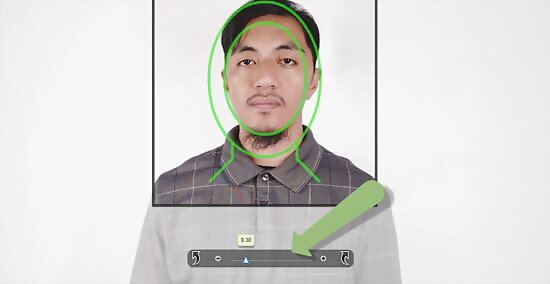
Use the Zoom bar to make adjustments. Zoom in or out so that the subject's chin and crown fit in between the two circles. Drag the photo to make fine adjustments.
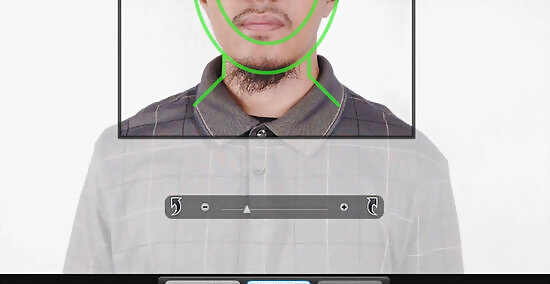
Click "Crop Photo" when you are satisfied. Once the subject has been properly framed in the overlay, click the "Crop Photo" button. A new window will appear with the cropped portion of the photo. verify the the subject is centered, with a little space above the head.
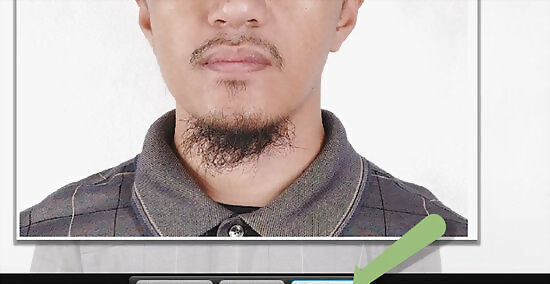
Click "Save Photo" to save it to your computer. Give the photo a name so that you can easily recognize that it is the cropped version of the photo.
Printing the Pictures
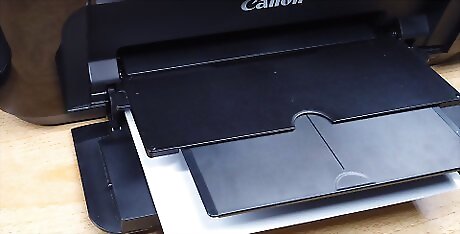
Insert glossy photo paper in your printer. If you want to print your picture at home, you'll need to print it on glossy photo paper. This means your printer will need to support this type of paper, which most modern inkjet printers do. If you want to have the photo printed professionally, put it on a thumb drive and take it to your local printer. Explain to the printer that you want the image 2 x 2 inch (51 x 51 mm) for a passport so that it is printed and cut to the right dimensions.
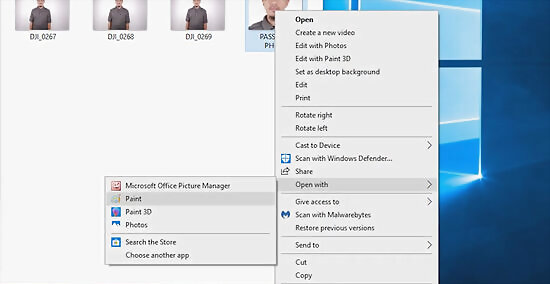
Open the picture in an image editor. The easiest way to print the image at the correct size is to open it in an image editor, such as Paint in Windows or Preview in OS X.
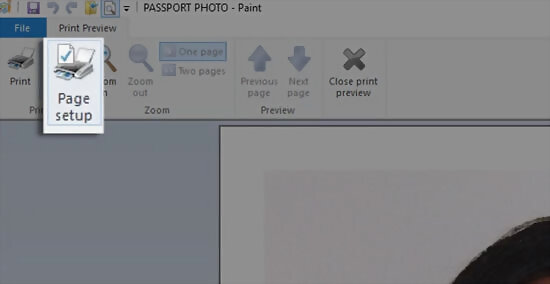
Open the Page Setup window. This will allow you to ensure that you print the photo in the correct dimensions. You can open this from the File menu in Paint.
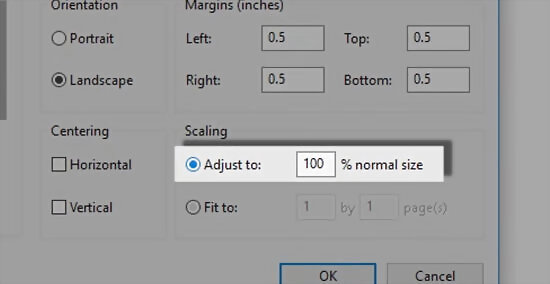
Check the "Adjust to 100% normal size" option. This will set the image to print at its actual size, instead of attempting to fill up the entire page. The photo cropping tool from the previous section will automatically crop the photo so that it is 2" x 2" (600 x 600 pixels).
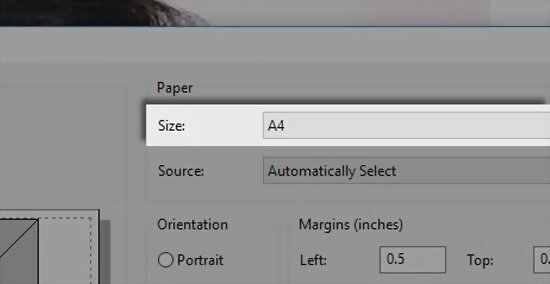
Select the proper paper size. Your glossy paper is likely photo-sized, so make sure you select the correct paper size from the list of options. This will ensure that your photo prints correctly.
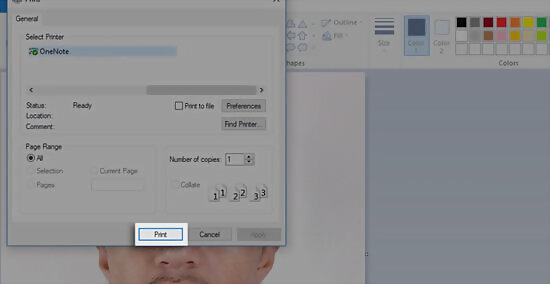
Print the photo. Once you've set the correct page size, you can print the image. You only need to attach single photo to your passport application, so don't worry about printing multiples.
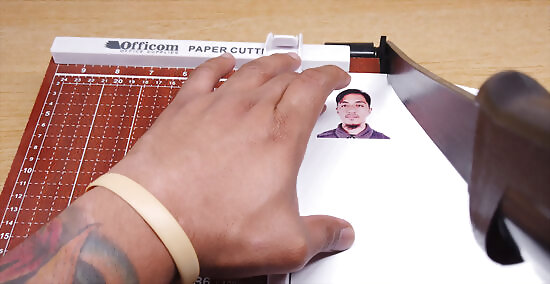
Cut the photo out carefully. Use a precision cutting tool like a paper guillotine to make straight cuts around the edges of the photo. The photo should be a perfect square.
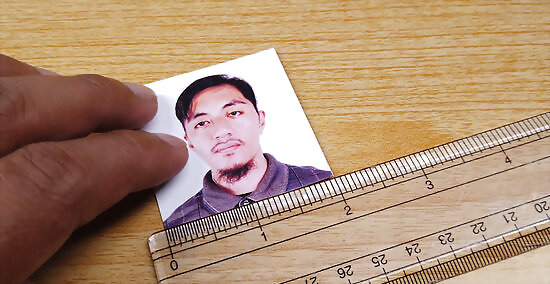
Review the photo. Use a ruler and double-check that the photo is 2 x 2 inch (51 x 51 mm). The eyes should be located between 1 1/8 inch to 1 3/8 inch (28 mm – 35 mm) from the bottom of the photo. The distance between the top of the head and the bottom of the chin should be between 1 inch to 1 3/8 inches (25 mm - 35 mm).






Comments
0 comment