views
Cutting by Hand
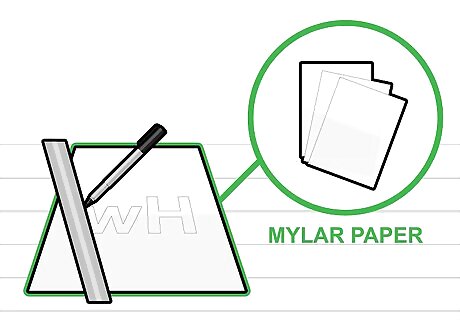
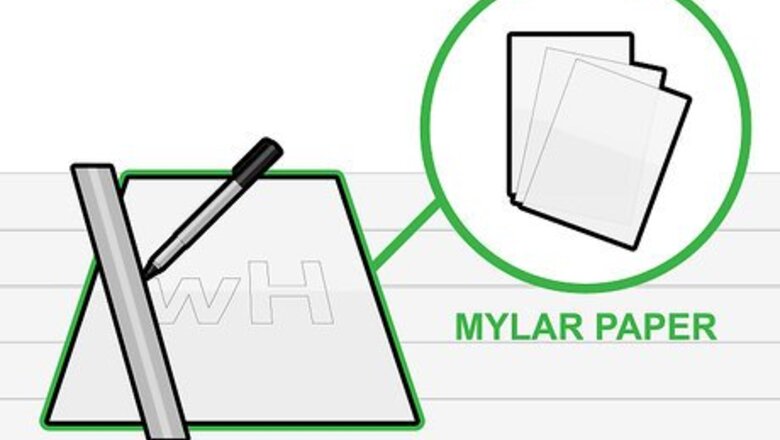
Draw or trace your design onto Mylar paper or vinyl. Once you've decided on a design, transfer the image onto your desired stencil material. Use a fine-tipped marker so your design is easy to see. Hold the paper or vinyl down with painter's tape to trace more precisely. To trace straight lines, use a metal ruler. If you make a mistake on the Mylar or vinyl, use rubbing alcohol and a soft cloth to wipe it off.
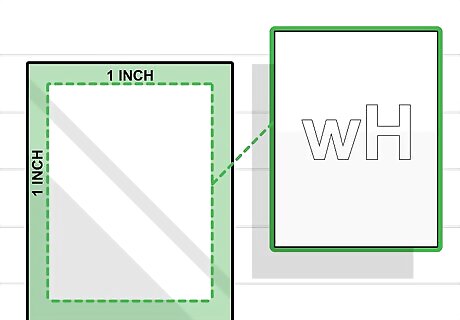
Secure the Mylar or vinyl to a stiff, transparent plastic (like acetate). This will prep your design for cutting. Again, use painter's tape to hold the design down. Position the paper or vinyl so the plastic borders it at least 1 inch (2.5 cm) around the design.

Weed your design using a sharp knife. Much like using a vinyl cutter, creating a vinyl by hand requires careful weeding. Use a sharp utility knife to remove any parts of the Mylar or vinyl you do not want to be a part of the design. Take care when weeding intricate designs to avoid removing the wrong part. The sections you cut out will be where ink touches the fabric once you screen print your design. Keep this in mind while cutting. Rotate your stencil as you go for easy cutting.
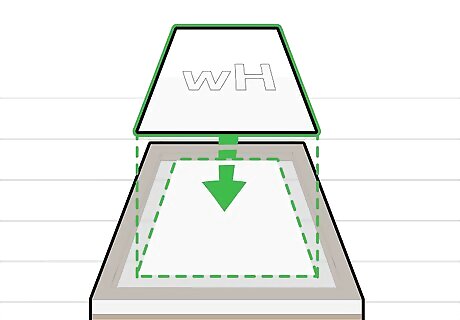
Attach your design to a silk screen. Apply an even layer of transfer tape to the back of your stencil. When you are ready to apply it to the screen, remove the backing and apply it to the silk screen as smoothly as you can. Place the design on the back end of your screen to keep your design protected from breaking while going through the machine.
Using a Vinyl Cutter
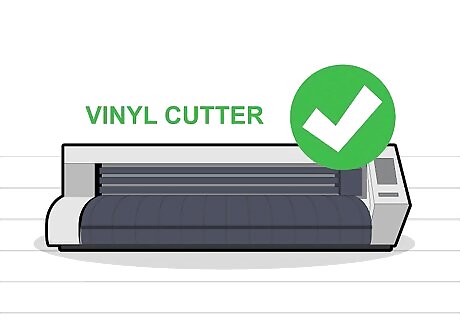
Purchase or rent a vinyl cutter. This machine traces precise designs out of vinyl to make intricate stencils. If you do not own a vinyl cutter, you can rent them from specialty craft stores for a daily or hourly fee.

Create a high-contrast image on your computer. Design your stencil online using an image-editing program (like Photoshop or Inkscape). Consult your vinyl cutter manual to check which programs are compatible with the machine. The graphic should be fairly simple to make transferring it onto fabric easy. Once you've finished making your design, convert your image into a file supported by your vinyl cutter. Most vinyl cutters prefer files like "SVG" or "PDF."
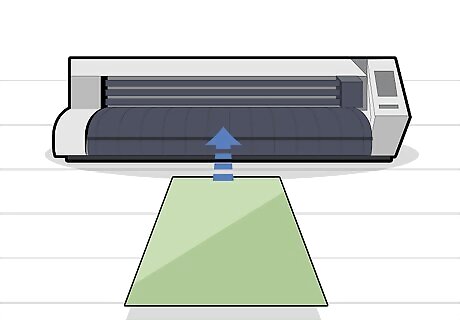
Load your vinyl into the machine. Feed the roll into the machine until the end hangs off the back side. The vinyl should rest above the roller bar but below pinch rollers to keep it secure. The color of vinyl you choose does not matter because it will not be transferred onto the fabric while silk screen printing.
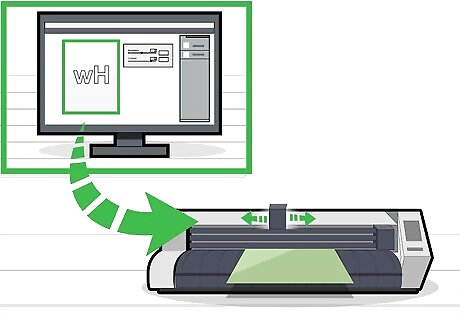
Upload your file to the vinyl cutter. Once you have exported your file to the vinyl cutter, your stencil is ready to be printed. The cutter's knife will trace your design's contours and leave you with a vinyl outline. Depending on the complexity of your design, this may take anywhere from several minutes to an hour. Vinyl cutters will trace a design but not cut it out completely. You will need to cut out unnecessary sections with a knife later on.

Weed the vinyl to remove excess material. Use a sharp knife or specialized weeding pick to remove unnecessary vinyl. The thickness of the knife you use is dependent on your design's complexity: the more intricate the design, the thinner your knife should be. Essentially, you are creating a "negative" of the design. The screen printer ink will transfer to the fabric wherever you cut out the vinyl.
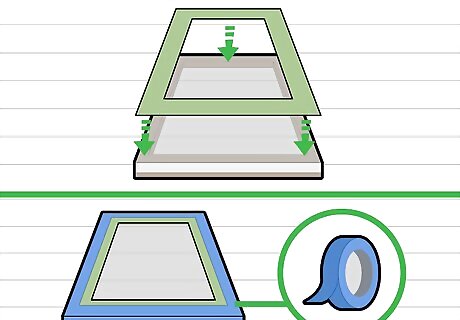
Create and attach a vinyl frame to your silk screen. Cut out a piece of vinyl that mirrors the length and width of your silk screen: this will be your vinyl frame. With a sharp knife, remove a rectangular hole in the center of the vinyl large enough to attach your design. Place the vinyl frame on top of the silk screen, and secure it with painter's tape. Layer the materials as follows: screen on bottom, frame in the middle, and design on top. Make sure the image fits entirely within the rectangular hole before you remove the backing tape.
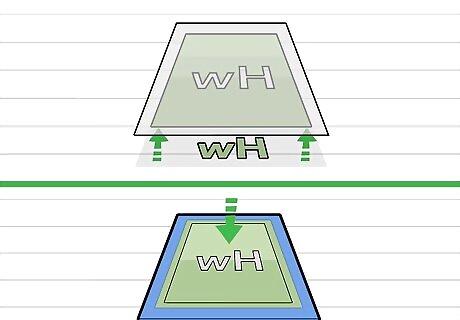
Use transfer tape to attach your stencil. Apply transfer tape to the back of your stencil, smoothing it on as evenly as you can. When you're ready to transfer the stencil to the silk screen, remove the backing tape and attach the stencil through the rectangular vinyl hole you cut out earlier. Rub the stencil firmly with your hand to smooth out any bubbles.
Using Emulsion Gel
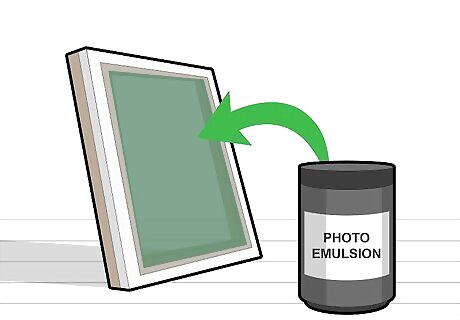
Cover a silk screen with emulsion gel. Photographic emulsion is a gel-like substance with light-sensitive properties. When applied to fabrics like silk, it can transfer images from photographic paper to create stencils. Apply a thin layer to both sides of the screen, leaving a 1 inch (2.5 cm) border around the screen. Coat the silk screen in a room with minimal light (or a dark room). If you are own a dark box, make sure it is near by as you apply the gel.
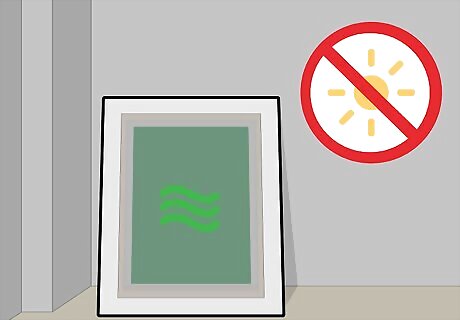
Place your silk screen in a dark room or box. After you've coated the screen with the gel, it will need to dry in a room void of light. Transfer it immediately to dark room or box where no UV light can touch it. This process can take anywhere from 2-5 days depending on the size of your screen. Do not remove the silk screen any earlier than 2-3 days, as exposing the wet gel to direct light will ruin the screen. Consult your emulsion gel packaging for a specific wait time. Silk screens will dry faster in summer than in the fall, as the emulsion gel responds better to heat.
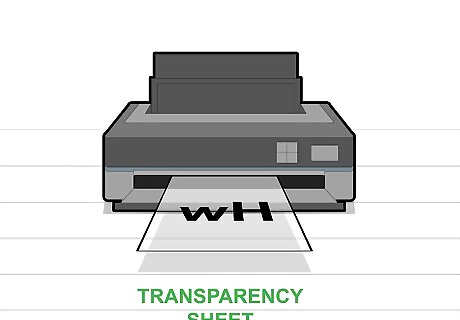
Print your design onto a transparency sheet. When your silk screen has dried, print your stencil pattern onto printable transparency film. Most printers are comparable with transparency sheets, but you may need to adjust your printer to the appropriate setting. Consult your printer manual for machince-specific instructions. Handle transparent sheets by the edges to avoid smudging. Allow your transparency sheet five minutes to dry before stacking or touching the design.
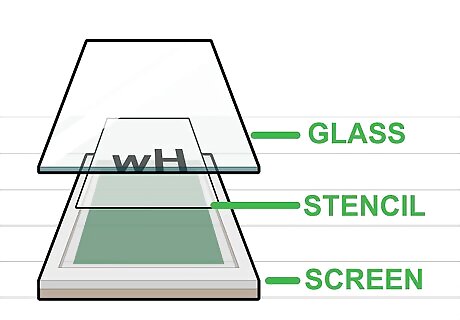
Attach the design to the silk screen. Press the transparency stencil to the bottom of the screen. Apply pressure to the screen with a piece of clear glass or other heavy, nonflammable transparent object to keep the stencil secure while you transfer the image.
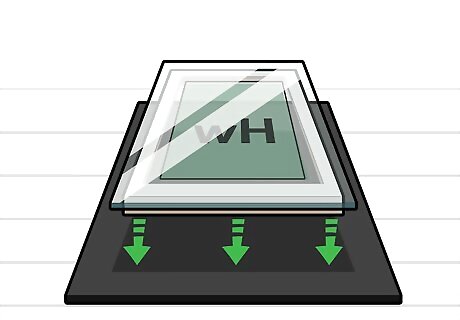
Place your screen on a matte black item. This will encourage even exposure as the screen is placed under a UV light. A chalkboard, if available, is ideal. If you are unable to use a chalkboard, spray paint a rectangular piece of cardboard black large enough for your screen to lie on.
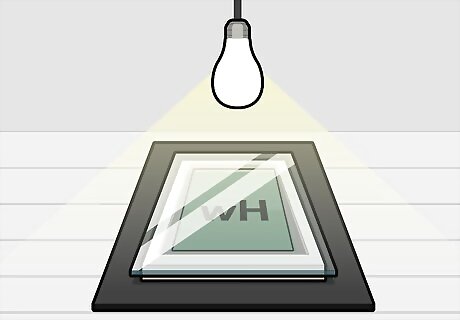
Expose the silk screen to UV light. Direct UV rays will allow the emulsion gel to transfer the printed design onto your silk screen. Although you can place your silk screen in the sun, exposing it to a controlled source (like a 150 watt lightbulb) will give you more control. Consult the emulsion gel packaging for the exact amount of exposure time. Exposures can take as little as ten minutes or up to several hours.
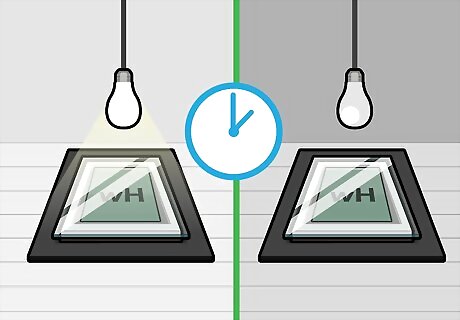
Watch the silk screen carefully, and remove it from the light at the directed time. The exposure time must be as exact as possible. Overexposing your image will make the gel impossible to clean off. Underexposing your image won't give the design enough time to transfer.
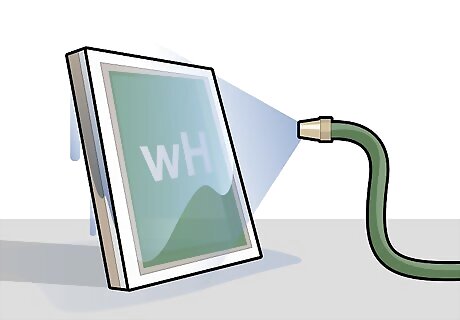
Wash the screen out before using. Your silk screen stencil isn't ready for use until you've removed the emulsion gel. Clean the screen with lukewarm or cool water. Wash your screen gently to avoid scratching your screen: set the water to low-pressure, and use a soft cloth or sponge to remove the gel.


Comments
0 comment