views
Using Petroleum Jelly
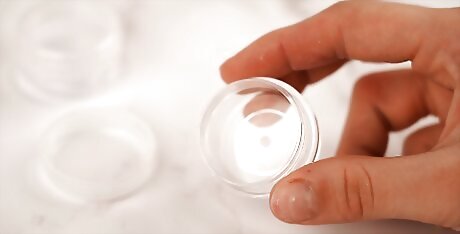
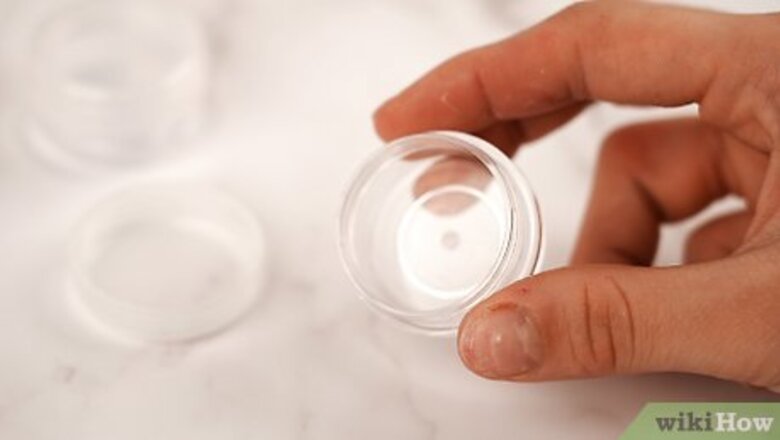
Clean out old lip gloss containers. Wash them carefully with soap and water, and then sterilize them with rubbing alcohol. Rinse them out once more with water so that you won't be able to taste the alcohol when using your new lip gloss. If you don't have old containers on hand, you can purchase new ones from a beauty supply store, drugstore, or even a dollar store.
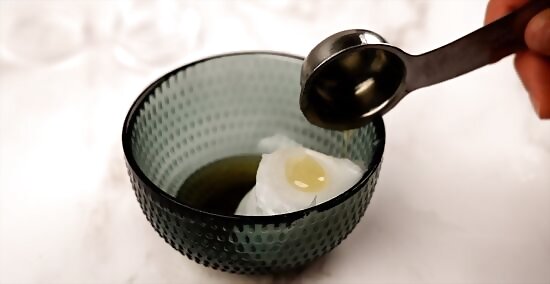
Place 3 tablespoons of petroleum jelly and honey in a microwave-safe dish. Microwave for 30 seconds. Vaseline is the most common and easy-to-find brand of petroleum jelly. Honey is great to use in homemade lip glosses because it's a humectant, meaning it attracts and retains water. It also adds a nice shine and tastes great, too! You can also use a double boiler if you don't have a microwave. A double broiler consists of a bowl placed on top of a pan of simmering water. The bowl does not touch the water, but creates a seal with the bottom pan to trap the steam produced by the simmering water. This prevents the substances being melted from burning. Another way to melt the ingredients is to put them in a plastic bag and then float the bag in hot water. Do this until the ingredients are melted. Then snip off a small corner of the bag to pour out the melted petroleum jelly and honey.
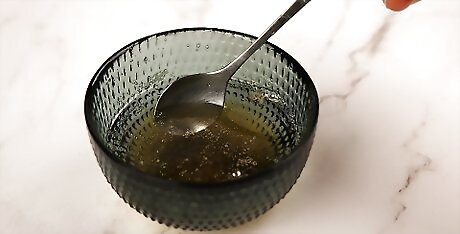
Stir to combine the two ingredients. If the ingredients are completely melted you can remove them from the microwave or double broiler. Otherwise, heat them again for another 30 seconds. Be careful with the melted ingredients. If very hot, they can cause a burn.
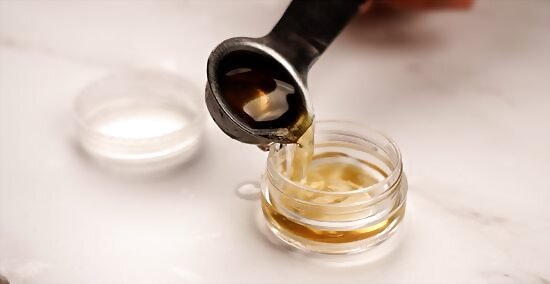
Transfer the petroleum jelly and honey to the container(s). Let the container(s) cool on the counter until firmed up a bit.
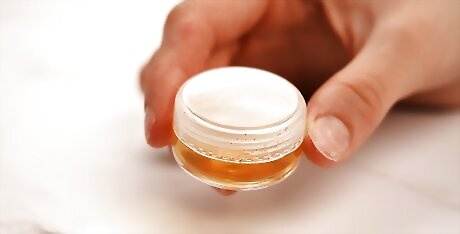
Place the lid on the container. Store at room temperature and make sure the container does not get overly warm. Lip gloss should last for up to 6 months.
Using Beeswax
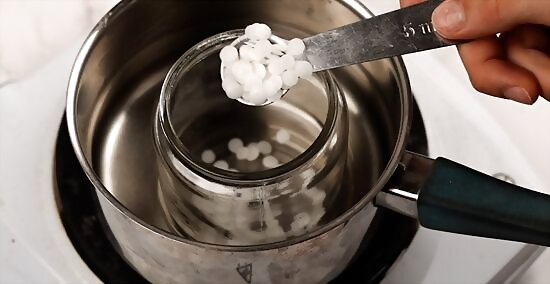
Melt 3 teaspoons of grated beeswax and 5 teaspoons carrier oil over low heat. To do this, place both ingredients in the top of a melting pot or double broiler. Beeswax is a great alternative to petroleum jelly if you want an all-natural product. An emollient, or moisturizer, beeswax will seal in the moisture in the lips and protect them from the elements. Beeswax is also good to use in making your own glossy lip balm because it adds stiffness and body to the product so that it can be easily applied, stored, and transported. You can buy whole chunks of beeswax or, for greater ease, you can also purchase beeswax beads, which eliminate the need to grate the beeswax. Carrier oils that work well in this recipe are sunflower, castor, or jojoba.
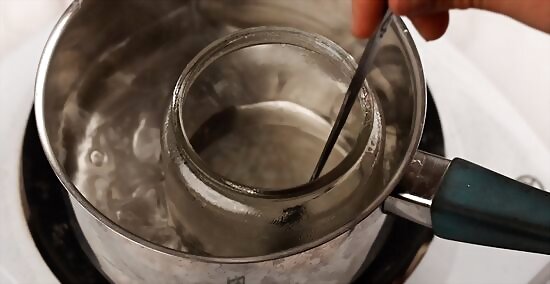
Stir to combine the wax and oil. Remove from heat once well combined.
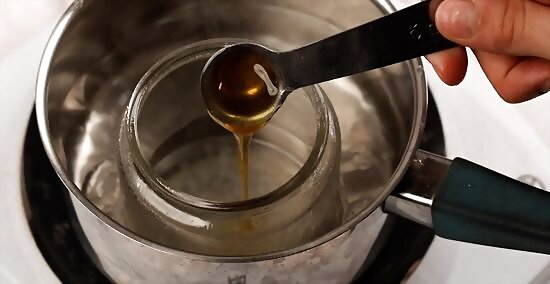
Add in 1 teaspoon of honey. Whisk or mix thoroughly so that honey doesn't clump together. To make this gloss shinier and more fluid, use 2 teaspoons of wax and 8 teaspoons of carrier oil.
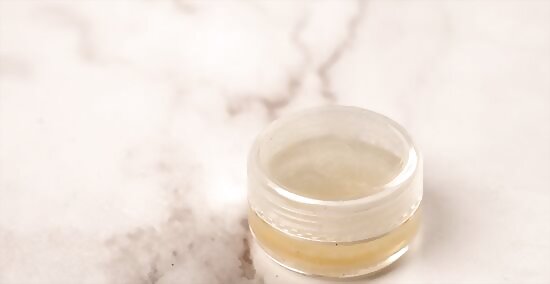
Pour the mixture into a clean container. Let it sit for 20 minutes before covering or moving.
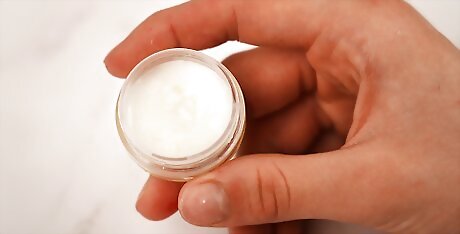
Store at room temperature and use within 6 months of production.
Modifying the Base Recipes
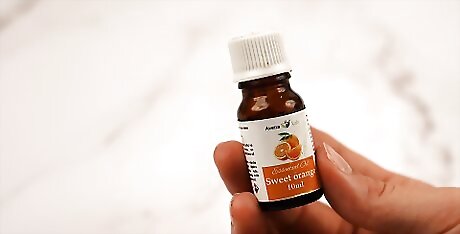
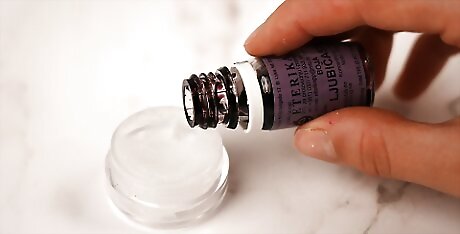
Make a scented or flavored lip gloss. Add 6-7 drops of your favorite essential oil. Peppermint, lemon, and orange are all nice, aromatic options. For a chocolate or cocoa lip gloss, stir a little cocoa powder into the melted product, using just enough to flavor the gloss to your liking. Stir well to combine. To make a berry lip gloss, add in some strawberry, raspberry, or blueberry drink crystals or kool-aid (with sugar added) to the melted product. Stir to combine.
Make a tinted gloss. Stir in a little dab of lipstick with a coffee stirrer. When applying a tinted lip balm, use a Q-Tip to avoid getting color on your fingertips.
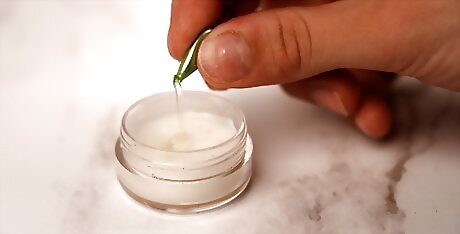
Add extra nourishment. For a more nourishing balm, add in the contents of two vitamin E capsules. Vitamin E is full of antioxidants and can neutralize the effect of free radicals that damage skin cells and cause dryness.
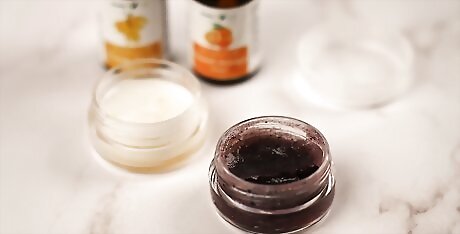
Finished.








Comments
0 comment