views
Make a Pattern

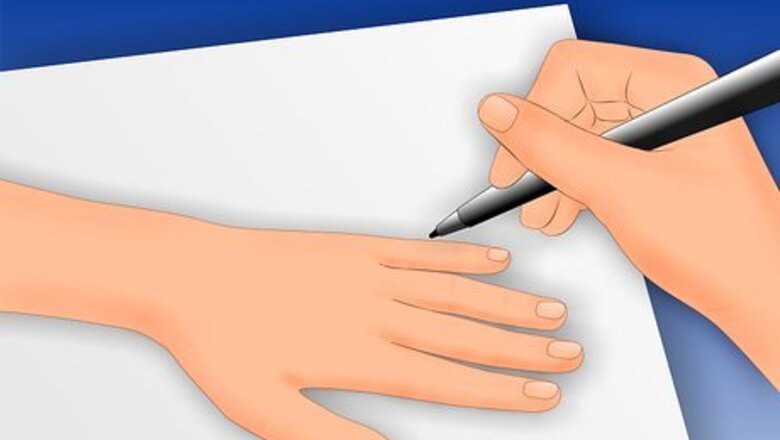
Trace your hand onto paper. Lay your non-dominant hand flat on top of a piece of paper, keeping your fingers closed. Your thumb should extend out at its natural angle. Draw around your entire hand, working from one side of the wrist to the other. Your hand should be in the middle of the paper with your index finger and thumb pointed toward the center. Once you have this basic outline, you also need to draw a dot at the base of each finger. To do this, open each pair of fingers (one pair at a time) and draw a small dot in between them, centering it at the base. Slip a ruler in between your fingers. Draw a straight line from the dot to the tops of your fingers. Remove the ruler and make sure that all of the lines are parallel with each other. Add an extra 2 inches (5 cm) of length to all sides of the pattern. Sketch the line so that it slopes out slightly near the wrist along the outside of your hand, or the side opposite your thumb. You should have an accurate outline of your hand at this point. Do not cut it out yet, however.
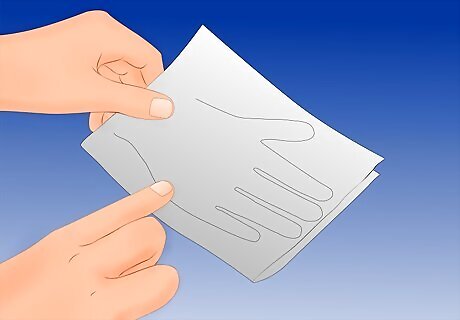
Make the trank pattern. Fold the paper in half along the outer edge of your index finger. Cut around the outline, cutting out two layers at once and keeping the fold intact. Note that the thumb portion of your outline will be lost at this point. Once you cut out the outline, cut down finger slits you sketched out earlier. The slits on the front of your pattern should be 1/4 inch (6 mm) shorter than the corresponding slits along the back of the pattern.
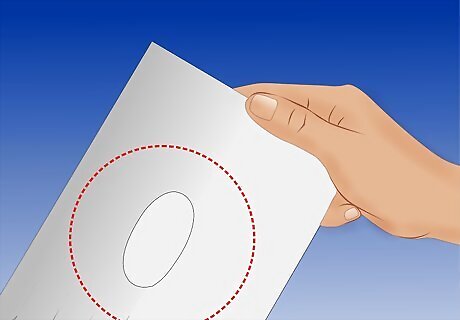
Create the thumb hole. Open the trank pattern and mark the locations of your thumb joint. You'll need to draw and cut out an oval for the thumb hole in the center of the trank. Mark the thumb base, web, and thumb knuckle with dots. Make a fourth dot directly across from the knuckle dot. Draw an oval that connects all four of these dots together. Sketch an inverted triangle along the top of this oval. It should be no longer or shorter than the center of the oval. Cut out the remainder of the oval, leaving the top triangular portion intact.
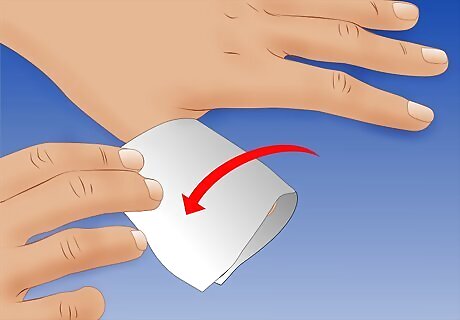
Design a pattern for the thumb. Fold a piece of paper in half and put the inside of your thumb along the fold. The fold should run parallel to the side of your index finger and wrist. Draw around the outside of your thumb. Once you have this sketch, open up the paper and draw a mirror image on the other side of the fold. Cut out the thumb piece and hold it against the thumb hole in your trank pattern. The two should roughly join together. If not, remake your thumb pattern, adjusting the size to better match the thumb hole in the trank.
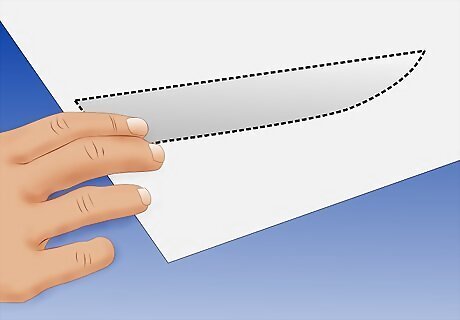
Make the fourchette pattern. The fourchettes are lengthwise pieces that fit in between the fingers of your gloves. Fold a piece of paper and put it in between your index and middle finger on your non-dominant hand. The fold should rest directly on top of the webbing in between your fingers. Trace around your index finger, adding a little extra length to the top to match the length of the middle finger. Cut the pattern out. Repeat this process two more times, sketching out fourchettes to go in between your middle and ring fingers and in between your ring and pinky fingers.
Prepare the Leather
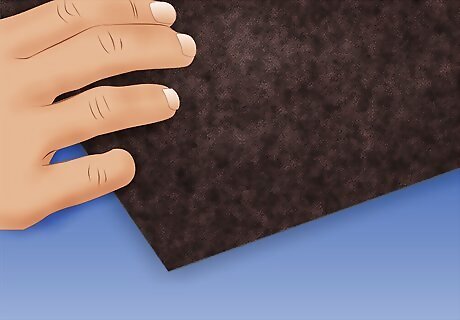
Look for the right kind of leather. The easiest leather to work with when making gloves will be thin leather with a smooth, even grain. Grain leather is made from the external side of the hide, and it offers the greatest amount of durability and dexterity. Thin leather will create more comfortable gloves than thick leather, which could end up feeling bulky.
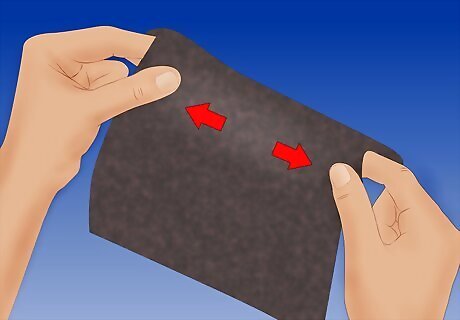
Test the stretch. Tug the leather and observe how stretchy the material is. If it bounces back after you stretch it, no further preparations are needed. If it sags a little or seems too stretchy, you will need to help stiffen and control this stretchiness. Stretchiness is good, but if you do not take measures to control it, the gloves can easily become saggy and worn out after you wear them a few times.
Moisten and stretch the leather. Get the leather wet, then stretch it out with the grain until it will stretch out no further. Let it dry. Once dry, wet it again and stretch the leather out across the grain. Do not stretch it out completely this time, though. Let it dry again.
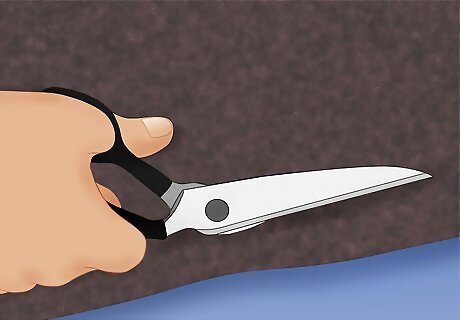
Cut out your pieces. Pin your patterns to the prepared leather and use sharp scissors to cut them out, matching the pattern line for line. This means cutting out the thumb hole and finger spaces, as well. Make sure that the grain line runs parallel with the fingers. Leather has the greatest amount of stretch across this grain, and you will need to make use of that stretchiness to help the leather move with the the knuckles as you bend your fingers. Leather should not fray, so you do not need to hem the edges or apply any anti-fraying adhesives. Cut each piece out twice so that you will have enough pieces to make two identical gloves. Since the front and back of these gloves will be identical, you do not need to worry about inverting the pattern for your opposite hand.
Sew the Gloves
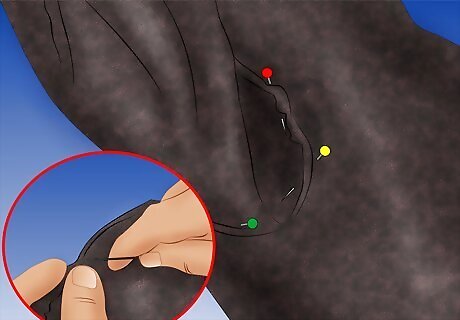
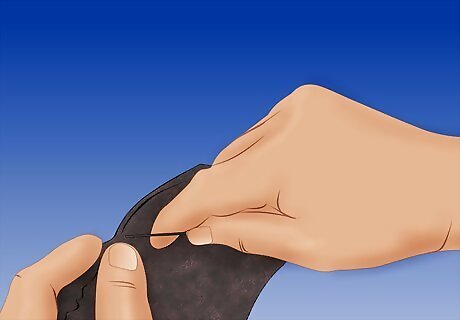
Sew down the side of the thumb. Fold the thumb piece down its center and stitch along the top and side, joining them together. Stop just short of the bottom curve. If you want to hide your stitching, make sure that the right sides of all pieces face each other as you stitch and turn the pieces right-side out once they are stitched together. Alternatively, you can keep all of your stitching on the outside of the gloves, allowing it to remain visible. In that case, keep all of the pieces right-side out as you stitch them together. Hidden and visible stitches are both an option with leather, so this is merely a personal style choice on your part.
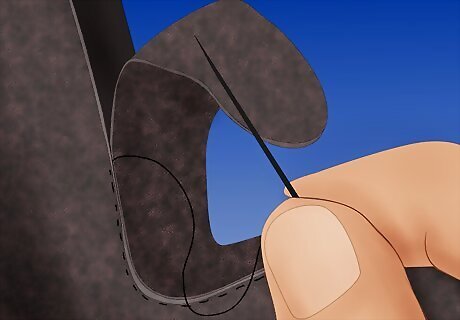
Pin and sew the thumb on. Insert the open bottom of your thumb piece into the thumb hole of your trank piece. Pin the edges of the thumb to the edges of the hole, then sew around the entire joined edge. Make sure that the thumb points upward as you insert it into the thumb hole. The thumb piece edge and thumb hole should match pretty evenly. You can bend the edge of the thumb hole inward so that the right sides of the hold edge and thumb piece face each other, or you can pin/sew the right side of the thumb edge along the wrong side of the hole edge. Either option will work, so again, this is merely a matter of style preference.
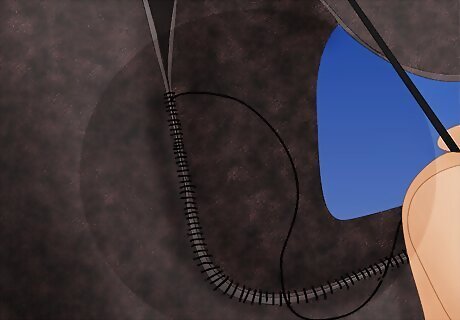
Insert the first fourchette piece in between your first fingers. You will need to connect it to the palm and back sides of your trank pattern. Pin and sew in place. Attach the fourchette to the palm side of your pattern first. Once the piece has been sewn onto the palm side of the trank, attach it to the back side of the trank. Sew from the tip of the index finger and down along the palm side slit, then back up to the tip of the middle finger. When joining the fourchette to the back trank, start from the tip of the middle finger and move down the slit, then back up to the tip of the index finger.
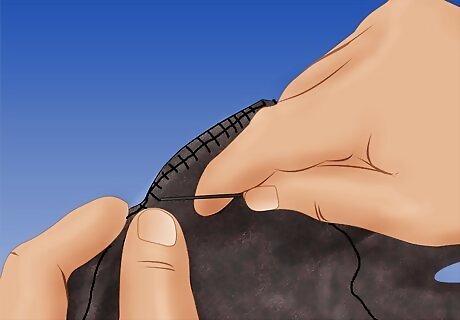
Repeat this procedure with the other two fourchettes. Once the fourchette between your index and middle fingers has been sewn on, move onto the fourchettes between your middle and ring fingers and between your ring and pinky fingers. The sewing method for these other two fourchettes is exactly the same as the sewing method for the first. Sew the middle/ring fourchette on next. Once it's on, sew the ring/pinky fourchette on. Work as you did before, sewing each fourchette onto the palm side of your trank first before doubling back over the back side of the glove.
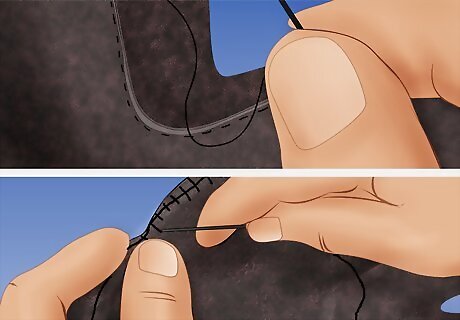
Sew down the side of your glove. If necessary, pin down the glove so that the outer edges of both sides meet each other. Sew down both sides of the gloves and close up any gaps that still remain around the finger area. The only opening left by the end of this step should be the wrist opening. This, of course, remains open. If you want to hide your side seams, make sure that the right sides of your glove pieces face each other as you finish up the sewing. Turn the glove right-side out when the sewing is finished. If you want the seams to show, keep the wrong sides facing in as you sew. When you complete this step, you should have one finished glove.
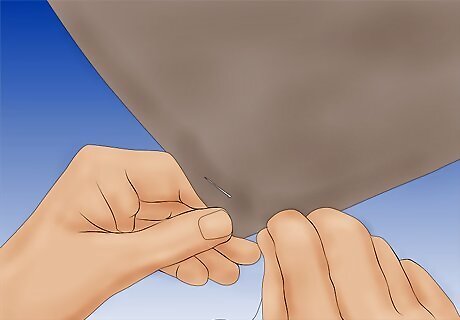
Repeat with the second glove. Follow the same exact sewing steps with your remaining pieces to make a second glove that matches the first. Sew the thumb piece together, then sew the thumb piece into the thumb hole of the trank. Stitch all the fourchettes in place, working with the index/middle combination first, followed by the middle/ring combination, and concluded with the ring/pinky combination. Note that the palm side of this glove will be the opposite of the palm side for your first glove. Stitch along the sides and open finger gaps to complete the glove, leaving only the wrist open.
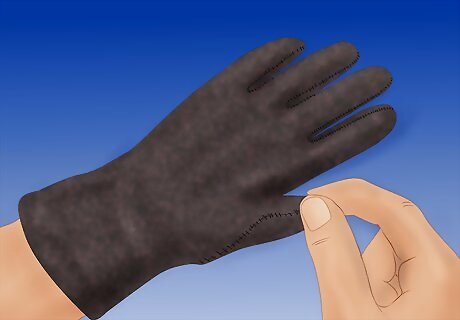
Try on your gloves. At this point, your gloves are finished and ready to wear.


Comments
0 comment