

Please be aware the concentrated hydrogen peroxide (greater than the household 3%) is a strong oxidizer. It may bleach skin and could possibly cause burns. Do not attempt without proper safety precautions and the presence of an adult. Also, the lab version includes potassium iodide, which can reach hot temperatures. If you are at home, we suggest you use water and dry yeast instead. Have fun with it, but be safe!
Preparing for the Experiment
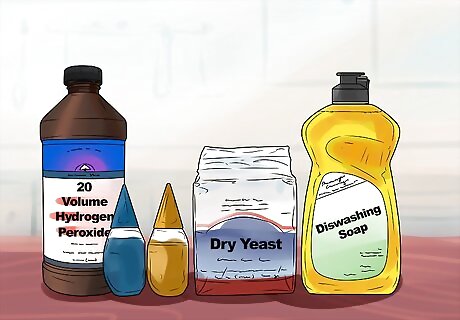
Look around your home for all the available resources. You don’t need to buy official lab equipment for this fun experiment as most of the supplies can be found at any home. Create a list of what you have available to you and see what you need to purchase.
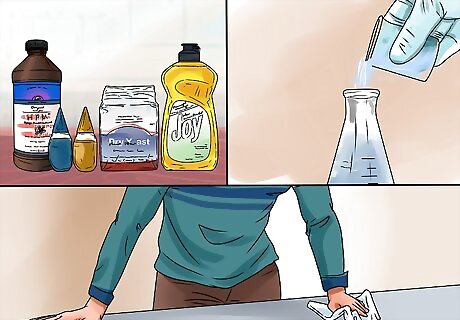
Schedule enough time for setup, experiment, and cleanup. Remember that this can get messy so tell everyone involved that they have to pitch in for clean up afterward. Allow enough time for everyone to participate and enjoy the experiment.
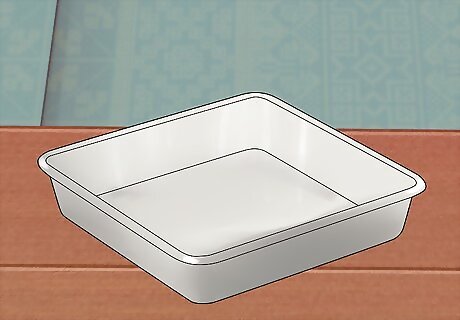
Contain the splash zone. Experimenting with oozing foam can be fun at any age, but it’s easy for kids to get carried away. Whether you plan to conduct the experiment in the bathtub, out in the yard, or use a large baking pan or plastic bin, minimize cleanup by preparing a contained space.
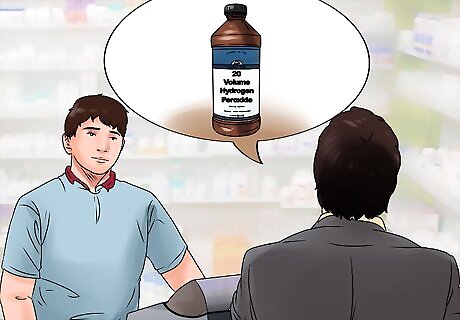
Find the right amount of hydrogen peroxide. The amount of hydrogen peroxide will determine how much foam you generate. While you might have some 3% hydrogen peroxide in your medicine cabinet, you can also go to a beauty supply store to find 6% as it usually is not readily available at grocery stores or drug stores. Beauty supply stores will sell 6% hydrogen peroxide as bleaching agent. You can use 3% hydrogen peroxide for the experiment, though it may not produce as much foam as a 6% concentration.
Conducting the Home Version Experiment
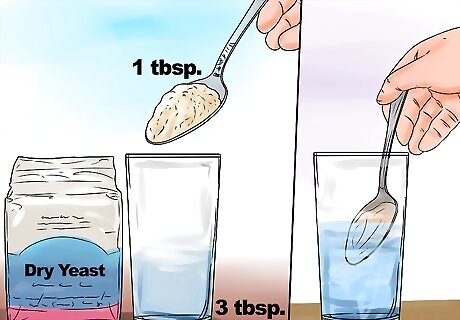
Mix 3 US tbsp (44 ml) of warm water with the yeast and let it sit. You can let the kids do this step. Allow them to measure out the yeast and mix in the correct amount of water, heated to 105–110 °F (41–43 °C). Have your little one stir it to get out all the clumps. Depending on your child’s age, you can have them use a fun spoon and stirring tool. You can also have the put on goggles and a lab coat. Kid safety goggles can be found at your local hardware store. Check the yeast packaging to see how hot the water needs to be.
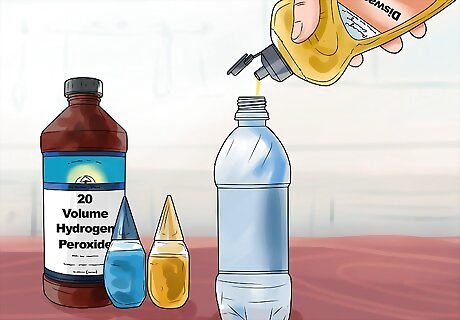
Combine dish soap, food coloring, and ⁄2 c (120 ml) of hydrogen peroxide in a bottle. Make sure everyone wears gloves and safety goggles before handling the hydrogen peroxide. Do not let your kids handle the hydrogen peroxide unless you think they are old enough. If your child is too young, have them squeeze the dish soap and food coloring into the bottle. You can also add glitter to make it more fun. Make sure the glitter is plastic and not metal-based because peroxide should not be used with metal. Stir the mixture yourself or have your child do it if old enough. Be sure that the hydrogen peroxide is not spilled.
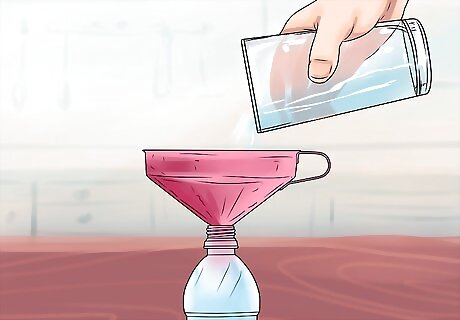
Pour the yeast mix through a funnel into your bottle. Quickly stand back and remove the funnel. You can allow your child to pour the yeast, but if they are young, stay within arm’s distance to ensure the bottle doesn’t spill onto them. Use a short bottle with a wide base for stability. Make sure the neck is narrow to increase the effect. The fungi in the yeast immediately cause the hydrogen peroxide to decompose and strip off an extra oxygen molecule. The yeast acts as a catalyst as it causes the hydrogen peroxide molecule to release an oxygen molecule. The stripped off oxygen molecule takes the form of a gas and once it hits the soap it creates fluffy foam bubbles, while the rest stays as water. The gas looks for an escape route and the foam “toothpaste” gushes out of the bottle. Make sure the yeast and hydrogen peroxide are mixed well for optimum effect.
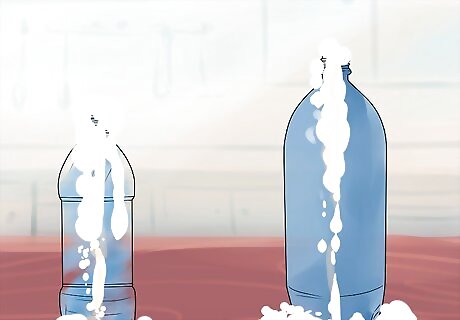
Change the size and shape of the bottle. If you choose smaller bottles with narrower escape routes, you will have a more powerful oozing foam. Play around with the size and shape of your bottle for greater effects. With a regular soda bottle and 3% hydrogen peroxide, you will probably get a cascading effect like a chocolate fountain.
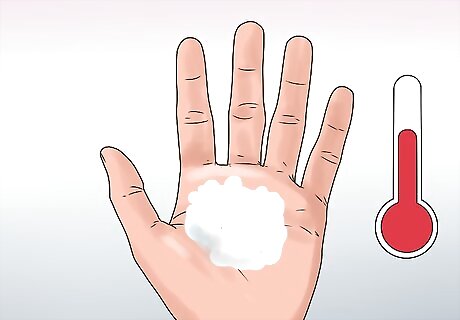
Feel the heat. Observe how the foam gives off heat. The chemical reaction is known as an exothermic reaction so heat is given off. The heat is not enough to cause any harm so you can definitely feel the foam and play around. The foam is just water, soap and oxygen so it isn’t toxic.
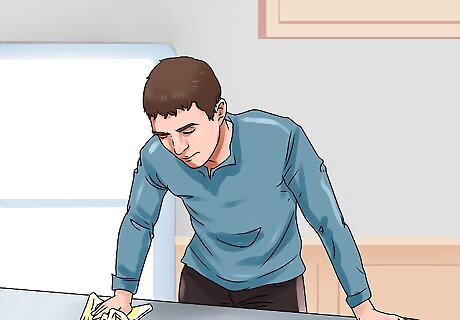
Clean up. You can use a sponge to clean up the area and pour any extra liquid down the drain. If you decided to use sparkles, strain them out of the liquid and throw them out before pouring down the drain.
Adjusting the Experiment for a Lab Version

Put on gloves and goggles. The concentrated hydrogen peroxide used in this experiment will burn the skin and eyes. It can also bleach fabric, so choose your clothing with that in mind.
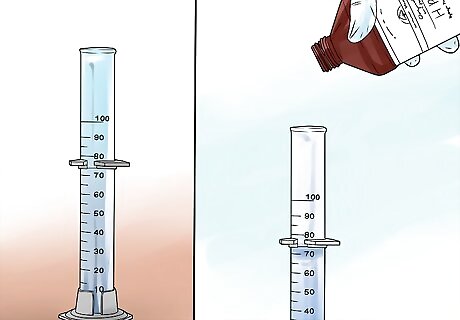
Pour 4 tsp (20 ml) of 30% hydrogen peroxide into a graduated cylinder. This hydrogen peroxide is stronger than any household peroxide. Be sure to handle with care and make sure the graduated cylinder is set on a stable location.
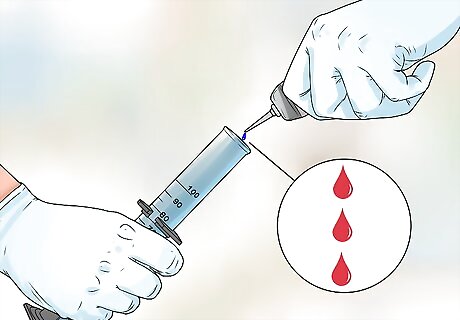
Add 3 drops of food coloring. Play with the food dye for fun effects. Create fun patterns and color variations. To make the final product striped, tilt the graduated cylinder and drip food coloring down the sides.
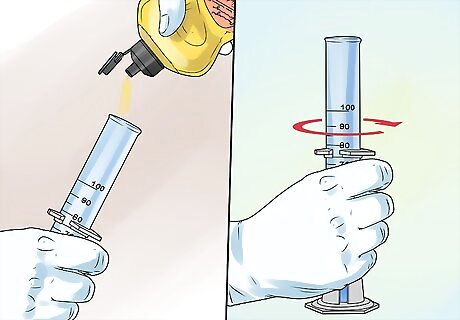
Add about 2 ⁄2 US tbsp (37 ml) of dish soap and swirl it to mix. Add a small layer of liquid dish soap by pouring it into the solution down the side of the cylinder. You can also use powdered dish soap but be sure to mix the solution thoroughly.
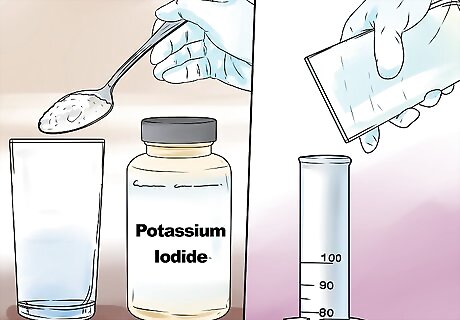
Add the potassium iodide to the solution and quickly stand back! Using a spatula, add the potassium iodide to create the chemical reaction. You can also dissolve the potassium iodide in water in a vial before adding to the solution. Large colored foam will rise out of the cylinder.
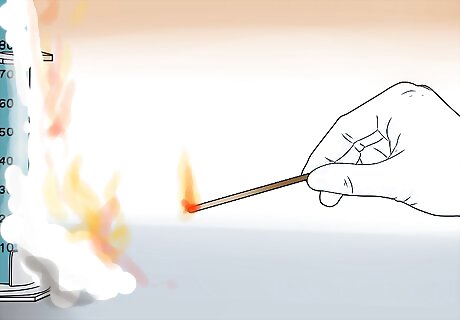
Test for the presence of oxygen. Place a glowing wood splint near the foam and watch it reignite as the oxygen is released from the emerging foam.
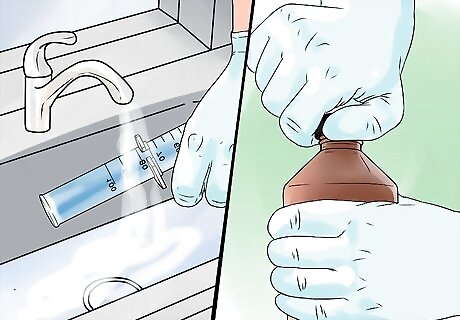
Clean up. Flush the remaining solution down the drain using plenty of water. Make sure all glowing wood splints are out and there are no open flames. Close and store the hydrogen peroxide and potassium iodide.


Comments
0 comment