views
Crafting the Shaft and Flight
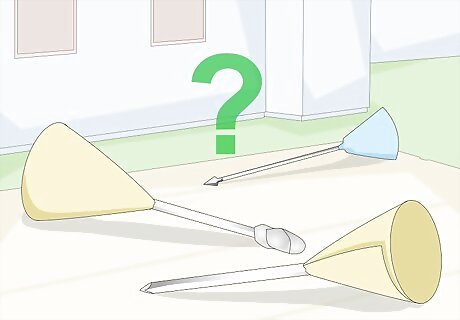
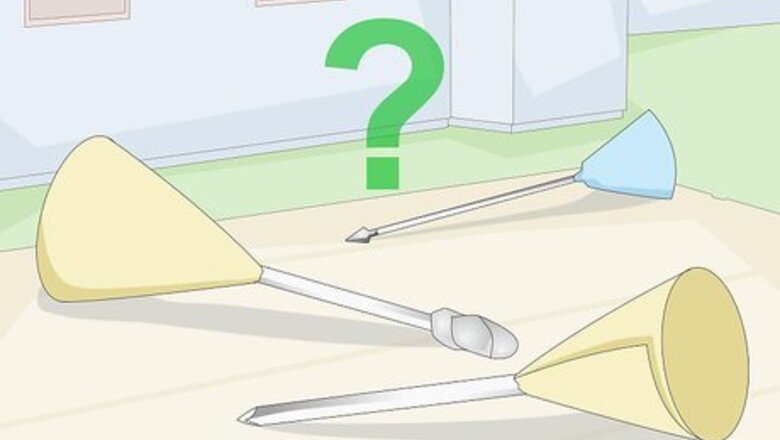
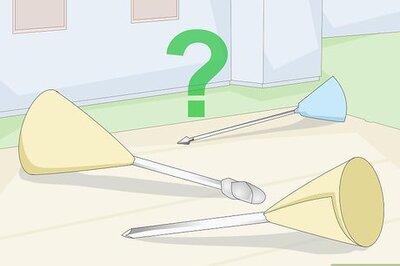
Decide what sort of dart you want. As a rule, smaller darts will fly faster. Heavier darts will hit harder. This makes a difference whether you want to use your blowgun for precision work (like shooting against a dartboard) or breaking things (like glass). Fundamentally, the process is the same. However, knowing what you want to use your darts for is important before you go out and buy the materials. The sort of tip you ultimately give your dart will have a significant impact on its use as well.
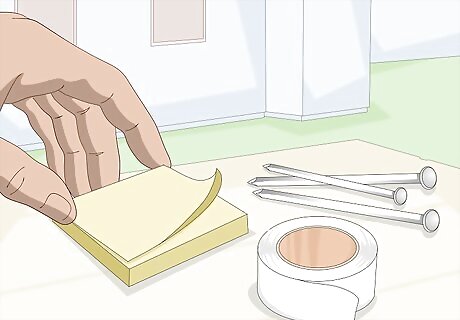
Acquire supplies. There are usually two or three parts to a dart. All blowgun darts will have a nail (for impact) and a flight (the part at the end for aerodynamics). Flights can be made by wrapping small pieces of paper into cones. A third part to the dart may be the tip. In some cases, you may want to modify the end of the dart. Whether for safety or utility's sake, you can add something to change your dart's impact. Type #16 and #18 wire nails are recommended for blowgun darts. Choose between the two based on your preference between speed and impact. Sticky notes are perfect for the flight. They're already a good size so you won't need to cut off too much. They're also often brightly coloured, which will make it easier to retrieve your darts once you begin firing them. A tip of a dart can be anything, so long as it doesn't get the way of the dart's natural aerodynamics. For use in your house, some tape to dull the pointy end can help, although some will use a tip to make a dart more damaging.
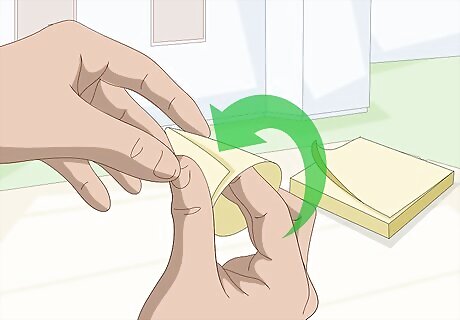
Make a flight. Because this is a homemade project, you can go many ways about making a flight for your darts. As mentioned, easy flights can be made by rolling sticky notes into cones. Form them into a cone, and tape the crease to keep them steady. Alternatively, you can glue short pieces of yarn around an ear plug. From there, the nail can impale through the ear plug and function just as well as a dart. In order to find the perfect length for your cone flights to be, try sticking them in the barrel you'll be using. Cut off at the point where the cone doesn't fit in. Try to make your darts consistently. It helps to get really good at one kind of dart. What's more, you'll adjust your shooting style to match the weight and impact of that type of ammunition.
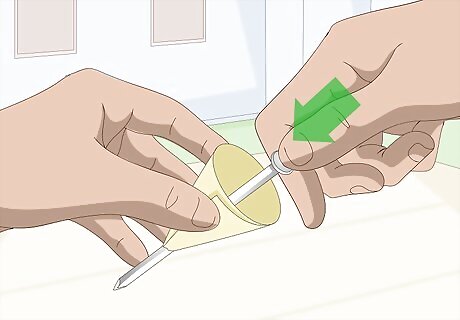
Add the nail. A nail is usually simple to add to your flight. This involves sticking it through the central part of the flight and bringing it all the way forward. In the case of a cone flight, stick the nail through the back end so that the flathead is covered by the cone. From there, hot glue the nail in place. Once the nail is settled, you are ready to add a tip.
Tipping Your Darts
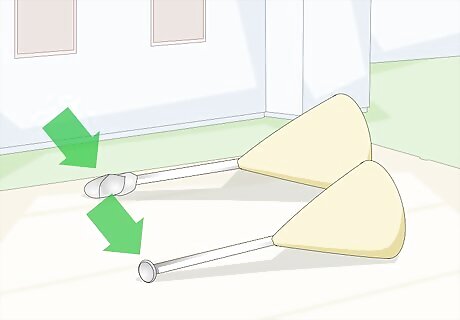
Decide between soft and hard-tipped darts. Just as with the making of the dart frames themselves, tipping darts begins with a choice. Before giving darts a tip, you should have a solid idea what you'll be using the darts for, and what you'll likely be aiming them at. Soft tipped darts aren't likely to puncture or break things, so they can be used in indoor settings without fear of damaging anything. In contrast, hard-tipped darts can be used to puncture or shatter targets. Tipping darts doesn't generally take as much time as making the rest of the dart, but the possibilities are much more varied. For the sake of safety, if you're just starting out with making darts, it's recommended you begin with soft-tipped darts. That way, you can perfect your craft before moving trying something that could potentially hurt someone. For this reason, soft-tipped darts are becoming more popular. You can make projectiles from most anything. Just make sure there is enough mass to the projectiles for them to gather velocity.
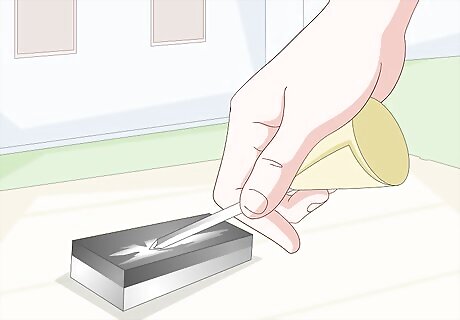
Leave the dart nail as is. Most dart styles have a pointed tip. This allows the dart to puncture its target. If you've made your own darts using a nail for the flight, your dart will come pre-equipped with a hard-tipped puncture dart. If you have precision metalworking equipment, you can sharpen the nail tip further or dull the end.
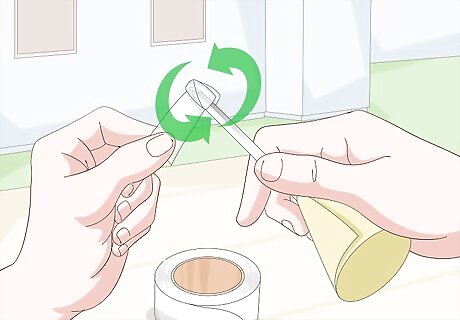
Tape the nail end. Taping the nail end is a quick way of giving yourself a functional soft-tip. Tape will dull off the end and lessen the risk of your darts puncturing anything. It should be kept in mind, however, that this approach does not make the darts totally safe. For a truly safe soft-tipped dart, you will want to replace the nail with something different.
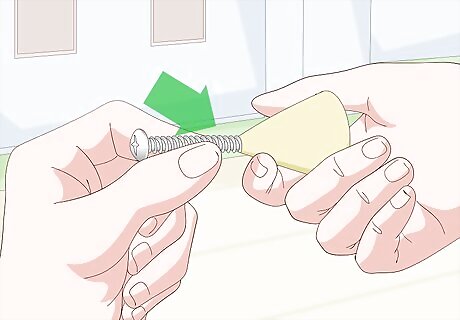
Give your darts a metal head. Metal headed darts are sometimes called "glass breakers", due to their shattering force. To make a glass breaker, you should remove the nail shaft from your dart. Using the hole it's created in the cone, slide a small screw in, with the screw head facing forward. These screws should be kept fairly small. They need to be small enough to be projected, and it doesn't take a lot of size to shatter a glass target. Metal head darts can be purchased professionally as well, if you ant something that packs extra punch but don't want to invest the time in making it.

Repeat until you have a stockpile. One dart could technically suffice, but it makes more sense to rack up, at least, a few of them. That way, you can use the blowgun without having to retrieve the dart each time.
Using Non-Dart Alternatives
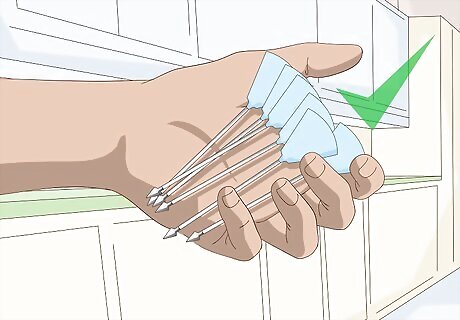
Consider purchasing blowgun darts professionally. The same as with the blowguns themselves, you can simply choose to buy darts from a professional outlet if you lack the time, materials or skill for it. Outlets like Cabela's have a solid variety of different dart types you can purchase from. If you're thinking of hunting with a blowgun, it's recommended you use professional ammunition. Expert blowgun users may go as far as to modify professional darts after they buy them. It requires professional-grade metalworking equipment for customizations to reasonably benefit you however.
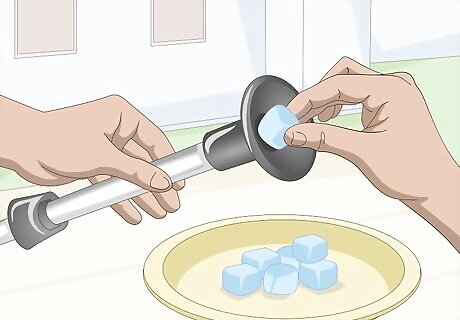
Use marshmallows for ammunition. As silly as it may sound, marshmallows can make a perfect ammunition for blowguns. Marshmallows are very light, so they tend to shoot very far with a regular amount of force from the blowgun. They can be bought cheaply in bulk from a grocery store, and are completely safe to shoot around indoors. You can make a fun game out of using marshmallows . You can try to shoot a marshmallow into someone's mouth from a distance. This is great for parties.
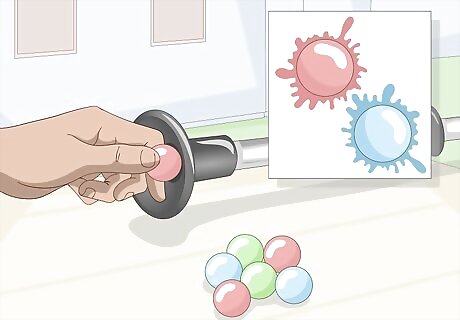
Load your blowgun with paintballs. Paintballs are a great sort of pre-made ammunition. They're usually small and light, so they're perfect for use in a blowgun. Paintballs can get pretty messy, so they're only recommended for use outdoors. Paintball repeaters are available for purchase. They attach to the mouthpiece end of a blowgun and load a new paintball with the press of a button.
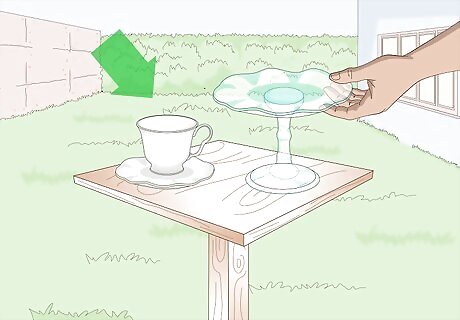
Experiment with different targets. There are pre-made targets for blowguns you can purchase online. Otherwise, part of the fun of using a blowgun is experimenting with all of the different things you can shoot at. Try combining different types of targets with different kinds of darts and see how different combos turn out. It is recommended in the long run that you make a wide variety of darts. Certain types of darts favour certain activities, but you're bound to have the most fun if you have the widest range of opportunities at your disposal.
Making a Blowgun
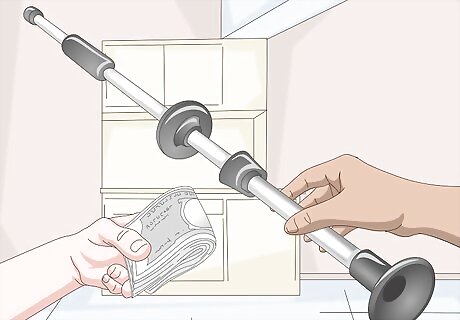
Consider buying a blowgun. If you're not a DIY type of person, blowguns can be purchased fairly easily at a hunting or firearms store. Generally speaking, the blowguns you get professionally will be more effective than something homemade, and if you're looking for a quick fix, it's something you should look into before putting the time aside to make one yourself. On that note, you can buy darts as well. However, purchasing everything from a store would rob you of some of the satisfaction of using one you made yourself.
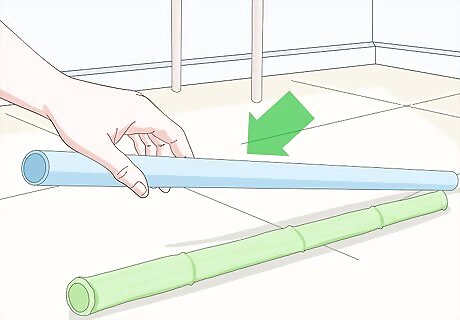
Choose the appropriate materials. Traditional blowguns were fashioned from hollowed wood. For your own blowgun, there are different sorts of material you can use. If you want to make it natural, river can and bamboo are recommended, as they are already mostly hollow. Assuming you don't have easy access to these supplies, a half-inch PVC pipe is perfect. You can buy these at a hardware store. A precision cutting knife is necessary to cut pieces down to size. If you're using something other than a PVC pipe for your gun chassis, you'll need something to burn and smooth out the insides. A ramrod is best if you're working with solid wood. A red-hot steel tip is good for bamboo or river cane, as it will burn out the excess materials inside. Making a blowgun from a regular, solid piece of wood is not recommended, especially if you haven't done something like this before. All the same, if you do want to try it, you'll need to have a length of wood that could be shaped into a straight pole with a half-inch diameter inside of it. As the hollowing process is time-consuming, you can expect to spend several times the amount of time on this than with other types of blowgun.
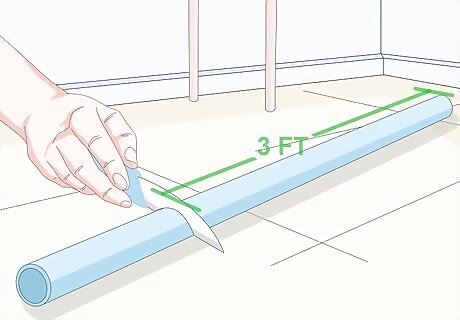
Cut your barrel down to size. A blowgun can be any length between three and seven feet. Longer blowguns generally mean longer ranges, although they're harder to carry and properly aim. Using a precision knife, cut your PVC pipe (or natural substitute) to a length that suits you. If this is your first time building a blowgun and you don't know where to start, make a shorter one. Three-foot blowguns are easiest to use, and you'll get the hang of it without using too much material. Make sure your cut is clean and straight. Rough or slanted edges will increase drag in the barrel.
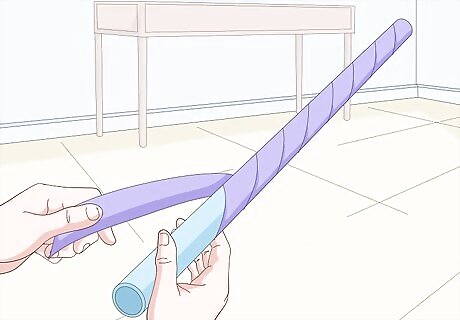
Cover your barrel. A blowgun can always use a cool look. If you're making something from home, part of the enjoyment is in making it look as professional as possible. For the look and traction, it's recommended you wrap it up in a coloured masking tape. Buy a coloured tape from a hardware store you think suits the blowgun. Set the blowgun lengthwise against the blowgun and pull the tape up to wrap partway around it. From there, turn it around and do the same on the other side. Look up professional designs for blowguns if you need some inspiration on how to cover up your gun.
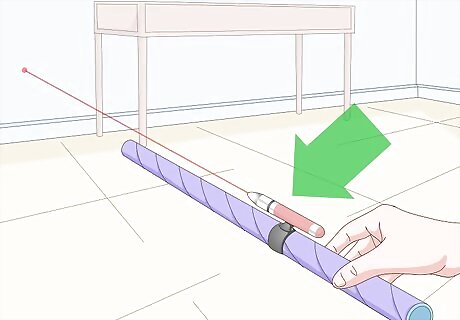
Add an laser-assisted aim. In general, blowguns are simple devices. The ranges you'll be shooting from won't make it necessary to have aim assistance, but it can make a fun addition for your blowgun. A laser pointer is perfect for this, as they're very cheap and relatively powerful. Buy one from a dollar store. Set some hot glue 8 1/2 inches away from the firing end of your blowgun and glue it down. Take care to make sure the laser pointer runs perfectly parallel with the gun barrel. Tape down the laser pointer with some tape to secure it further. Many laser pointers also come equipped with a flashlight, making your blowgun capable in night situations as well. Calibrating a scope or laser-assisted aim takes patience. Tape your laser in a place you think you want it to go. Keep shooting in the same place at an optimal range and adjust your scope if the dart doesn't hit where the aim indicates it will go. Set glue and secure it when you've decided on a placement.
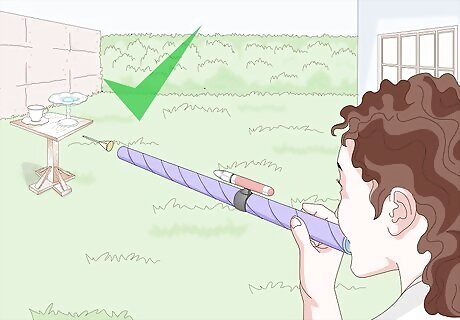
Shoot it! Find a safe target, and have some practice. Lodge a dart in one side, and blow it out the other. Experiment with different arcs and velocities. It helps to have a strong set of lungs.








Comments
0 comment