views
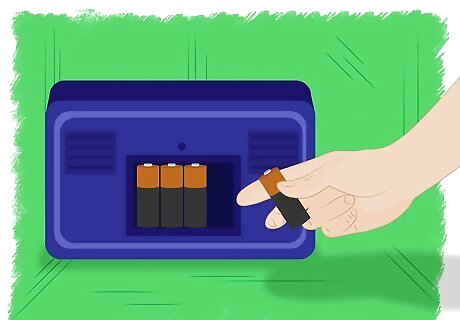
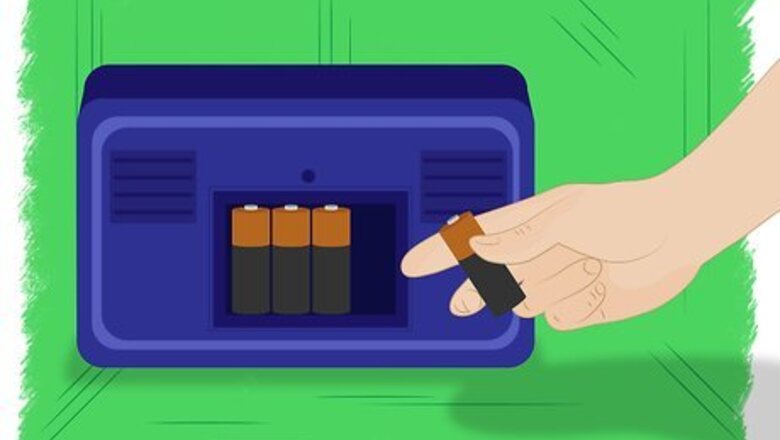
Turn the device off, and remove the battery cells. Recharge or properly dispose of them.

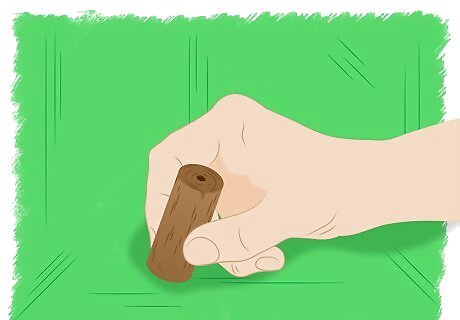
Cut wood dowels into the right size for the battery you're replacing. 1/2" diameter dowel rod will work for AA cells, and 1.25" dowel for D cells. Cut the dowels to about the length of the cell not counting the protruding (+) tip; that will be provided using a screw. You only need two pieces of dowel, whether you're replacing 2, 4, or 8 cells.
Drill a pilot hole into the center of one end, smaller than the screw you'll be using.
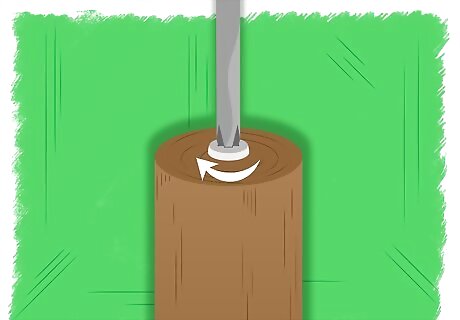
Screw a small wood screw, preferably with a head that most resembles the positive tip of the cell, into the hole you just drilled. Don't tighten it yet.

Strip the wire from the positive (+) end of your power supply, and loop it around the screw. For a better connection, use a crimp terminal instead.
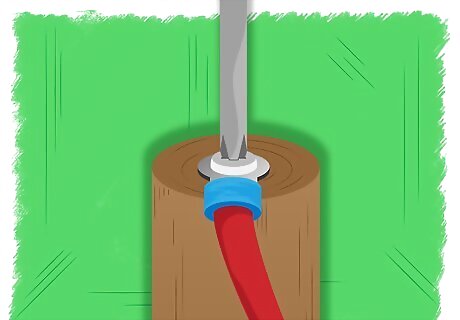
Tighten the screw onto the wire or terminal.
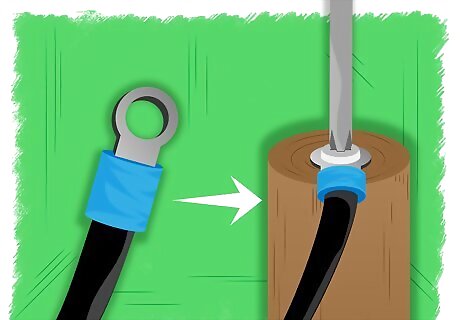
Repeat the steps for the negative (-) terminal.
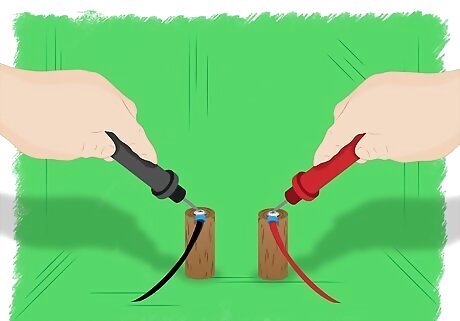
Double-check your polarity with a meter if you have one.
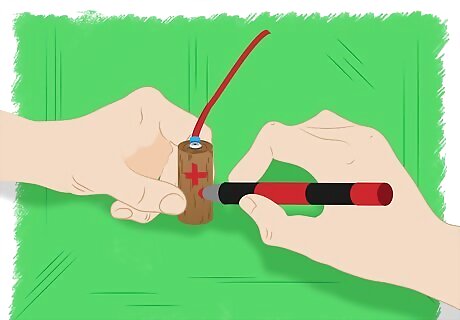
Mark the dowels with red and/or "+" for positive and black and/or "-" for negative, to avoid dangerous and costly mix-ups!
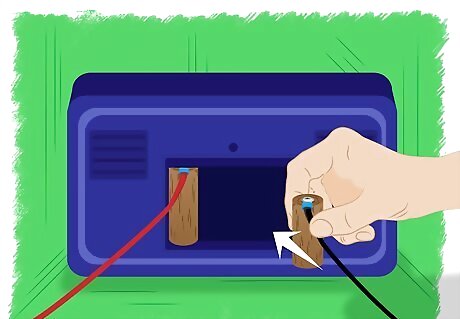
Insert the dowels into the device, with correct polarity (see Tips), and turn it on.








Comments
0 comment