views
Building the Frame
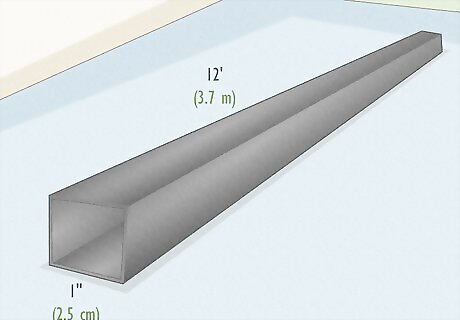
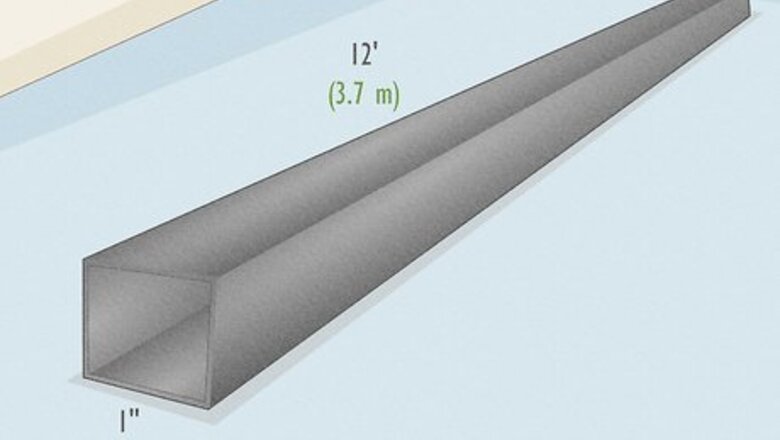
Use a 12 ft (3.7 m) length of 1 inch (2.5 cm) square steel tubing. The frame of your stand needs to be strong enough to support the weight of your engine, so go with 1 inch (2.5 cm) square tubing made of 1045-alloy, which is heavy-duty enough for the project. Use a long length so you’re able to cut it into sections. You can find 1 inch (2.5 cm) square tubing made of 1045-alloy at your local hardware or home improvement store. Square tubing is better for connecting the corners of your frame than circular tubing.
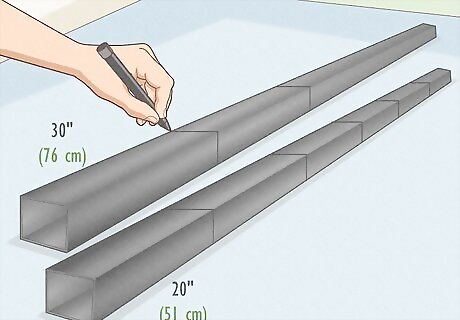
Mark 2 30 in (76 cm) and 5 20 in (51 cm) lengths. A stand that is 30 inches (76 cm) long, 20 inches (51 cm) wide, and 20 inches (51 cm) tall will accommodate most engines, so take your tape measure and measure the length of each section. Use a marker to make an even line across the tubing for each section. It’s very important that the sections are even and measured exactly so your stand will be balanced.
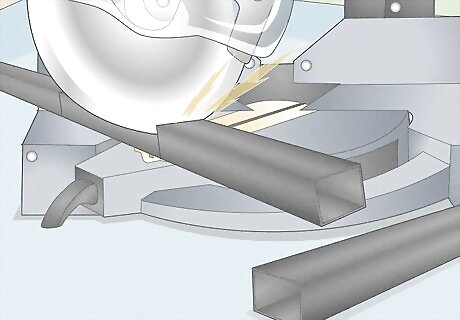
Cut the square tubing to size with a circular saw. Use a circular saw with a blade that can cut through steel. Bring the blade to full speed and press it through the tubing to make clean, even cuts at the marks that you made when you measured the sections. Make sure the blade is at full speed before you make your cuts to reduce the chance of the blade breaking and to make a clean cut.
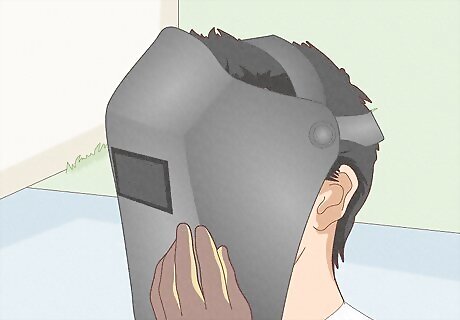
Put on welding gloves, a helmet, and protective clothing. Welding uses high heat to melt and connect metal together, so it’s important that you wear gloves specially designed for the task. It also creates an extremely bright light that can damage your vision, so put on a welding helmet with a visor to protect your eyes. Wear jeans and a long-sleeved shirt so any sparks that are produced don’t burn your skin.
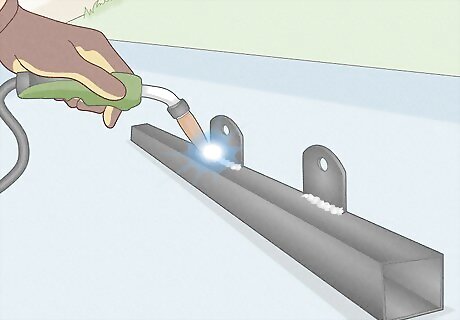
Attach 2 steel tabs to a 20 in (51 cm) tube with a MIG welder. In order for your stand to hold the rear of the engine securely, steel tabs need to be attached to the frame precisely where they’ll fit onto the rods on the rear of your engine. Slide the tabs onto the 2 rods on the back of the engine, place your tube against the bottom of the tabs, and use a MIG welder to weld the tabs onto the tubing. Then, remove the tubing with the tabs attached from the engine. Be careful not to burn yourself or touch the metal while it’s still hot after you attach the tabs. Because the location of the rods on the rear of the engine can vary based on the make and model, placing the tabs on the engine itself ensures that the tabs are precisely measured. You can find premade steel tabs at your local hardware store.
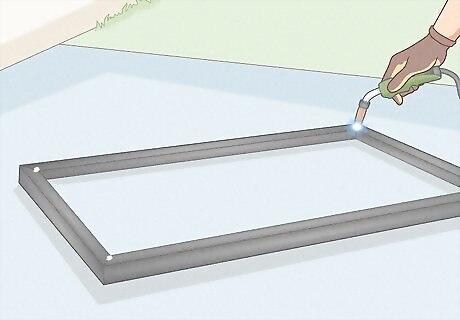
Tack weld the corners of the frame together. A tack weld is a quick weld designed to temporarily hold parts together so you can perform a final weld more effectively. Use a safe working surface such as a welding table or steel table and arrange the 30 in (76 cm) tubes and the 20 in (51 cm) tubes so the corners are connected and they form a large rectangle. Then, use a MIG welder to heat where the tubes connect to tack weld them together and form the base of your stand. The weld needs to be just strong enough to keep the metal connected for your final weld later. Because a tack weld isn’t a full or final weld, be careful not to drop or put too much pressure on the frame or it could break.
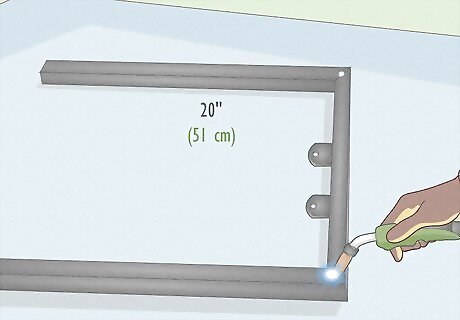
Form the back of the frame by tack welding the 20 in (51 cm) tubes. The remaining 20 in (51 cm) tubes, including the tube with the tabs attached to it, will form the back of the frame. Hold the base of the frame upright and connect 2 of the tubes to the corners to form a 90-degree angle. Then, place the tube with your steel tabs at the head of them to form a cross beam. Take your MIG welder and tack weld the inner and outer edges where the tubes meet. You may need someone to help you hold the base of the frame upright so you can tack weld the back of the frame to it.
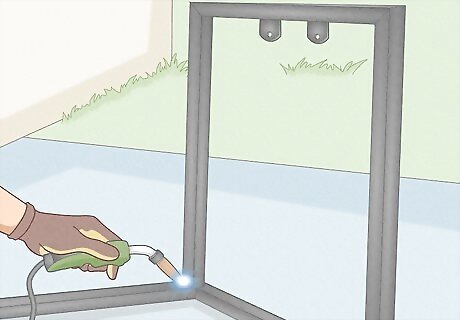
Make a final weld on the corners of the frame with a MIG welder. A final weld is a much stronger weld than a tack weld and takes a little more time. Use your MIG welder and hold the flame against the corners where you made your tack weld to melt the metal form an even stronger connection. Work your way all around the connection with the flame so there aren’t any gaps and metal is securely attached. Go over all of the areas you tack welded to make a final weld. Give the frame a good pull with your hands when you’re finished welding to make sure there isn’t any movement or instability.Warning: It’s super important that your frame is welded together firmly to support the weight of your engine. A weak frame can cause the engine to fall and break or potentially injure someone.
Connecting the Strut Rods
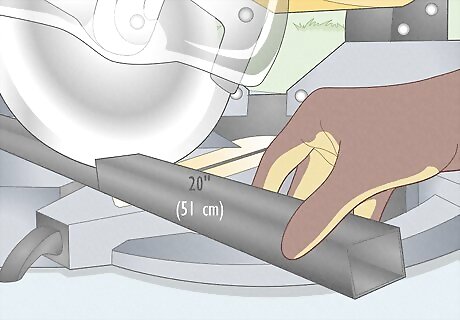
Use a circular saw to cut rods 20 inches (51 cm) long from the tubing. The 2 strut rods are what will connect to the front of your engine and help support its weight on your stand. Take your tape measure and marker and measure out 20 in (51 cm) long sections on the square tubing. Then, use your circular saw to cut them out. The completed stand will support the rear of the engine on the steel tabs attached to the back of the frame while the strut rods will hold the front of the engine.
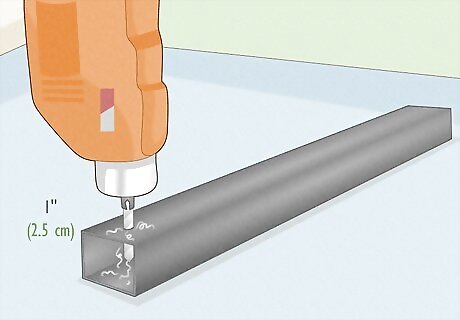
Drill holes through both tubes 1 inch (2.5 cm) from the end. Use a tape measure to measure 1 inch (2.5 cm) from the end of each of the rods and mark the location. Take a drill with a bit that is able to cut through metal such as titanium or cobalt and bore a hole through the tubes to create slots that will fit bolts to connect the strut rods to your engine.Warning: A standard drill bit won’t be able to penetrate the surface of the metal and may break off, which can damage your drill and potentially cause an injury.
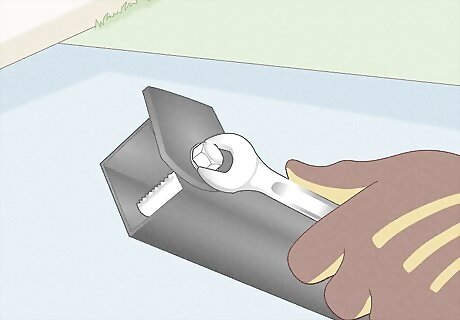
Place a tab on each side of the holes and bolt them in place. Take 1 of your strut rods and hold a tab on each side of the hole you drilled through the rod. Slide a bolt through the tabs and strut rod, attach a nut to the other side of the bolt, and tighten it so the tabs are securely attached to the rod. Then, repeat the process with your other strut rod. Make sure the nut is really tight so the tabs don’t move. The tabs will add extra support to the strut rods when you weld them to the frame.
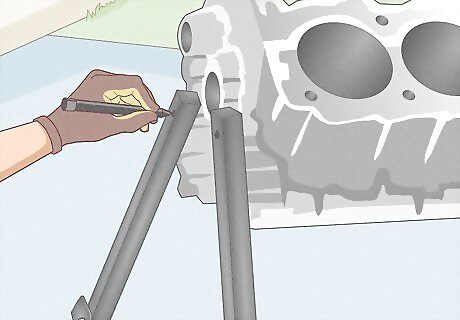
Place the strut rods on the front of your engine and mark the bolt holes. The front of your engine has 2 holes on them that you can use to attach your strut rods securely. Place your strut rods against the front of your engine so they cover the bolt holes. Use your marker to mark the location of the bolt holes on each of your strut rods. Because the distance of the bolt holes can vary from engine to engine, placing your strut rods against them is the best way to get an exact measurement.
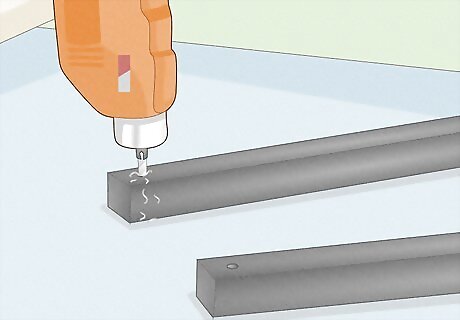
Make bolt holes in the strut rods with a drill. Take your strut rods off of the engine and use your drill with a metal-cutting bit to bore through the tube. Drill holes through both strut rods at the location that you marked so they match the bolt holes on your engine precisely. Make sure the drilled holes are even and consistent.
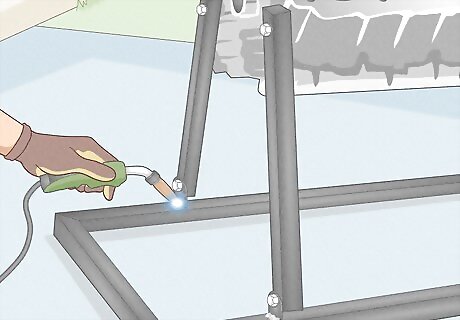
Bolt the struts to your engine and weld the tabs to the base of the stand. Place your strut rods on your engine so the bolt holes line up. Slide a bolt through them to connect them to the engine. Connect the base of your frame to the tabs on the other end of the strut rods. Tack weld the tabs to the frame. Then, remove the bolts and strut rods and make a final weld to the tabs to complete your stand.
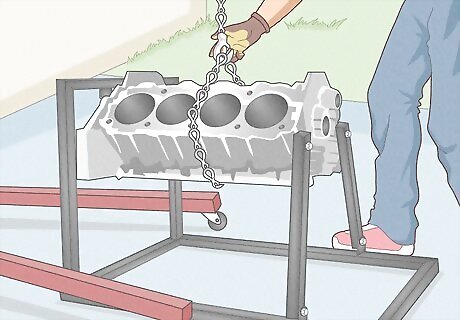
Lower the engine on to the stand with an engine hoist. An engine hoist is a tool that uses hydraulics to raise and lower heavy engines. Attach the straps of the hoist around the engine and raise it over the stand. Carefully lower and slide the bolts onto the steel tabs on the back of the stand and the struts on the front. Once the engine is attached, slowly release the tension to make sure the stand is able to support the weight of the engine. It’s important that you slowly release the tension onto the stand so the hoist can prevent the engine from falling to the ground if the stand can’t support it. The stand will allow you to access all of the surfaces of the engine so you can make repairs or modifications.Tip: To remove the engine from the stand, attach the straps of the hoist and add enough tension so the hoist can support the engine. Then, remove the bolts from the tabs and struts and raise the engine out of the stand.






Comments
0 comment