views
Making Holes In The Cups
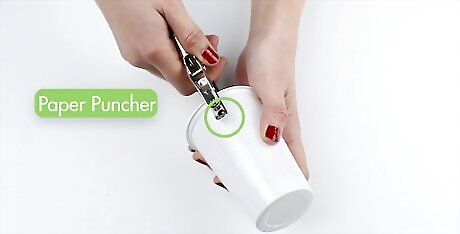
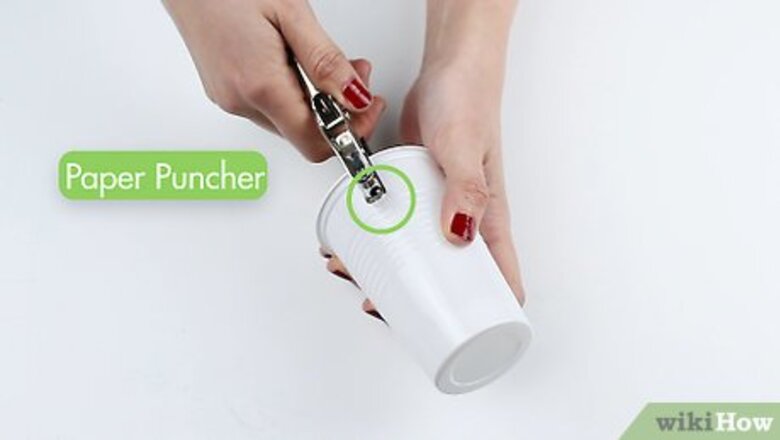
Punch holes in the cups. Gather four 3 oz. paper or plastic party cups, and use a single hole paper puncher to punch a hole on the side of each cup. The punched hole should be about ½ inch under the rim of the cup.
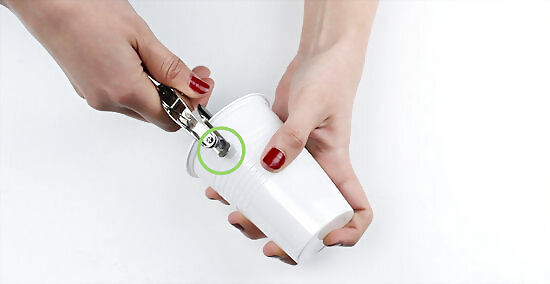
Punch holes in the center cup. With the fifth party cup, use the single hole puncher to punch two holes directly across from each other, ½ inch underneath the rim of the cup. The holes should be level and even. Punch two more holes ¼ inch from the rim of the cup, directly across from one another, and in between the two first punched holes. The final result should appear to have four equally spaced and perpendicular holes near the rim of the center cup.
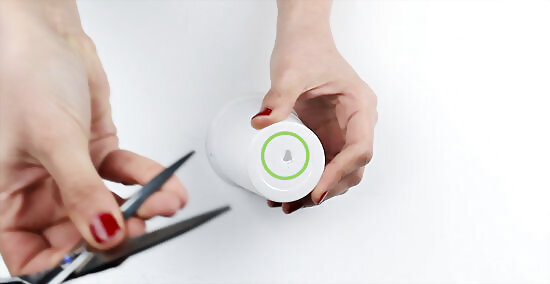
Make the bottom hole in the center cup. Use a pushpin to punch a small hole in the bottom of the center cup. Then use scissors to make the hole slightly bigger, so a pencil can fit through the hole and sit loosely.
Connecting The Anemometer Parts
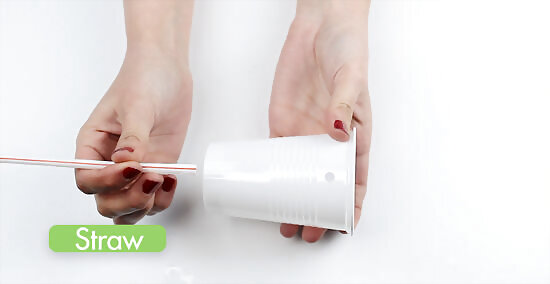
Insert the straw into a cup. Fit a straw through the hole in one of the cups that has one hole punched in it. About ½ inch of the straw should be poking through the inside of the cup. Bend this ½ inch of straw poking into the cup, and tape it to the inside wall of the cup. Do this same procedure with another straw and another cup with one hole punched in it. Afterward, you should have to cups with two straws coming out from their sides.
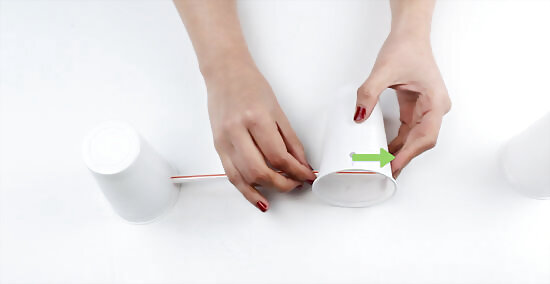
Fit a straw through the center cup. Feed the straw coming from one of the cups through the two holes (directly across from each other) in the center cup. Once the straw comes out the other end of the center cup, feed the straw through another cup with one hole punched in it. When the straw is inserted into the other cup with one hole punched in it, let ½ inch of the straw go through to the inside of the cup. Fold the ½ inch of straw on the inside of the cup, and tape it down to the cup’s inner wall. Repeat this step with the other cup and attached straw.
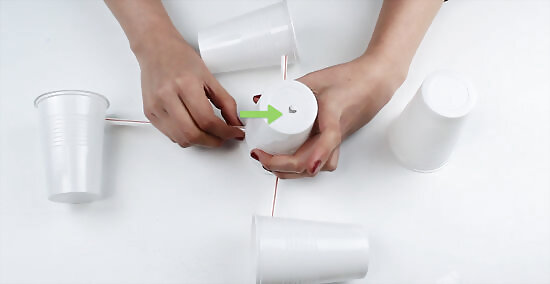
Fit the second straw and cup through the center cup. Feed the straw attached to the other one hole-pinched cup through the other two holes in the center cup. When the straw is through the two holes, attach another one hole-punched cup onto the end of the straw. Just like before, allow ½ inch of the straw to penetrate to the inside of the cup. Bend the ½ inch of straw, and tape it to the inside of the cup. Make sure that the two cups on each end of the straws are facing in opposite directions. When all the cups are added to the ends of the straws, all openings of the cups should be facing the same direction.
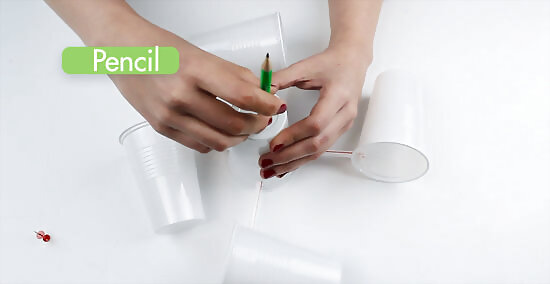
Insert the pencil into the center cup. Push the eraser side of the pencil through the bottom hole in the center cup. Push the pencil upward until it meets to the intersecting straws. Push the pushpin through the two intersecting straws and into the eraser end of the pencil. Be sure that you don’t push the pin in as tight as it will go, otherwise the anemometer won’t spin when exposed to wind. Push the pushpin in just enough so the straws stay connected to each other and the pencil eraser.





Comments
0 comment