views
Testing through Observation
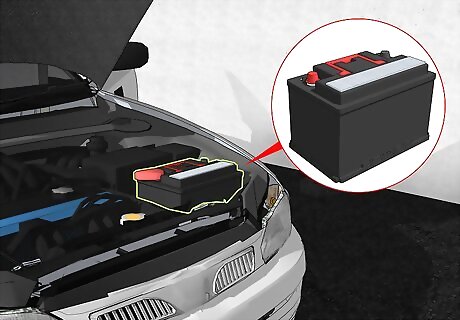
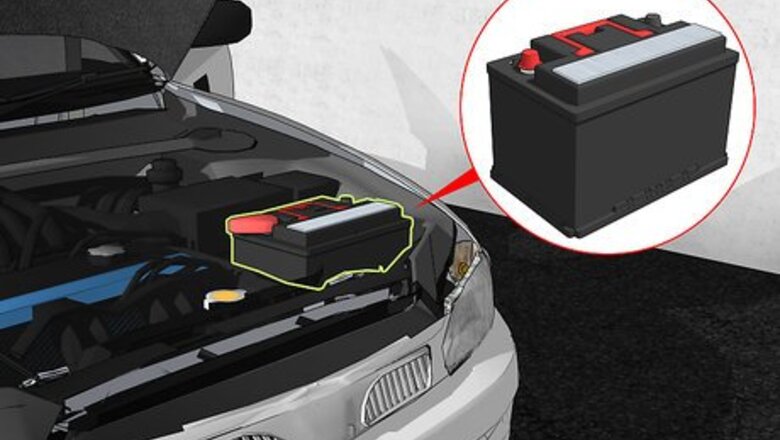
Locate the battery in your vehicle. Before you can look the battery over for signs of damage, you’ll need to locate it. In most vehicles, the battery can be found under the hood in the engine bay (often in the front driver or passenger side corner). However, many modern vehicles now come with the battery housed in the trunk. It will look like a black plastic box with 2 terminals sticking out of the top of it. If you’re unsure of where to find your vehicle’s battery, refer to your owner’s manual for help. If you don’t have an owner’s manual, try the manufacturer’s website.
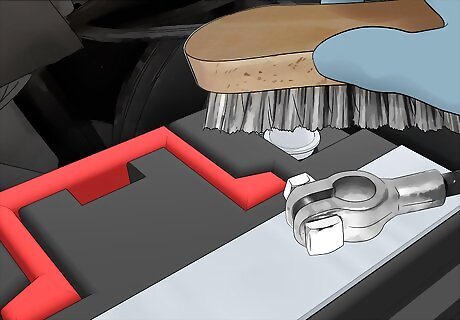
Look for loose connections or signs of oxidation. In order to test your battery against the load of its starter, you need to make sure it has a strong connection that’s not interfered with by oxidized terminals or a poor connection. If the cables can move at all on the terminal, they’re loose and need to be tightened. If the terminals look need to be cleaned, add a small amount of baking soda to a bowl of warm water. Disconnect the cables and use that mixture to scrub the terminals with a toothbrush, then reconnect them. If the terminals are loose, use the appropriate sized wrench to tighten them.
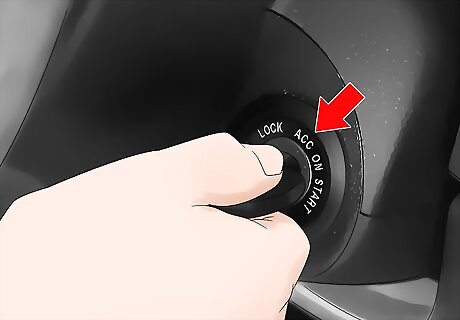
Turn the key in the ignition to “accessories.” When you turn the key, the dashboard lights should come on and shine just as bright as they do when the vehicle is running. If the lights on your dashboard don’t come on, the battery is likely dead. If the lights are dimmer than normal, it means the battery has a low charge and will likely not be able to turn over the engine. If the lights come on, then you may be able to jump start or charge the battery to get the vehicle running again.
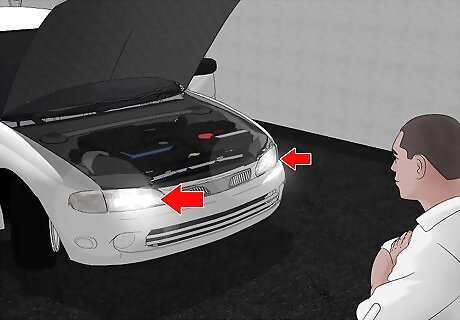
Turn on the headlights and ask a friend to stand in front of the car. You’ll be testing the battery against the load of the starter and the headlights will serve as your indicator. Ask your friend to stand where they can clearly see the headlights so they can observe how they behave as you try to start the car. Be sure the vehicle is in park or neutral with the parking brake engaged before asking your friend to stand in front of it.
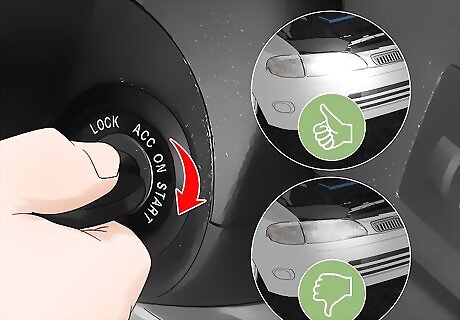
Start the car and look for serious dimming in the headlights. As you turn the key to start the car, the headlights will dim slightly as the starter is engaged, however, if they dim significantly or completely go out, it means the battery does not have sufficient charge. If the vehicle fails to start at all, or turns over very slowly, that is also likely due to a dead battery. A rapid clicking (almost like a machine gun sound) from the starter means there’s not enough power to engage it as well.
Using a Multimeter
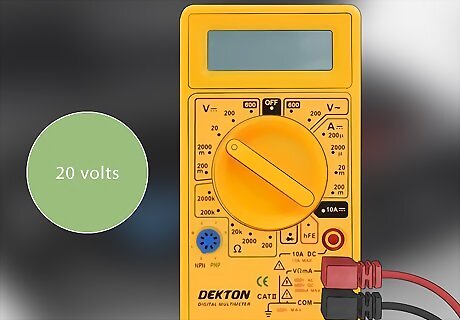
Set your multimeter to 20 volts. In order to accurately get a reading for how many volts of electricity your battery can produce, you’ll need to set it to something above 15 volts. For most multimeters, 20 volts is the closest option. If 20 volts is not an option on your multimeter, choose the lowest voltage that’s above 15 volts on yours.
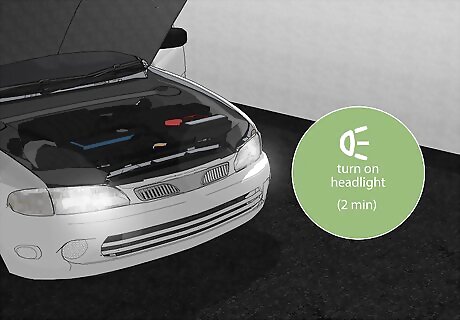
Turn the headlights on for 2 minutes with the vehicle off. You want to make sure to get an accurate reading of the battery’s voltage, and that means doing away with any residual charge in the system. Leaving the headlights on for a few minutes should suffice. If the battery is too dead to sustain running the headlights for 2 minutes, you can consider that a failure of the test. A dead or poorly charged battery will need to be charged or replaced. Turn off the headlights again after 2 minutes.
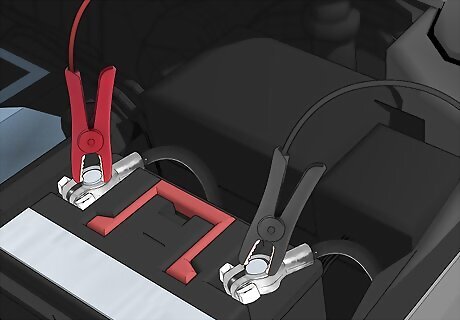
Connect the multimeter probes to the vehicle’s battery. The probes on the multimeter will be color-coded for positive (+) and negative (-) connections. Connect the red probe to the positive terminal and the black probe to the negative terminal. Some probes will just be pieces of metal you touch to the terminal, while others may be clips you can attach. The positive terminal on the battery may also be red, and will show the positive symbol (+). The negative terminal may have a thick black ground cable connected to it, and will show the negative symbol (-).
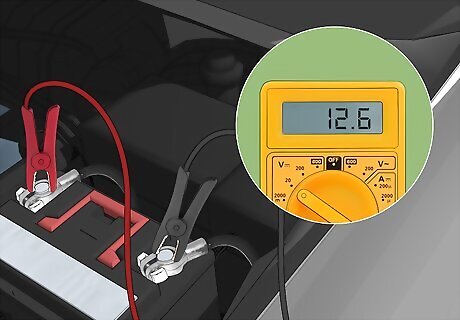
Check the reading on the multimeter for around 12.6 volts. Even after running the headlights for 2 minutes, the battery should still read somewhere in the neighborhood of 12.6 volts on the multimeter. If it reads less than that, the battery is insufficiently charged. A slightly higher reading is perfectly normal. Less than 12.6 volts will probably not be enough to start the engine.
Increasing the Load during Testing
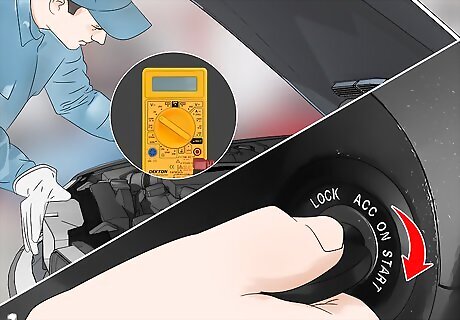
Ask a friend to start the car. Stay where you are near the engine bay, holding the multimeter in a way you can watch as your friend gets in to start the vehicle. Make sure to keep the positive and negative probes connected as he or she does. Be sure the vehicle is in park or neutral with the parking brake engaged before your friend starts it. Make sure the wires from the multimeter aren’t hanging into any moving belts or pulleys on the engine before it starts.
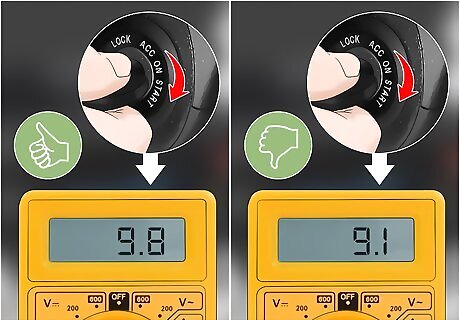
Watch to see if the voltage drops below 10. The voltage reading on the multimeter will drop as the car tries to start (which accounts for the slight dimming of the headlights) but should not drop below 9.6 or so volts. If you’re using an inexpensive multimeter, 10 volts is a safe standard to use. If the voltage reading drops below 10 as the car starts, the battery likely needs to be replaced. The load from the starter will give way to the alternator producing a charge flowing into the battery once the car starts, and the voltage reading will climb again.
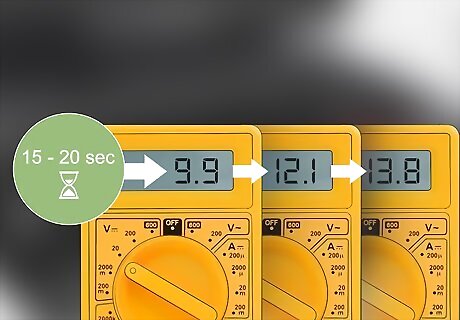
Watch the multimeter for 15 to 20 seconds to ensure the reading goes up. As the engine starts to run, the alternator should begin charging the battery. When that happens, the multimeter’s reading should be higher than it was previously, likely in the 14 volt range. If it isn’t, it means the alternator is failing to adequately charge the battery. If the alternator is producing a current, but not a high enough one, the battery will still ultimately fail. A poorly performing alternator can ruin your vehicle’s battery.
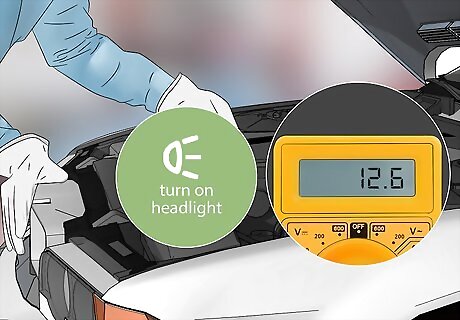
Turn on the headlights with the multimeter connected and car running. If the multimeter reading was good with the vehicle running, begin adding an increased load by turning on the headlights. The voltage reading should still be higher than 12.6 in order to sustain the battery. If the vehicle can’t sustain the increased load of additional things like headlights, the battery will need to be replaced and you should also have the alternator tested. Most auto parts stores can test your alternator while it’s still in the engine bay.


Comments
0 comment