
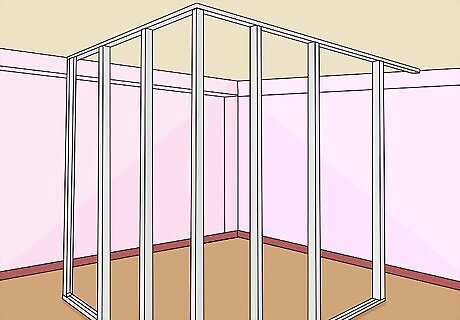
Measuring and Hanging the Track
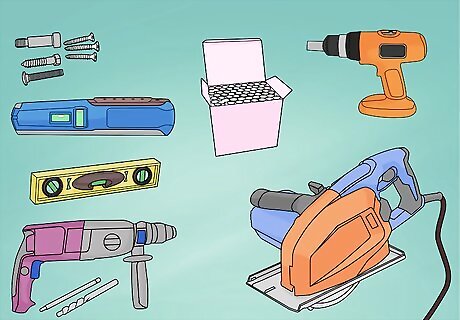
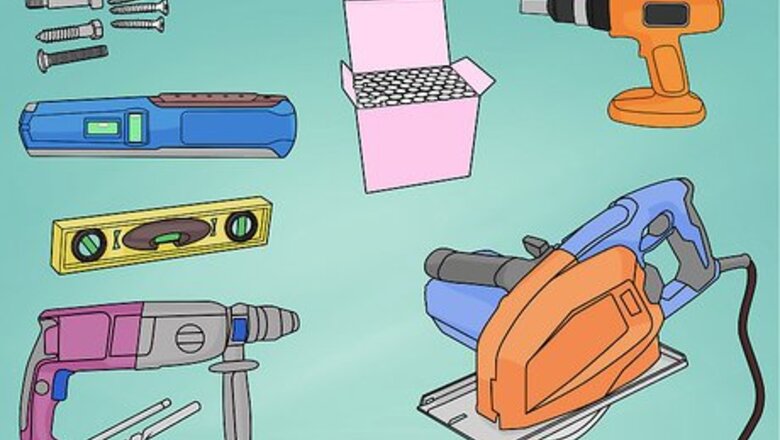
Rent or purchase the right tools. Working with steel studs requires a few special tools. You can typically get the best equipment for this at local construction rental stores. You will need: Metal cut-off saw Fasteners A hammer drill Screw gun Chalk box Level Laser level or plumb bob Clamps
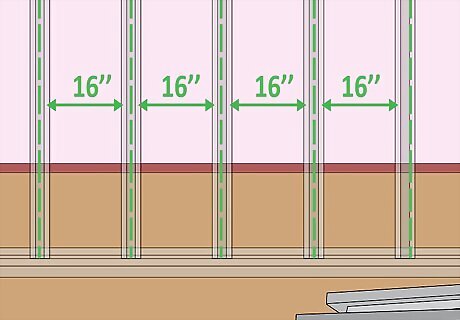
Determine the number of steel studs needed. You should typically allow for 1 stud per every 12 inches (300 mm) of linear wall space. Purchase steel plates — also called tracks — for the bottom and top of the wall by measuring the linear feet of the wall and doubling it. Add an additional stud for each side of a window or door.
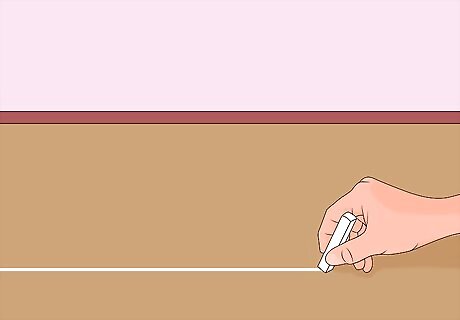
Chalk the lines where the track will be fastened to the floor using a chalk box. Snap a chalk line across the perimeter of the floor to outline where your track will need to go.
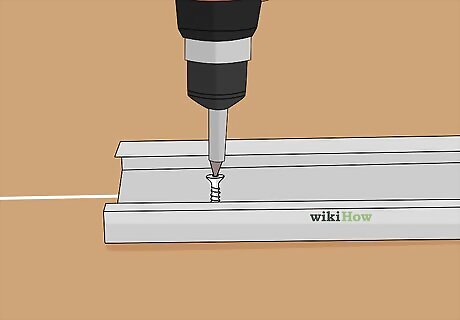
Screw the lower lengths of track to the floor. Use the chalk line to position your lower track and screw the track in by first drilling a hole into the track and stud, and then fastening with a screw. If you're drilling through concrete, try using the power nailer or hammer drill for an easier time. Negotiate corners and long straight lines when laying track. Overlap track corners by flattening the first track’s side flange so the overlapping track can slide right into place. On longer, straight runs, overlap the adjoining tracks at least 6 inches and secure the overlap to the floor with a concrete screw.
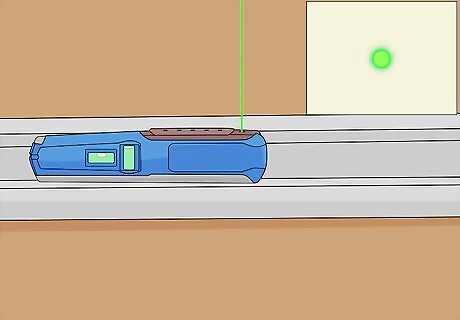
Plumb the top track. To make sure that the upper and lower track are plumb, you can use either a laser level, a plumb bob, or two water levels: To use a laser level, simply place it in the bottom middle of the track and turn it on to shine a vertical laser up to your wall. This point will be your plumb point on the upper wall. Most contractors recommend using a laser level for efficiency and ease of access. Using a plumb bob is similar to using a laser level. Attach the string to the top of the wall and let the bob come to a rest at the plumb line on the bottom of the floor. If you have neither a laser level nor a plumb bob, you can try using two water levels pressed together. Keeping both levels together, extend one to the ceiling and other to the floor, making sure that both levels are plumb. Mark off your plump line on the floor or ceiling.
Once plumb is established, attach the track to the upper ceiling. Use a drill and screw gun to the attach the track, pretty much just as you attached the ground track. If your track runs perpendicular to the ceiling joists, fasten the track to the joists with self-tapping drywall screws. If your track runs parallel to the ceiling joists, fasten the track to the joists with drywall anchors or secure it with grabber screws and glue.
Fastening the Metal Studs and Finishing Up
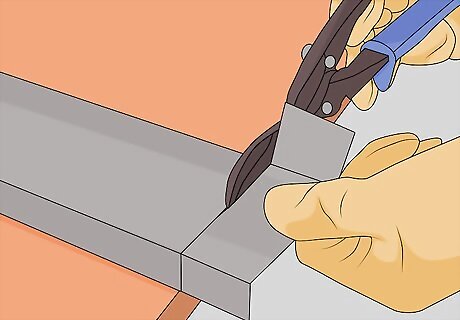
To trim to correct length, cut both side flanges of a steel stud. Use straight-cut aviation snips for this. Bend one flange up, clear of the snips’ jaws, and cut across the stud’s web. For easier electrical and plumbing installations later on, keep all the keyhole knockouts aligned by cutting all studs to length from the same end. Protect your hands with heavy-duty gloves. To cut multiple pieces at once, use a miter saw with a metal cutting blade. Make cutting the studs with aviation snips easier by first scoring the studs with a utility knife on both sides and then bending the stud back and forth until it breaks apart.
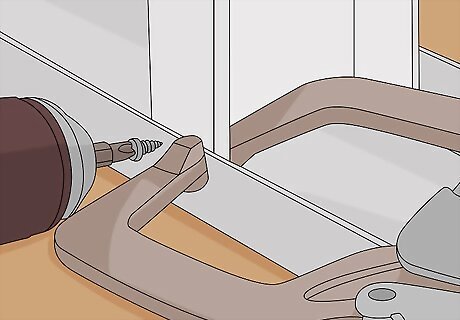
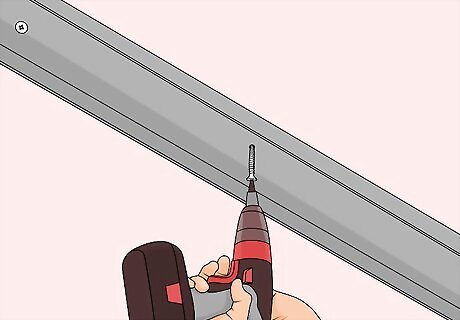
Join studs to tracks by clamping the two members tightly with C-clamp locking pliers. Drive a 1/2 inch (1.2 cm) No. 8 pan-head screw in the middle where they meet. This should be done at medium speed. Choose a clutch setting strong enough to drive the screw home, but not so strong that it strips the screw hole and weakens the joint.

Fabricate metal headers by cutting the track 2 inches (5 cm) longer than the rough opening width. Cut each flange of the track (on both ends) 1 inch (2.5 cm) lengthwise. Bend the web down 90 degrees using sheet metal locking pliers.
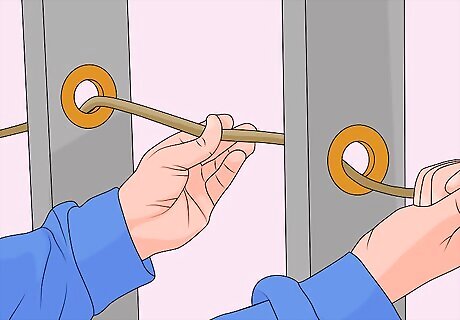
Secure electrical cable along the center line of each stud with plastic ties screwed to the studs. Pop a plastic bushing into each knockout in order to keep the cable from rubbing against the sharp edges.
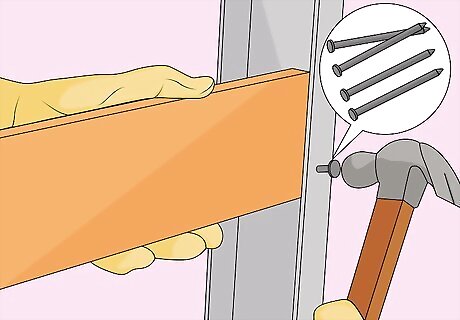
Add wood blocking as needed for doors, windows and cabinets. If your steel stud wall seems flimsy, keep in mind that it gains full rigidity once drywall or sheathing is applied.
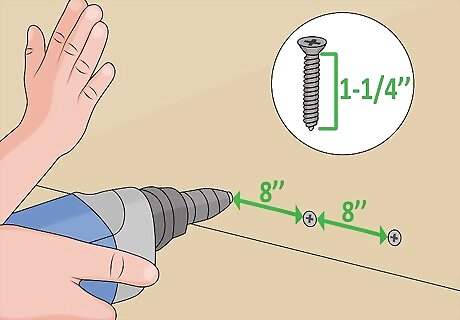
Hang drywall or sheathing using 1-1/4 inch (3.1 cm), self-tapping drywall screws. They should be spaced every 8 inches (20.3 cm) along edges (where two sheets meet on a stud) and 12 inches (30.5 cm) on centers located elsewhere. Use screws with a fine thread instead of a coarse one. Check your local codes. They may require screws placed closer together, and you're better off having too many than having to add more after the inspector comes.
Finished. Your new metal studs won't rot, sag, or be susceptible to fire. Learn how to hang drywall and finish the process.


Comments
0 comment