views
- You will need an 8 GB USB Drive in order to create a bootable USB drive to install Chrome OS Flex.
- Chrome OS Flex works best on certified computer models. It may work on non-certified models, but it may not have full functionality, perform as well, or be as stable.
- Installing Chrome OS Flex will completely erase your current operating system. You can try Chrome OS Flex before fully installing it.
Before You Begin
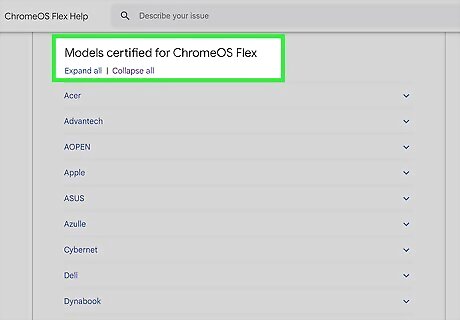
Check if your computer is certified. Google regularly tests and maintains Chome OS Flex on various computer models and checks for major and minor issues. Chrome OS Flex is expected to work on computers that are certified. You can see a full list of certified devices here Chrome OS Flex may work on devices that are not certified but there may be issues with performance, functionality, or stability. Google also lists computers that they have detected major and minor issues with.
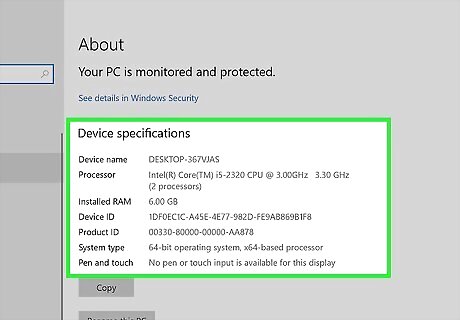
Check your computer's specifications. Your Windows PC, Mac, or Linux computer must meet the following minimum requirements in order to run Chrome OS Flex: Intel or AMD x86-64-bit compatible processor 4 GB or RAM or more. 16 GB of internal hard drive space or more. Bootable from a USB drive Full administrative access to BIOS Processors and graphics cards made after 2010. Intel GMA 500, 600, 3600, and 3650 graphics cards do not meet the minimum standards for Chrome OS Flex. A robust internet connection.
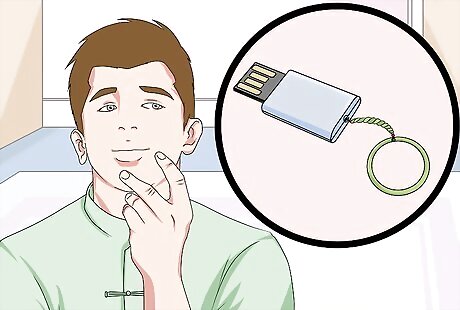
Get a USB drive. You will need a USB drive that has at least 8 GB of storage space. Installing Chrome OS Flex on the USB drive will erase all data on the drive.
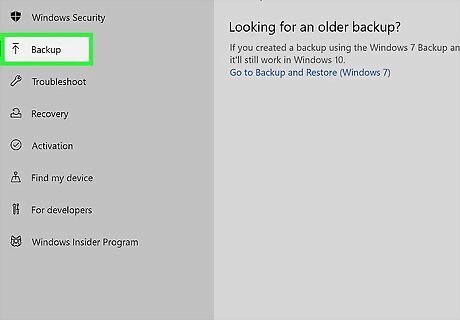
Back up all your data. Installing Chrome OS Flex on your PC will erase your hard drive and completely replace your current operating system. Be sure to back up all data and files you want to keep on both your computer and your USB drive. Since you will be installing Chrome OS Flex, you may want to back up your data to Google Drive.
Creating a USB Drive
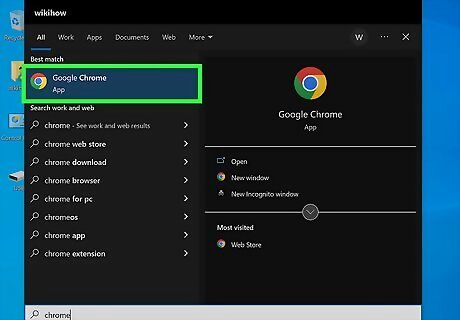
Open Google Chrome. You can use the Chromebook Recovery Utility browser extension in Google Chrome to create a bootable USB drive that you can use to install Chrome OS Flex. Go ahead and click the Google Chrome icon in your Windows Start menu or Applications folder on Mac. If you don't have Google Chrome, you can download and install it at https://www.google.com/chrome/
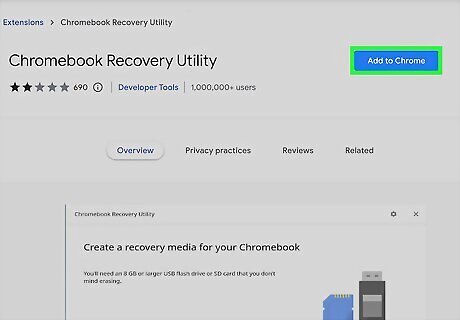
Install the Chromebook Recovery Utility extension. Use the following steps to do so: Go to https://chrome.google.com/webstore/category/extensions to open the webstore. Enter chromebook recovery utility in the search bar and press Enter. Click Chromebook Recover Utiity. Click Add to Chrome. Click Add extension.
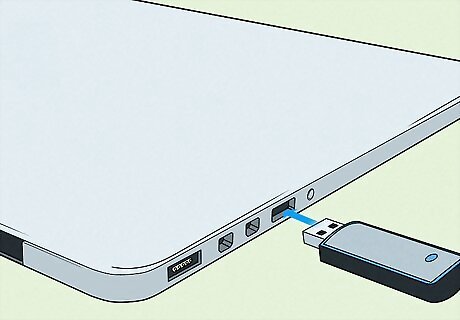
Insert your USB drive. You can insert it in any free USB slot on your PC. Make sure you use back up all data you want to keep before proceeding. This will erase all data on your USB drive.
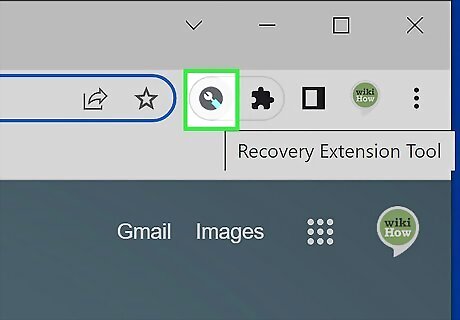
Open the Chromebook Recovery Utility extension. To do so, click the icon that resembles a puzzle piece icon in the upper-right corner of Google Chrome. This displays all your extensions. Then click Chromebook Recovery Utility in the list of extensions.
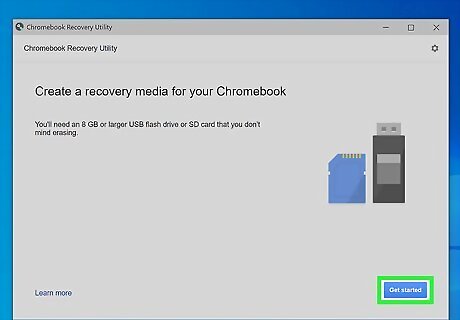
Click Get Started. It's the blue button in the lower right corner of the window.
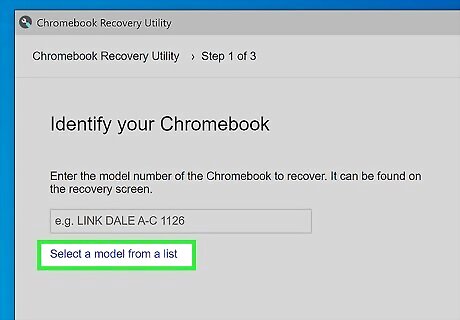
Click Select a model from the list. It's the small blue text below the text bar. This displays two new drop-down menus.
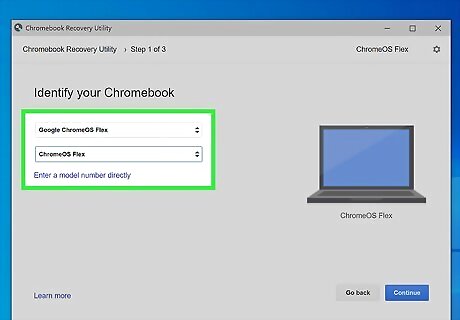
Select "Google Chrome OS Flex" and click Continue. Select "Google Chrome OS Flex" in the top drop-down menu that says "Manufacturer.". Then select "Chrome OS Flex" in the bottom drop-down menu that says "Select a product.". Then click Continue in the lower-right corner.
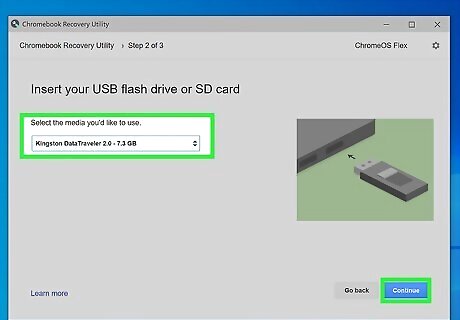
Select your USB drive and click Continue. Use the drop-down menu to select your USB drive. Then click Continue in the lower-right corner.
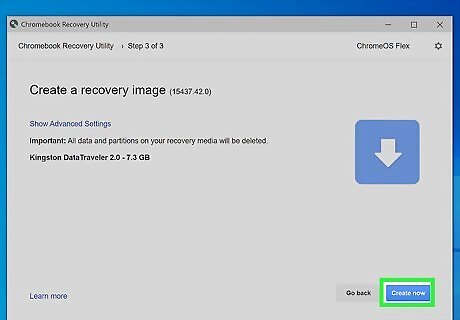
Click Create Now. This writes Chrome OS Flex to the USB drive. This may take several minutes. If you want to use the USB drive again after installing Chrome OS Flex, you will need to erase the Chrome OS Flex installation media. To do so, insert your USB drive and open the Chromebook Recovery Media in Google Chrome. Click the gear icon in the upper-right corner and click Erase recovery media.
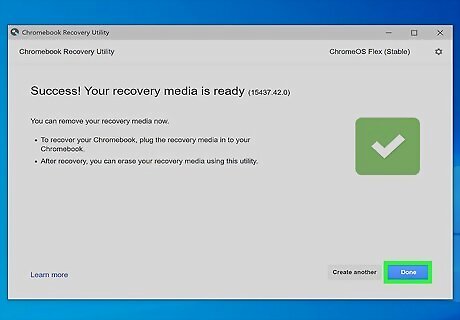
Click Done. You will see a screen informing you that the USB recovery media was successfully created when it is done. Click Done to close the screen.
Booting from the USB Recovery Media

Boot into the BIOS. When you boot your computer, it should list a button you press to enter the BIOS. It is usually F2, F12, F10, or Del. If your computer boots up too quickly for you to enter the BIOS by pressing the setup key, you can use the following steps to boot into the BIOS from within Windows: Click the Windows Start menu. Click Settings. Click Update & Security (Windows 10) or System (Windows 11). Click Recovery. Click Restart now below or next to "Advanced start-up." Click Troubleshoot. Click Advanced options. Click UEFI Firmware Settings. Click Restart.
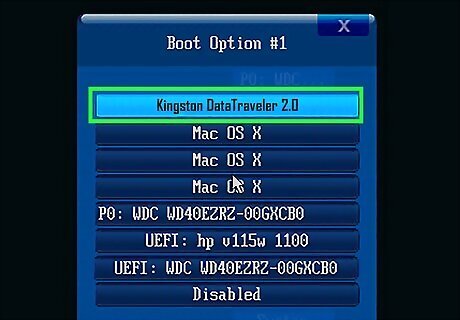
Make sure your boot order is set to boot from the USB drive first. Each BIOS menu is different. Look for a menu that reads "Boot Order" or "Boot Options" or something similar. Select this option and make sure your boot order is set to boot from the USB drive first before booting from the hard drive. Then save and exit the BIOS menu. Alternatively, some BIOS menus will allow you to simply select which drive you want to boot from. If so, simply select your USB drive.
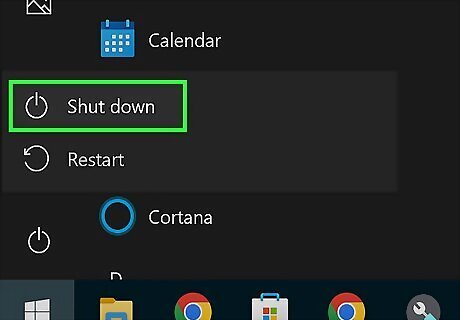
Power off your computer. Make sure your computer is completely shut down. Do put it in sleep mode.
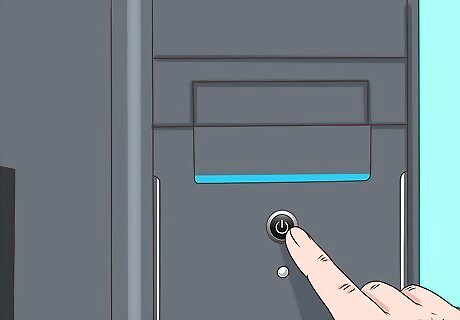
Insert your USB drive and power on your computer. Your computer should boot from the USB drive, which will allow you to try or install Chrome OS Flex. If you are using a Mac with an Apple Silicon processor, hold the Power button while booting up your Mac until the Startup options menu appear. If your Mac has an Intel processor, hold the "Option" key while your Mac boots up to display the startup options menu. Then select your USB drive to boot your Mac from the USB drive.
Installing Chrome OS Flex
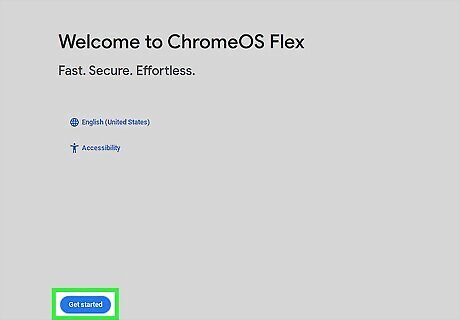
Click Get Started. When your computer boots from the USB drive, you will be greeted with the Chrome logo. Then you will see the Welcome screen. Click Get Started at the bottom of the screen.
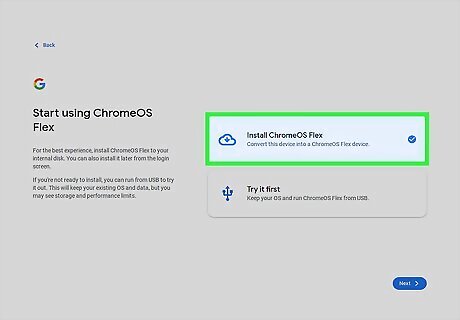
Click Install Chrome OS Flex. It's at the bottom of the screen. This will display a warning screen about erasing data. Alternatively, if you are not ready to replace your current operating system and you want to try Chrome OS Flex before installing it, click Try it first.
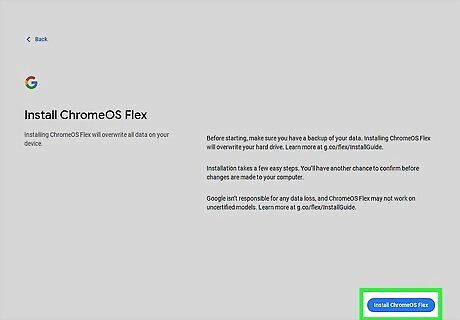
Click Install Chrome OS Flex. This will begin installing Chrome OS Flex. This may take several minutes. When the installation is complete, your computer will shut down automatically. Warning: This will completely erase your current operating system as well as everything on your hard drive. Proceed only if you have backed up everything you want to keep.
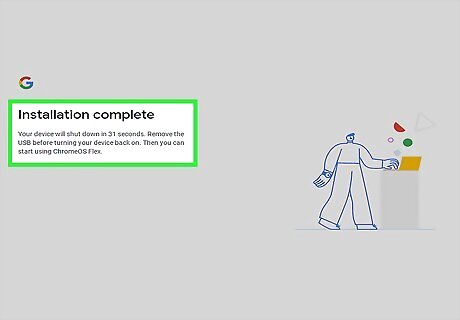
Remove your USB drive and power on your computer. Be sure to do this before rebooting your computer. When you boot up your computer, it will boot Chrome OS Flex as your new operating system.




Comments
0 comment