views
Positioning Your Post
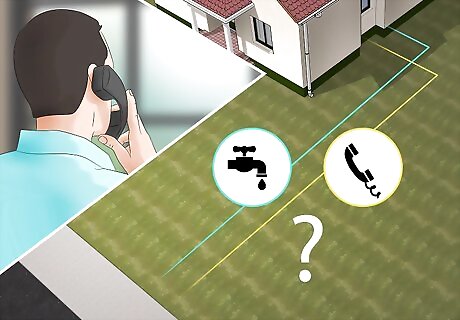
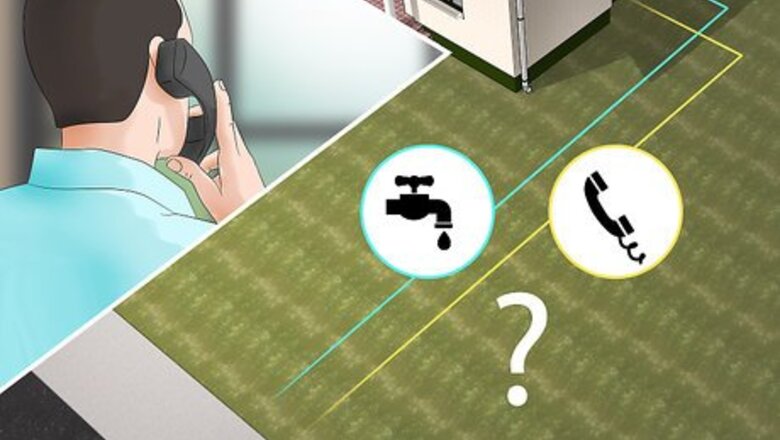
Contact an expert to locate your utilities. If you’re digging around in your yard, there’s a chance that you’ll hit water pipes, power cables, or other important utilities. Most countries will offer a service that will visit your property to mark the location of utilities in your yard. Look online for the service in your local area, and make sure you dig away from the spaces that are marked. If you’re putting up a new mailbox post to replace one already built into the ground, you should be OK to put the new post in the same spot as the old one. If you want to move it, you should get your utilities marked out. Make sure that you don’t hit any lines running under your yard that aren’t utilities, such as pipes running to sprinklers or wires leading to yard lights. These likely won’t show up with a local service. In the United States, you can call 811 to get your utilities marked out for free within 2 days. Once they are marked, you will have 10 days to install your mailbox post in a safe area. The United Kingdom has a service called Linesearch Before U Dig that will mark out the placement of utilities for free, contacted through their website: https://www.linesearchbeforeudig.co.uk/
Check your local regulations for mailboxes. The mail service in your country or your local homeowner’s association may have regulations on the height and distance from the curb at which your mailbox has to sit. Look online to find any regulations in your area, and make sure you conform to them when marking the placement of your mailbox post. The USPS requires that the opening of your postbox be 6 to 8 inches (15 to 20 cm) away from the curb, and 41 to 45 inches (100 to 110 cm) above the surface of the road. Make sure that you factor in the size of the mailbox when installing your mailbox post. If you’re unsure about the regulations in your area, take a look at the height and placement of your neighbor's mailboxes for a good guide on what yours should look like.
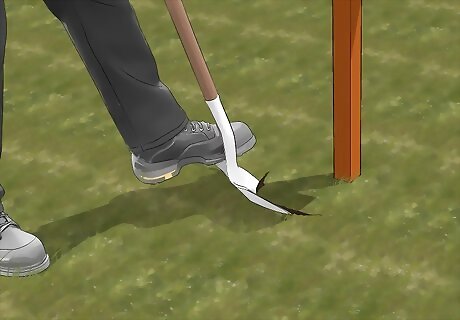
Remove the old mailbox post. If you have an old mailbox post you want to replace, you'll need to remove it before you can put in a new one. Use a shovel to dig up the ground around the old post and lift it directly up and out of the ground. If it's too hard to lift, use some scrap pieces of wood to make a lever that will help pry it free. If the hole left behind from your old post is in the same location you want to install the new one, you should be able to reuse the same hole. Otherwise, fill it in and dig a new hole in a different location.
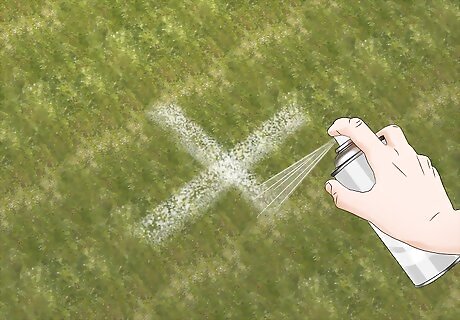
Mark the location where your post will be installed. Make sure that the location you choose is easily accessible from your house, won’t come in contact with any utilities, and fits with your local requirements. It may take a little trial and error, but you should be able to find a location that works perfectly. Make a small cross on the ground with spray paint to mark the location. If you’re installing a new mailbox to replace an old one, you shouldn’t need to mark or dig a new location.
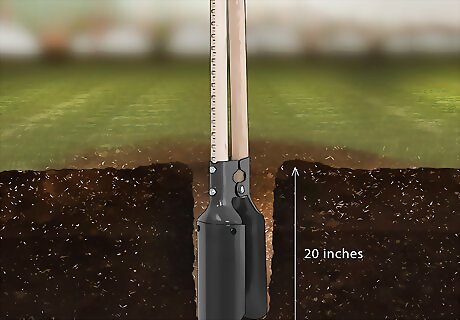
Use a post digger to dig a hole around 20 inches (51 cm) deep. A post digger is a tool designed for digging small yet deep holes that should be available at your local hardware store. Use the post digger to dig a hole in the location you have marked, digging until the hole is at least 20 inches (51 cm) deep. Throw the dirt you dig out of the hole onto a tarp or something similar. This will make it easier to clean up once you’ve finished installing your mailbox post. Check the depth of the hole with a tape measure as you dig it. If you don’t want to buy a post digger, you may be able to rent one from your local hardware store for a short period of time.
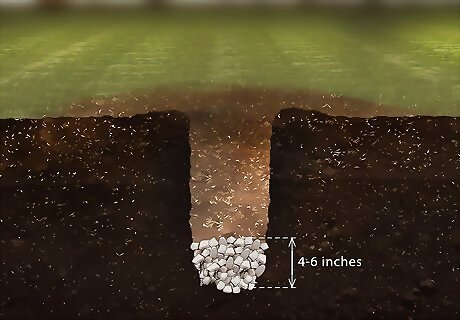
Add approximately 4 to 6 inches (10 to 15 cm) of gravel to the hole. Gravel, small stones, or something similar will help with providing proper drainage to the bottom of the hole. Pour enough into the bottom of your hole so that it comes up around 4 inches (10 cm), leaving you with a 16 in (41 cm) deep hole. Gravel should be available in large bags from your local hardware store or nursery. You'll need roughly 10 to 30 pounds (4.5 to 13.6 kg) of gravel, depending on the size of your hole and the density of the gravel. Check the depth of the hole again once you've added your gravel, to make sure you will still comply with the requirements for mailboxes in your area. If there's gravel in the hole from an old mailbox post you've removed, you shouldn't need to add anymore gravel as long as it is deep enough and sets your post at the right height.
Cementing the Mailbox Post
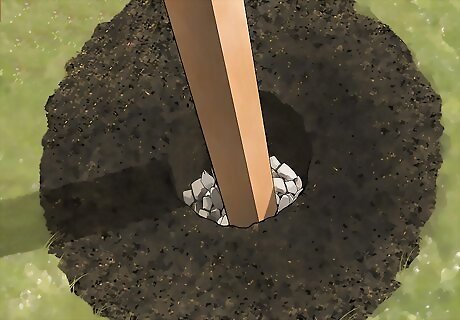
Place the post in the hole and check its height. Lift your mailbox post up and drop it into the hole so that it sits against the gravel. Use a tape measure to check that it is sitting at the right height above the curb, adding or removing gravel to adjust it as necessary. Mailbox posts and mailboxes can be bought from your local hardware store, which should be built with around 20 inches (51 cm) extra length at the base to sit in the hole. You can make your own mailbox post by cutting a 4 by 4 in (10 by 10 cm) piece of wood to size. It should be around 65 inches (170 cm) in length, with the cut end sitting in the hole. Make sure your chosen mailbox post is weather-treated so that it won’t rot or disintegrate in the elements. Either purchase waterproof wood, or waterproof the wood yourself.
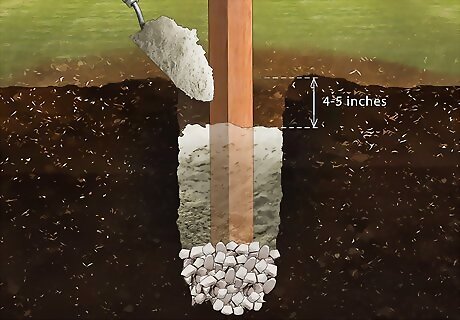
Pour concrete powder into the hole, leaving 4 to 5 inches (10 to 13 cm) of space at the top. Keeping the mailbox post as level as you can, begin pouring the dry concrete powder into the hole. Space it evenly around the post, so that the post remains in the center of the hole. Leave 4 to 5 inches (10 to 13 cm) of space at the top to cover with soil. Check that your post is level with a bubble level, and make any final adjustments before moving on. Dry concrete powder should be available at your local hardware store.You'll need roughly 50 pounds (23 kg), depending on the size and depth of your hole. The space left at the top of the post can be covered with soil, which will prevent concrete from showing at the base of your mailbox post. Get someone else to hold the post in place while you pour the concrete over it. Hold the bubble level on each face of the post and check that the bubble is in the middle of the level before proceeding.
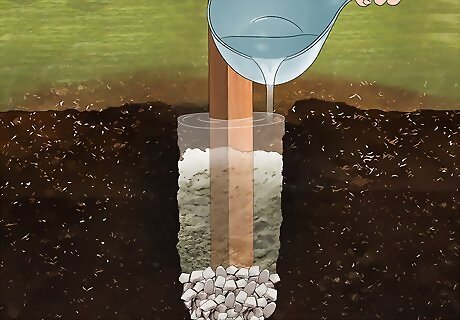
Cover the concrete with water. Water will convert your concrete powder to concrete, which will keep your mailbox post in place for years to come. Check the manufacturer's instructions on the back of your cement powder to find out how much water is needed, and pour it evenly over the concrete powder. This is the last chance you’ll have to adjust your mailbox post before it is cemented into the ground. Use a level on all sides of the post to make sure it is even.
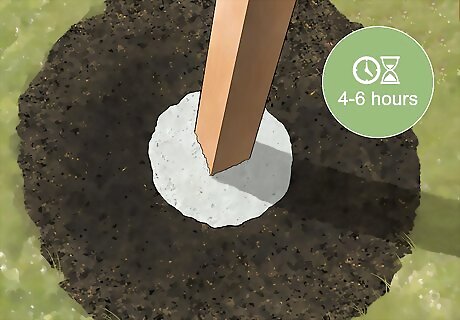
Leave the concrete to set for 4 to 6 hours. The concrete powder will begin drawing water into it and setting up, which will take several hours. Make sure the post is steady and secure, and that it won't be disturbed for at least a day before leaving it to set. This can take around 6 hours or up to a day depending on the concrete powder you have. For extra stability, use a few pieces of excess timber leaning on each side of the post to hold it steady while the concrete dries. It may help the leave a sign on the post while you leave it to set in place so that people avoid it, reducing the chance for it to be knocked off center as it dries. You may also need to contact your mail carrier to make sure they don't disturb it. Check the manufacturer’s instructions for your concrete powder for a recommended amount of time to leave your concrete to dry.
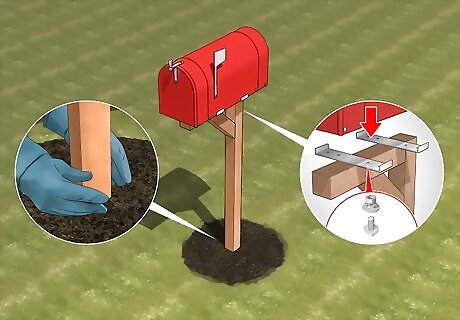
Fill the hole with dirt and attach your mailbox. Once the concrete has been given plenty of time to set, cover the concrete up with dirt and flatten it so that it sits evenly with the rest of the ground. Use a mounting bracket and screws to attach your mailbox to the top of the post. Check that your mailbox is able to open comfortably before screwing it in place. Mailboxes and mailbox kits should be available at your local hardware store. Some of them may even come with a mailbox post ready to install.


Comments
0 comment