
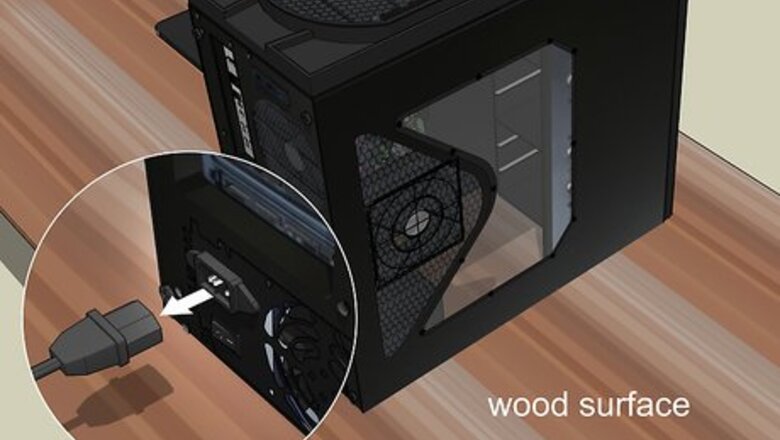

Before opening your computer, make sure that it is unplugged and in a non-static surface. Wood or a glass table is ideal.
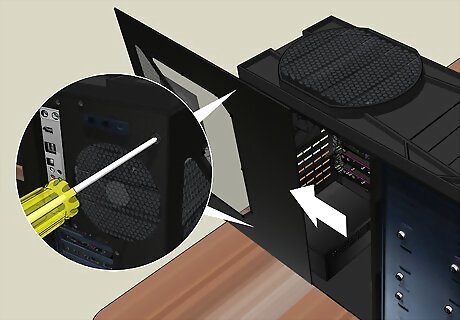
Turn off the computer and move it to the non-static surface. Use your screw-driver to open the case panel.
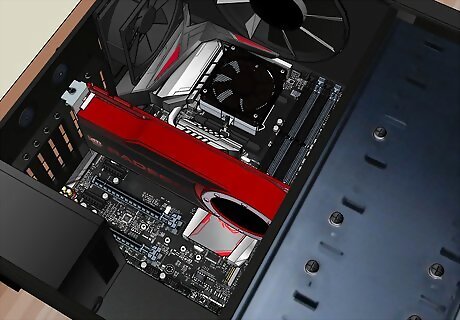
Remove the panel and take a look at the mother board. It should look similar to the image.
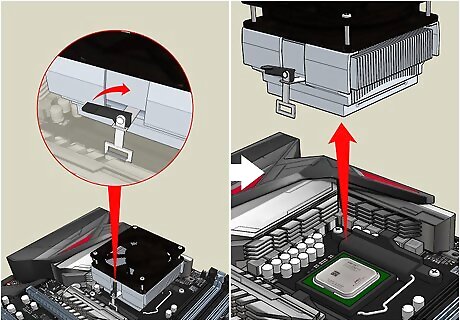
Now proceed to remove your previous CPU heat sink. In order to do this, you need to undo the lever on the right side. Do this by gently pulling up on the lever until it becomes unhinged and loose. The CPU should come off with ease.
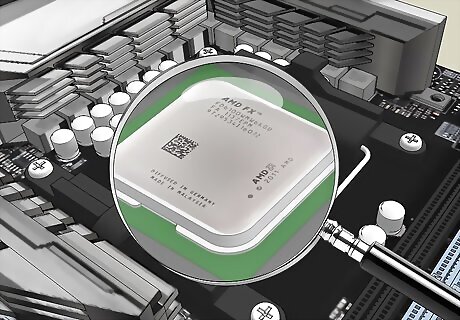
Check that all the components are in correctly so that there is no complications in the install process. The CPU should be perfectly flat.
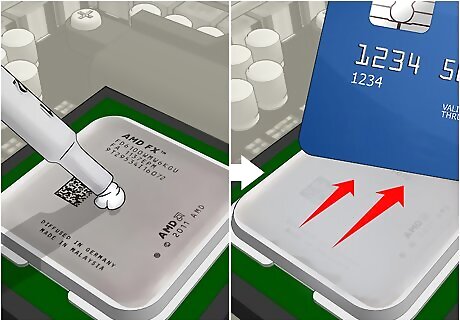
Apply the thermal paste onto the CPU. The amount of paste used should be about the size of a grain of rice. If you apply too much, you risk creating air pockets, which prevents you from getting good thermal transference.
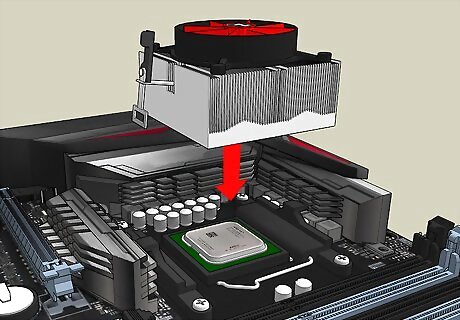
Take the replacement heat sink and line it up correctly with the lever facing the PCI ports.
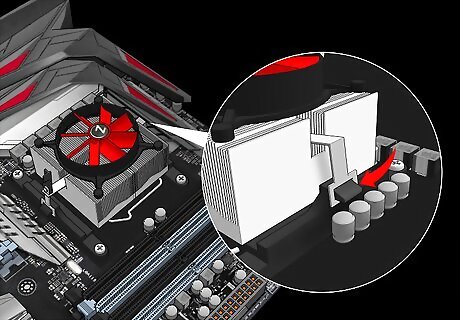
Connect the left connector bracket to the left side. This is important because it allows the lever to lock in the CPU heat sink so that it does not move.
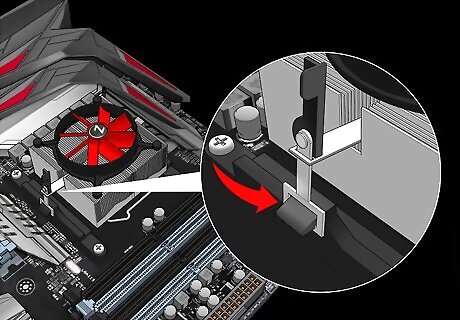
Connect the right side. Pull the leaver all the way back and push the bracket down until it clicks into place.
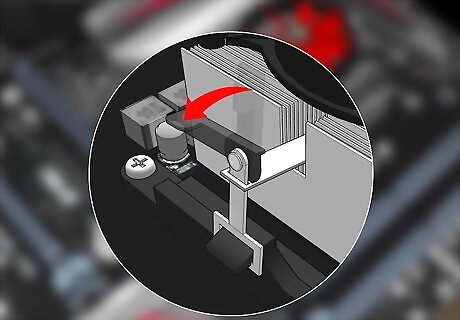
Take the lever and push it forward until it clicks into place. If the lever does not lock, stop pushing the lever. Just pull the lever back and repeat the last two steps over again.
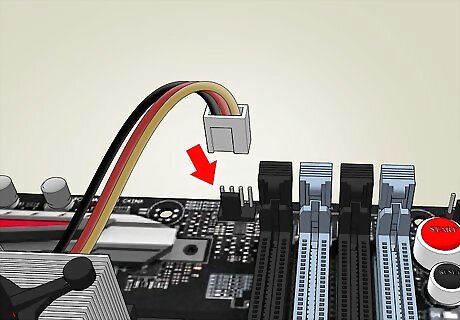
Plug in the wire. There will be a wire that is not connected which is located on the heat sink fan. Take the wire and plug it into the CPU fan socket. It is located near the CPU and has several metal prongs.


Comments
0 comment